One Object Per Day
One Object Per Day was a personal two-week design challenge, intended to explore 3D modeling tools. Some projects are accompanied by diary-like entries– my reflections on the ongoing challenge.
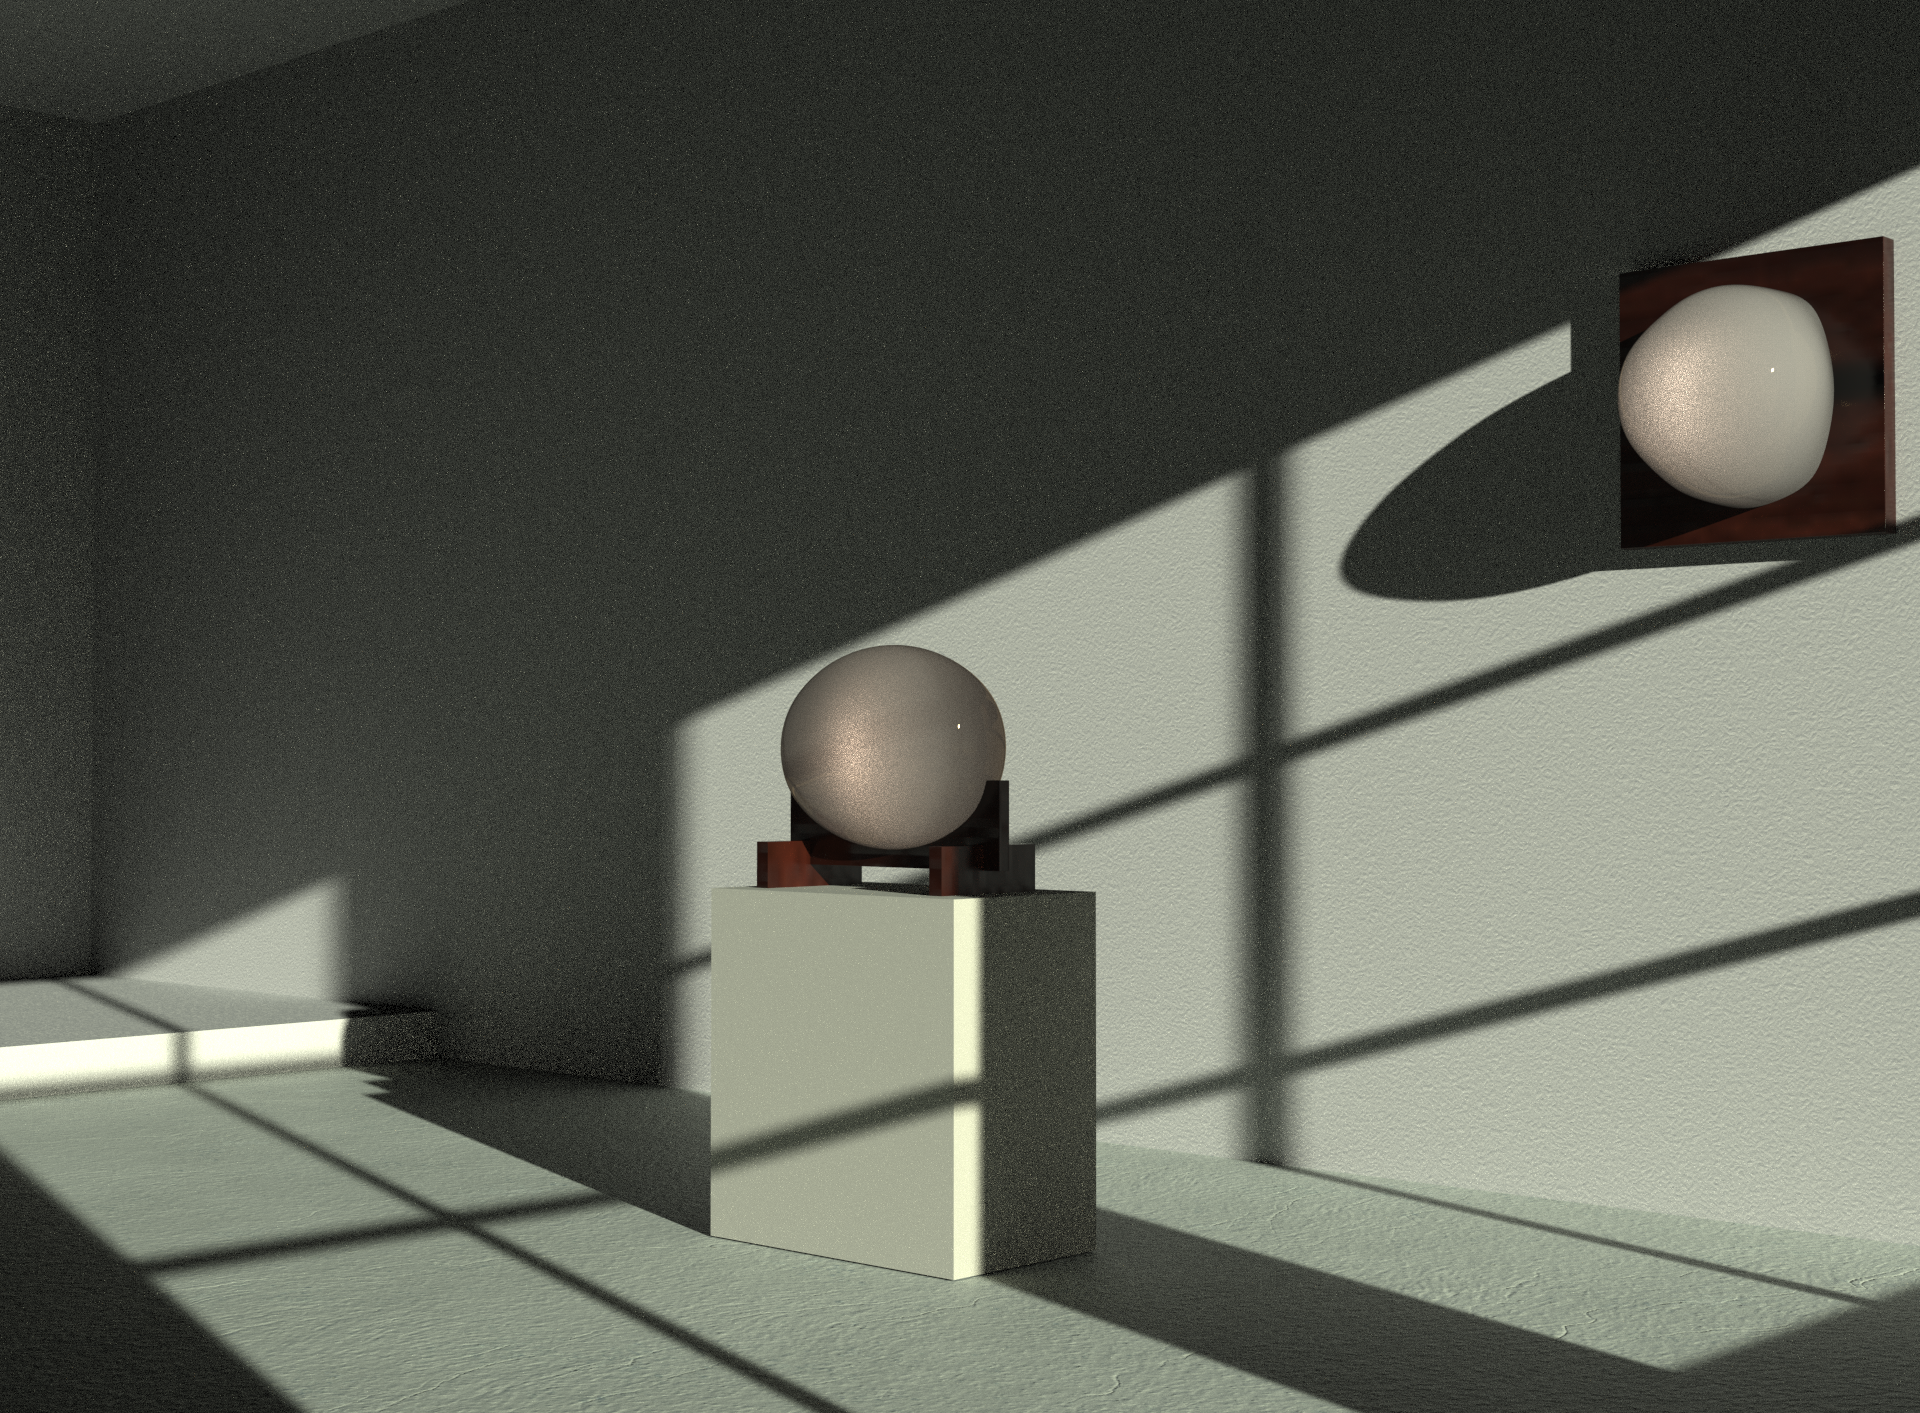
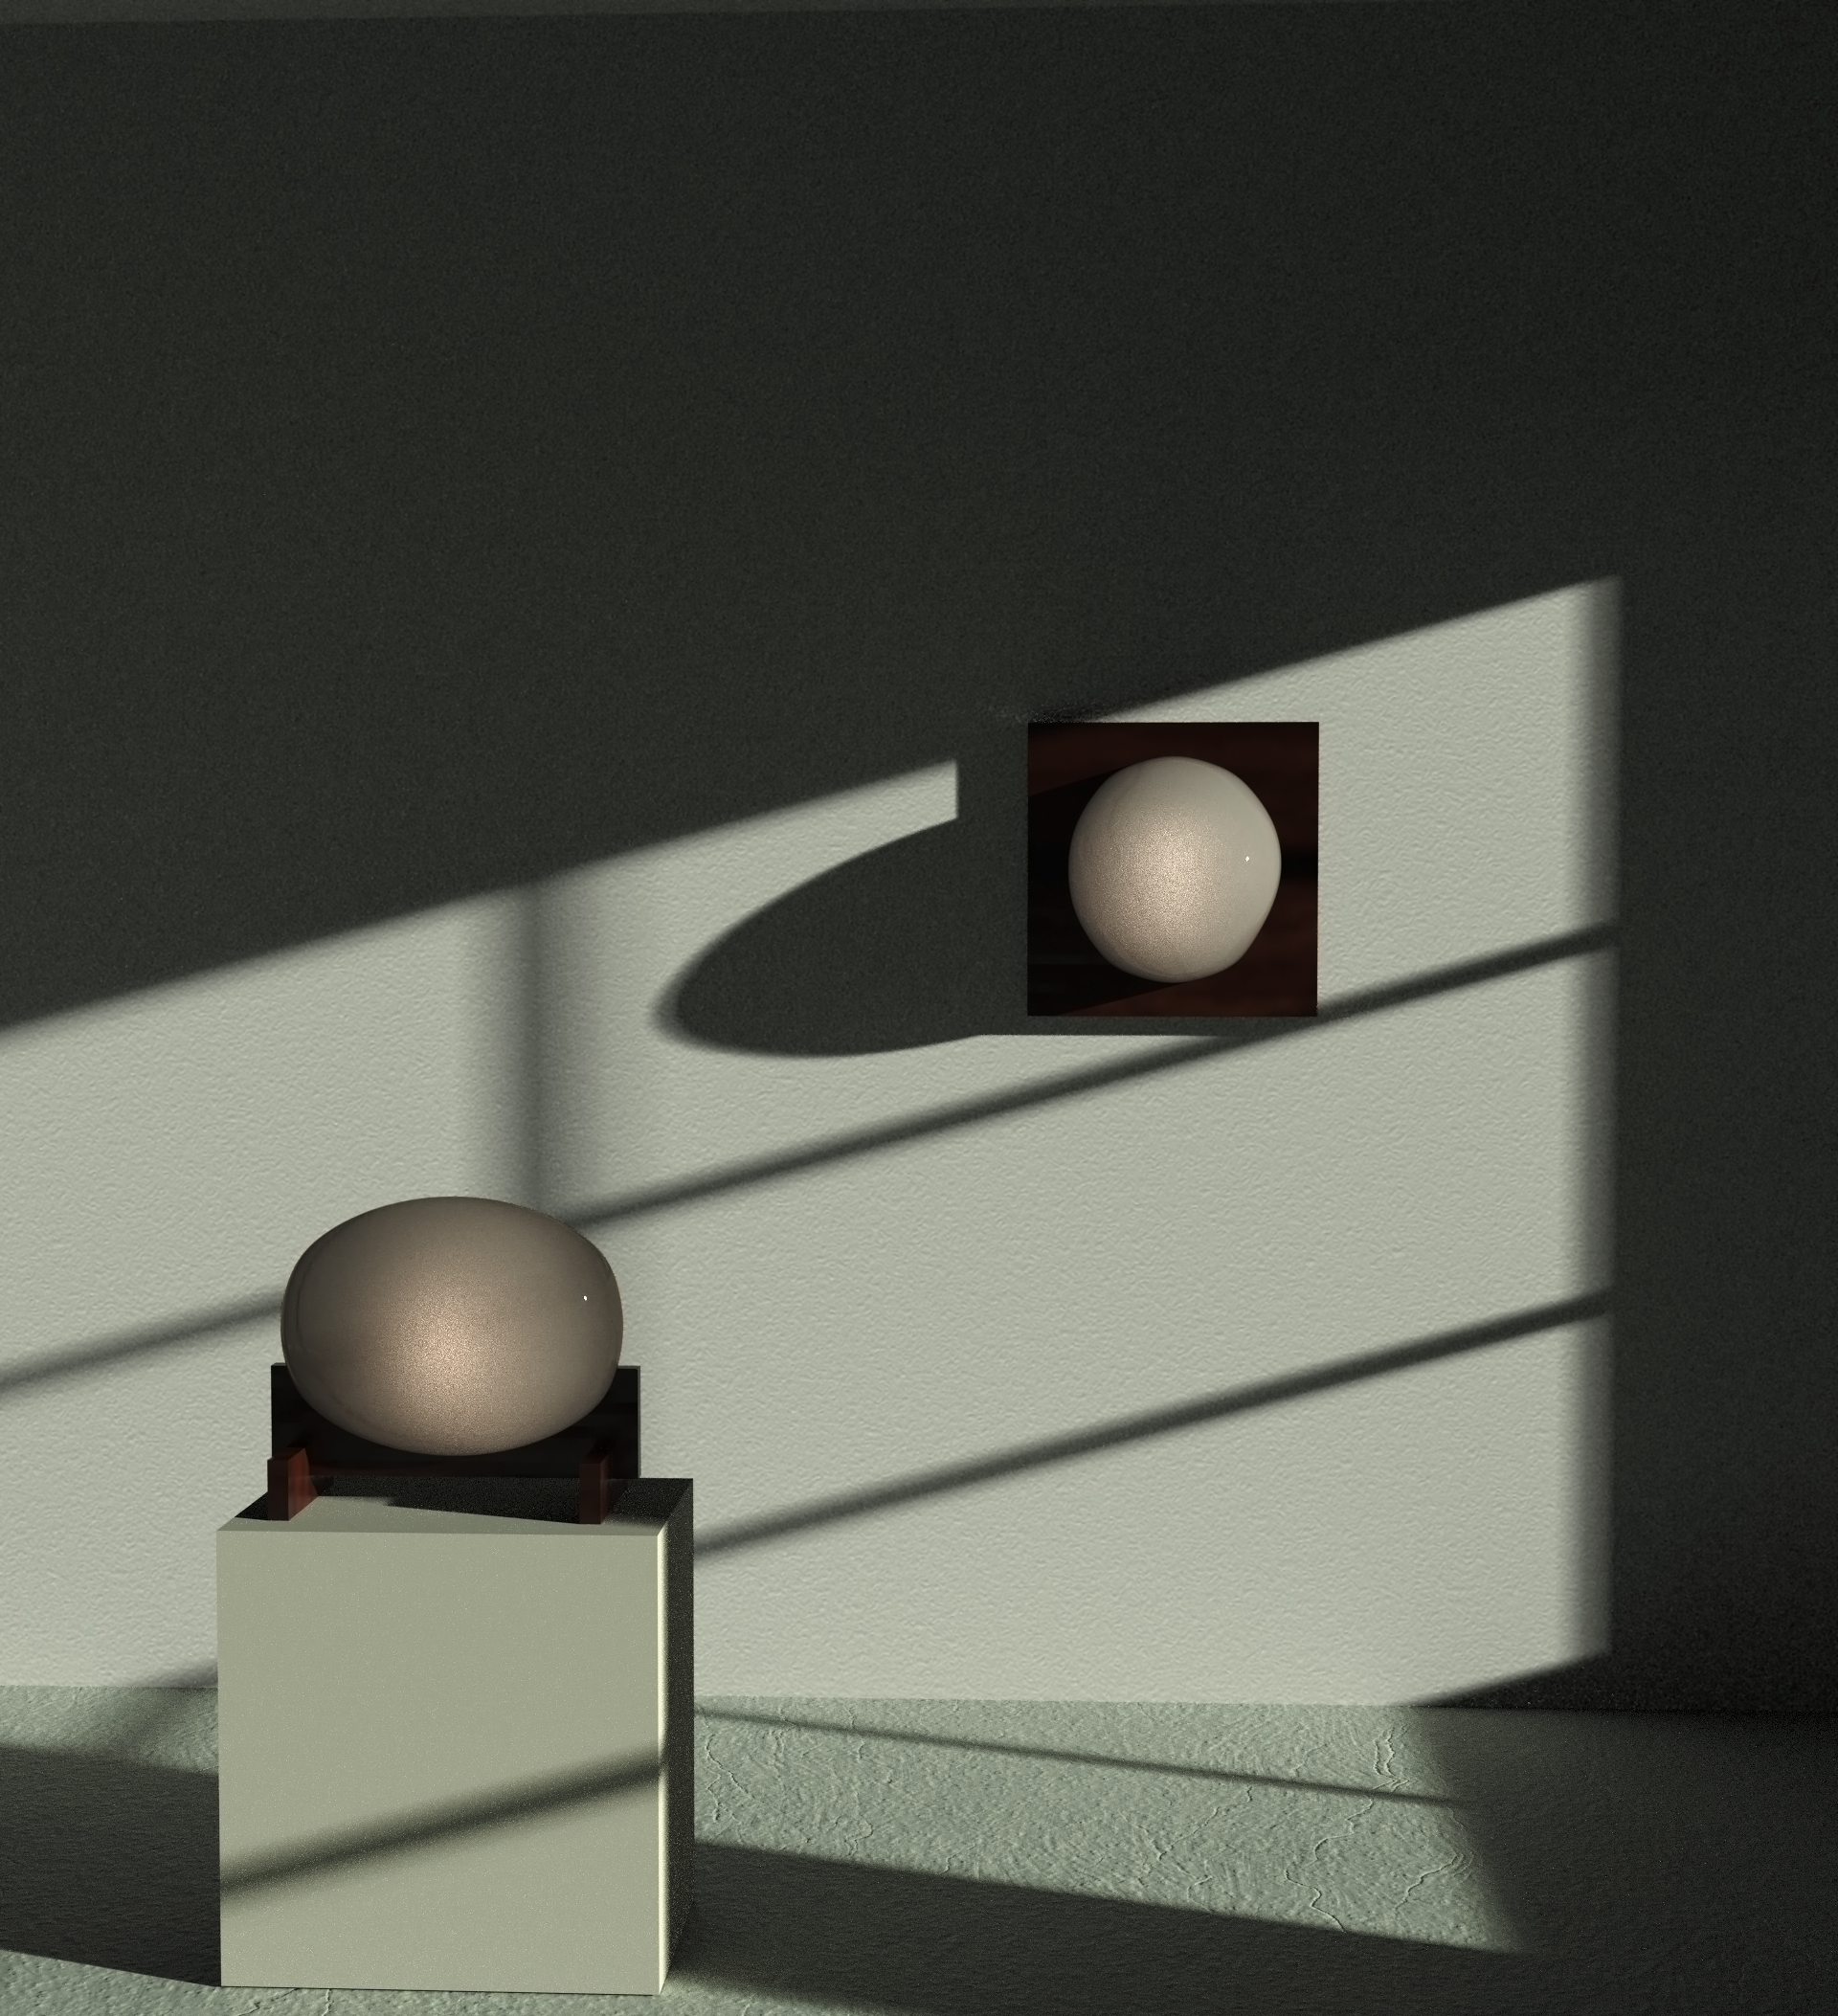

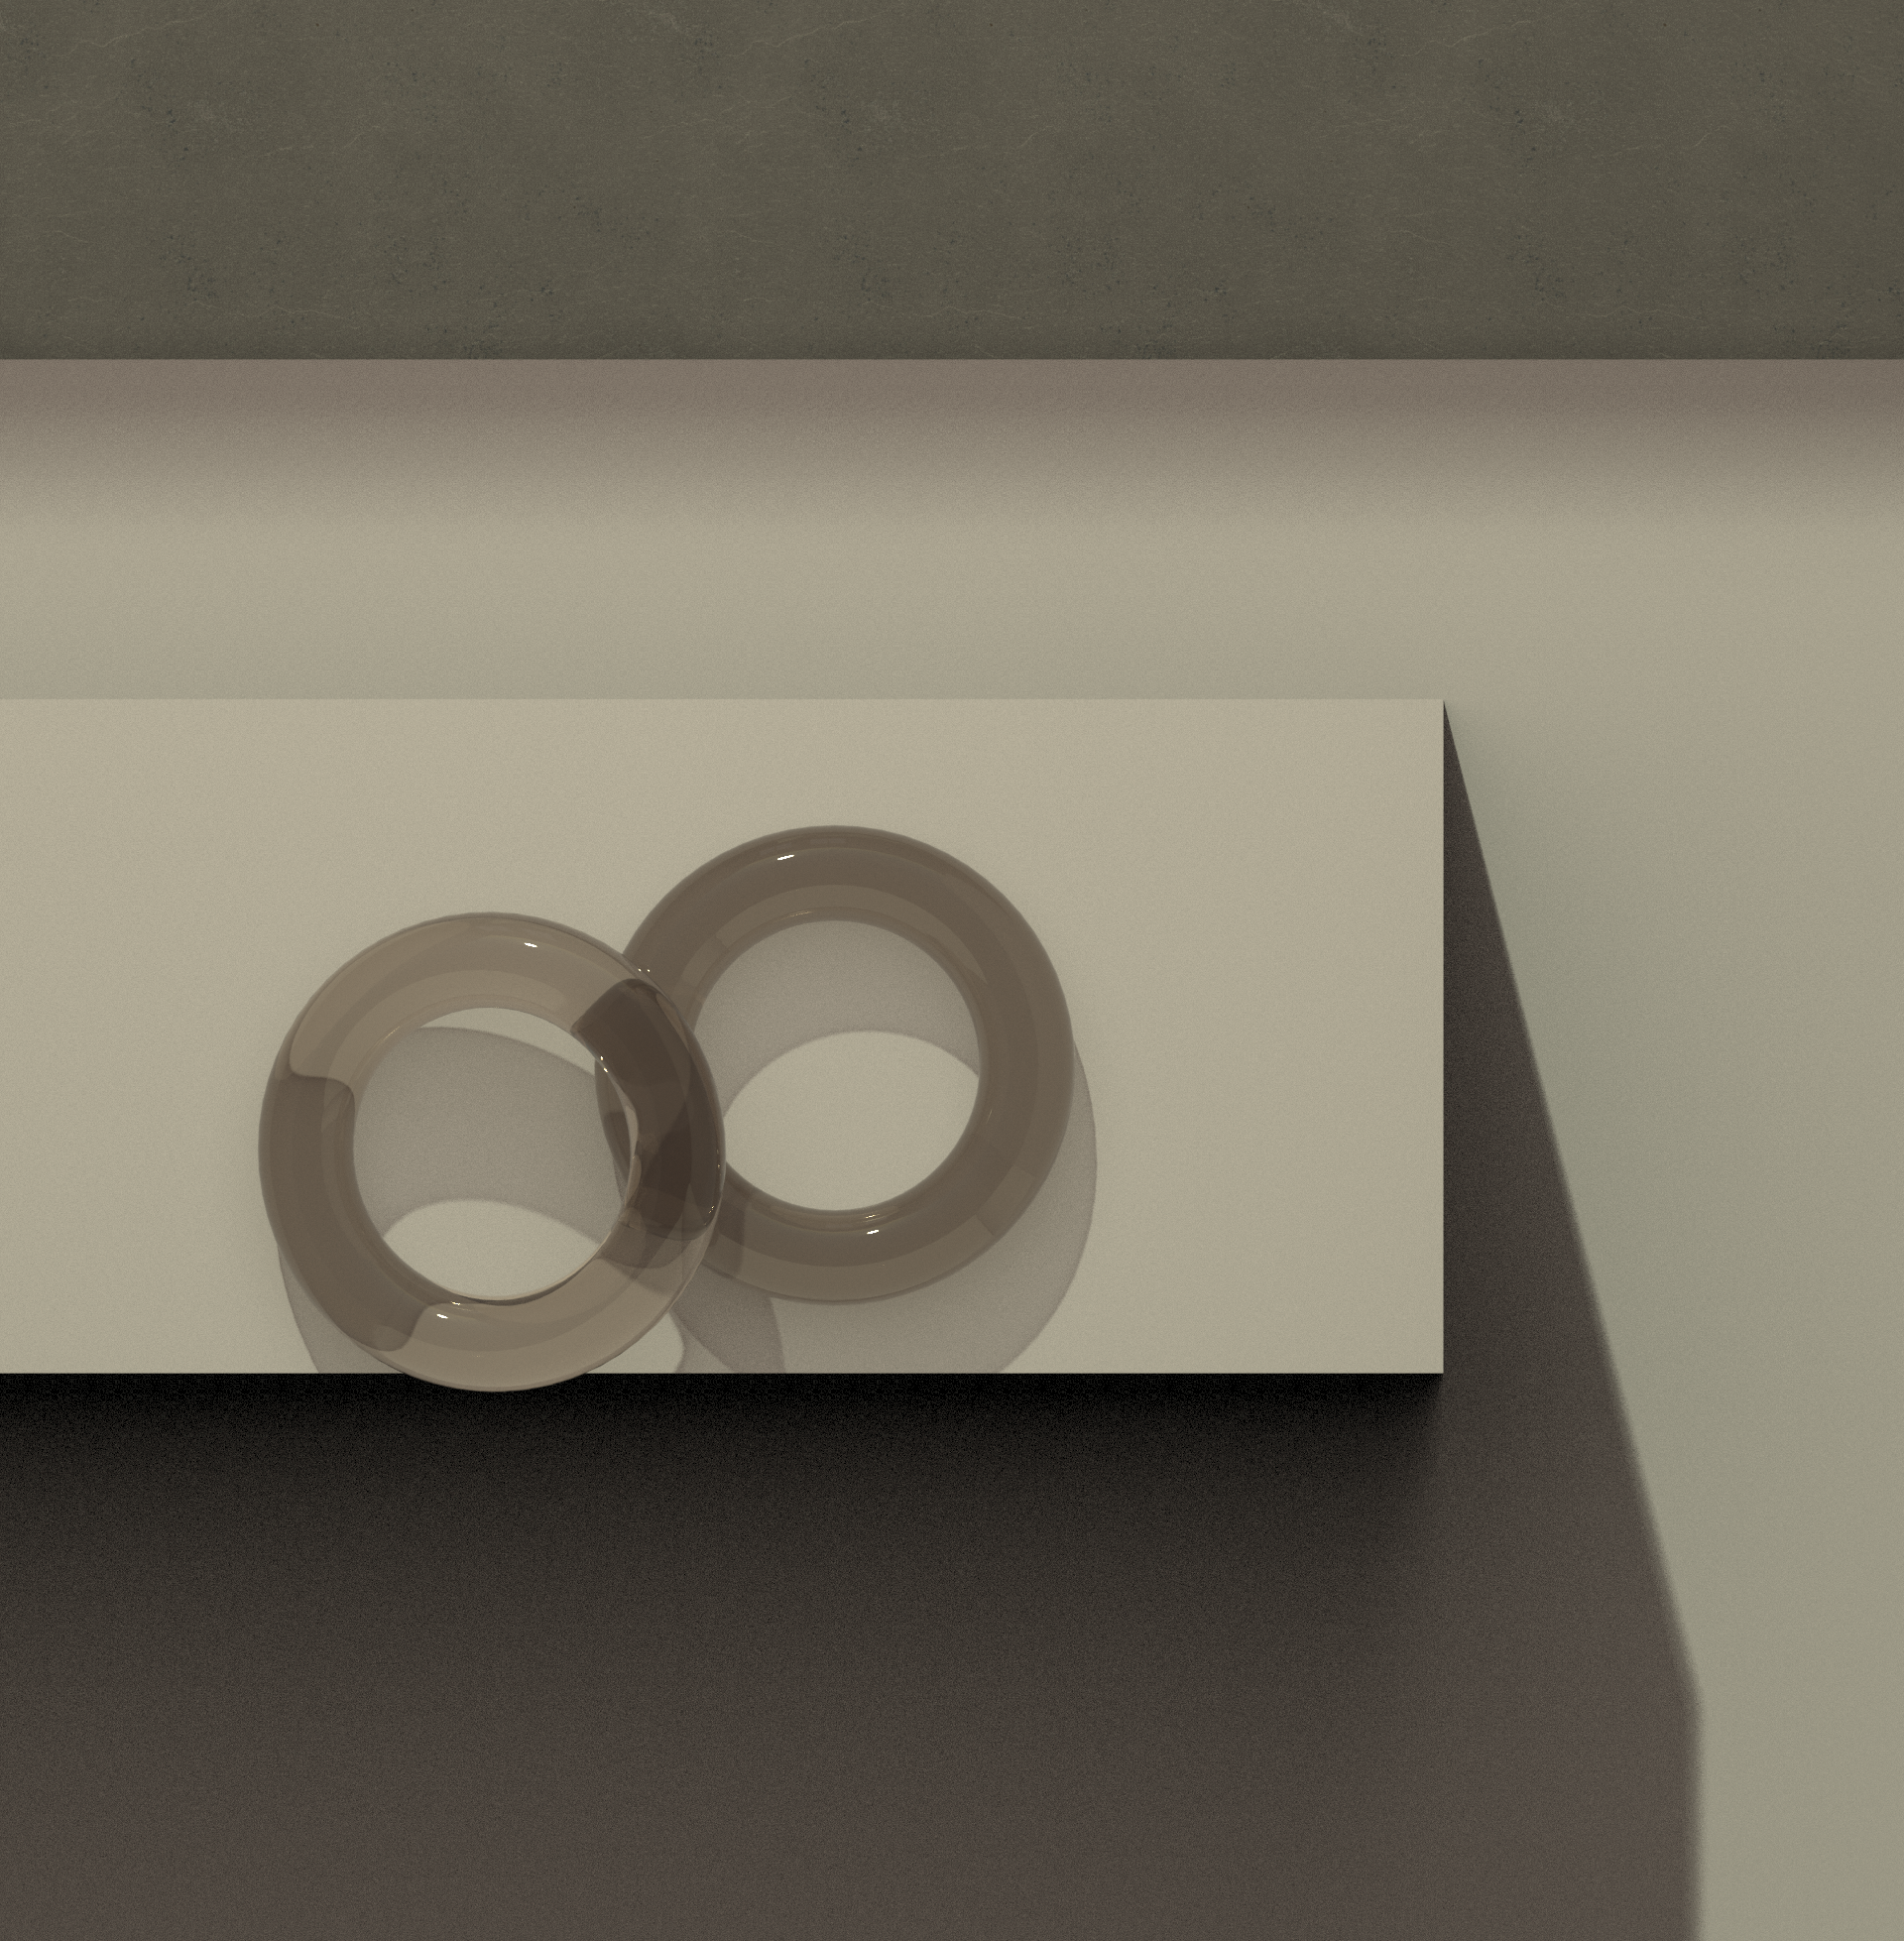
Day 01: Blob sconce and table lamp
Modeled in Rhino3D and rendered in KeyShot.
I was (and still am) scared that I am in over my head on this “one object per day” project. These models and two low-quality, grainy renders took me MANY hours. This doesn’t even account for the objects I began and abandoned today. I modeled a plate and placemat set, and abandoned it when I couldn’t get the texture on the tablecloth right. The tablecloth wasn’t even a part of the design, but I started a new, simpler project (this one) because of the desire to stay consistent on my first day of this project. I need to remember that “one object per day” is just a tool to aid my never-ending design education. I am not trying to impress anyone with this– I am simply trying to practice consistency.
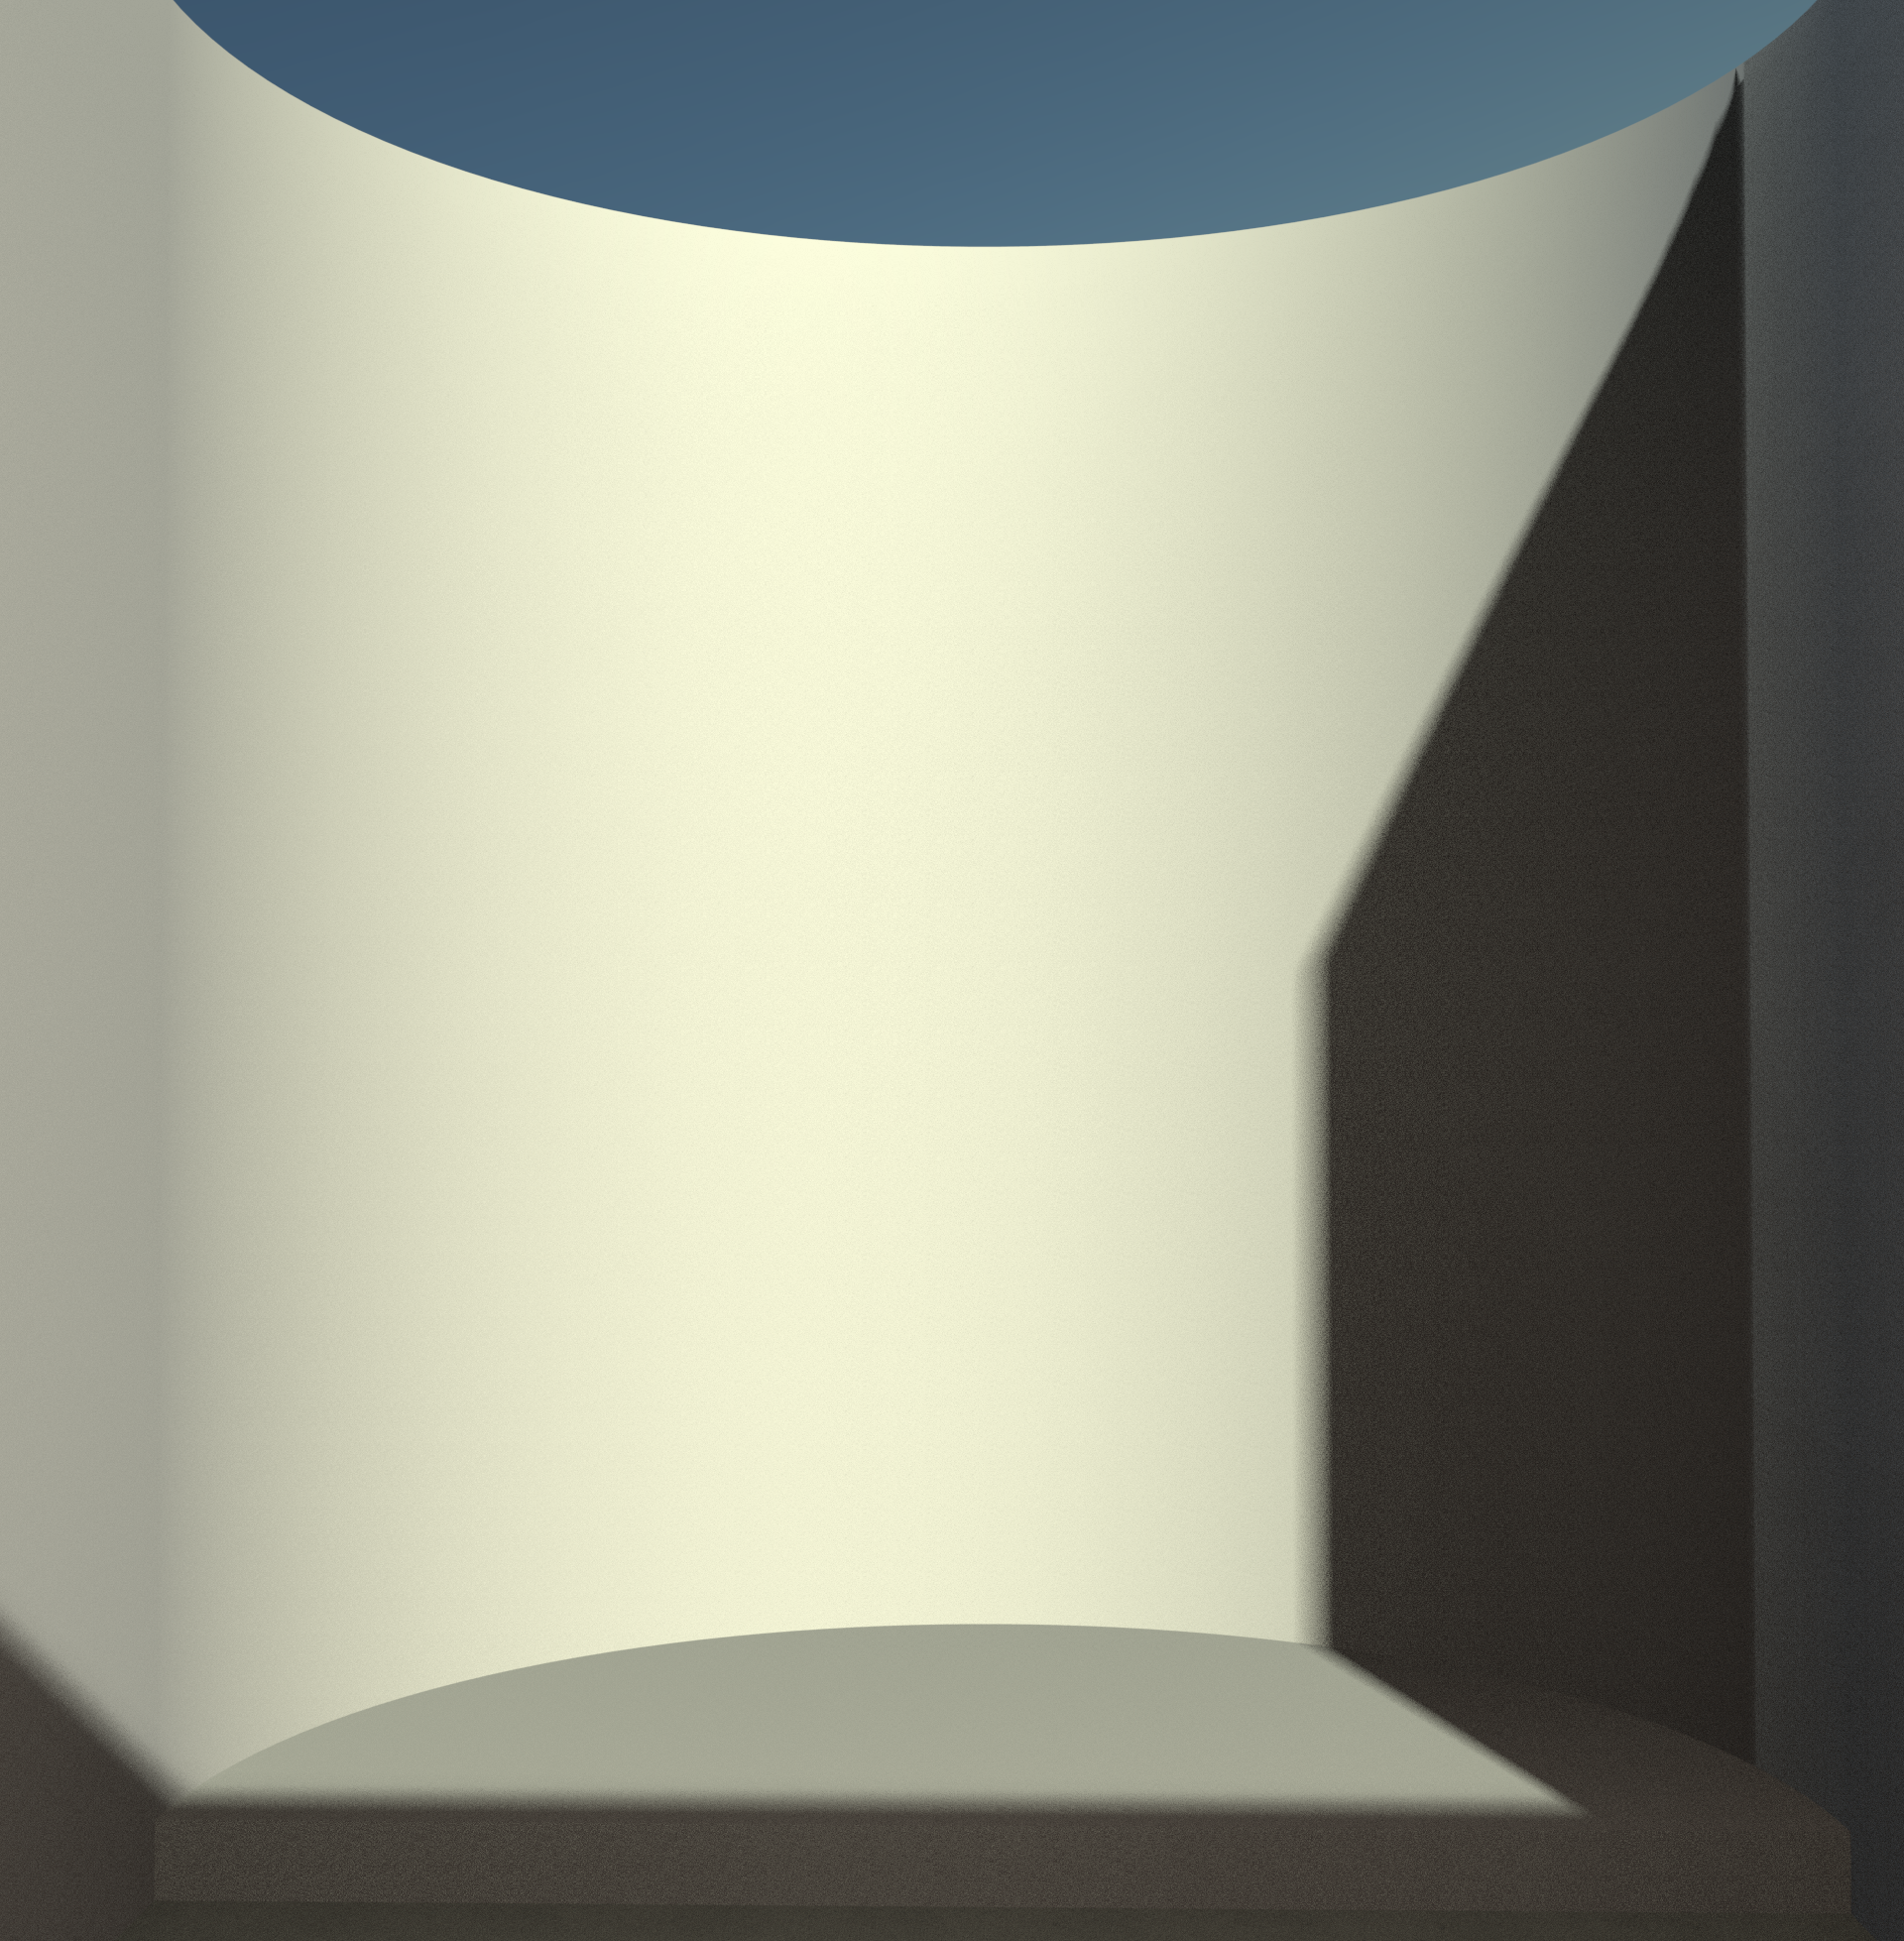
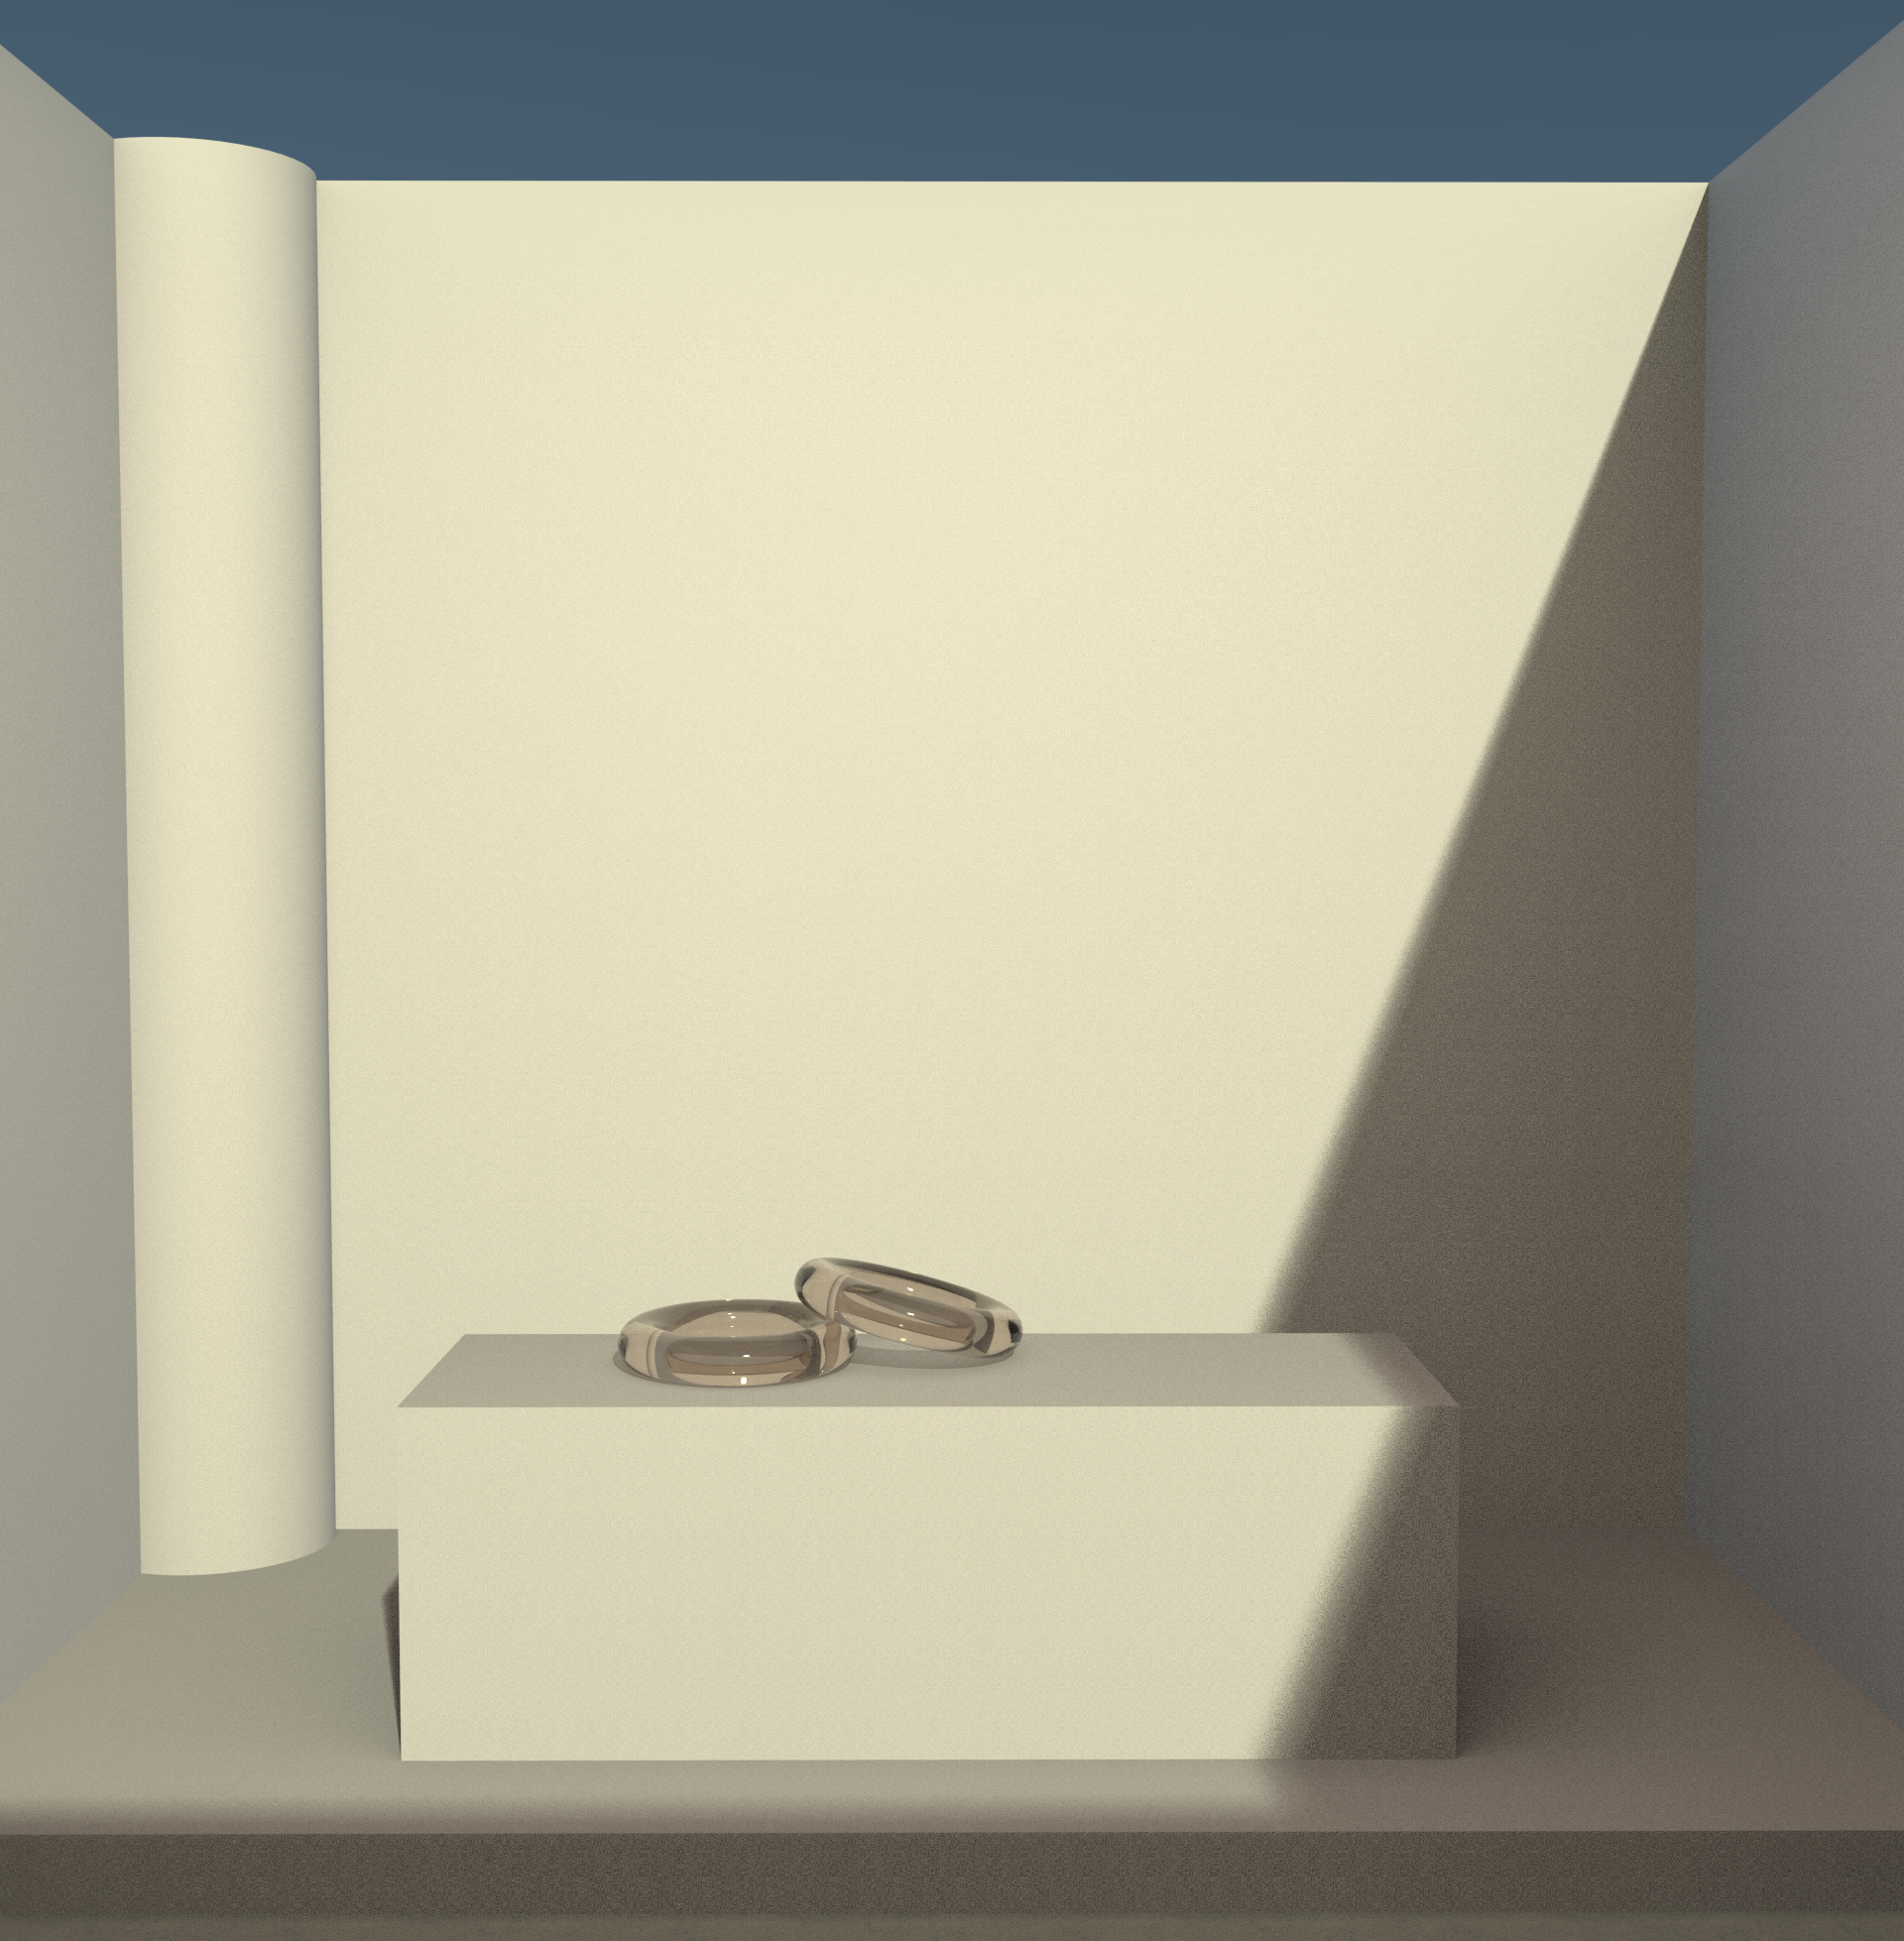
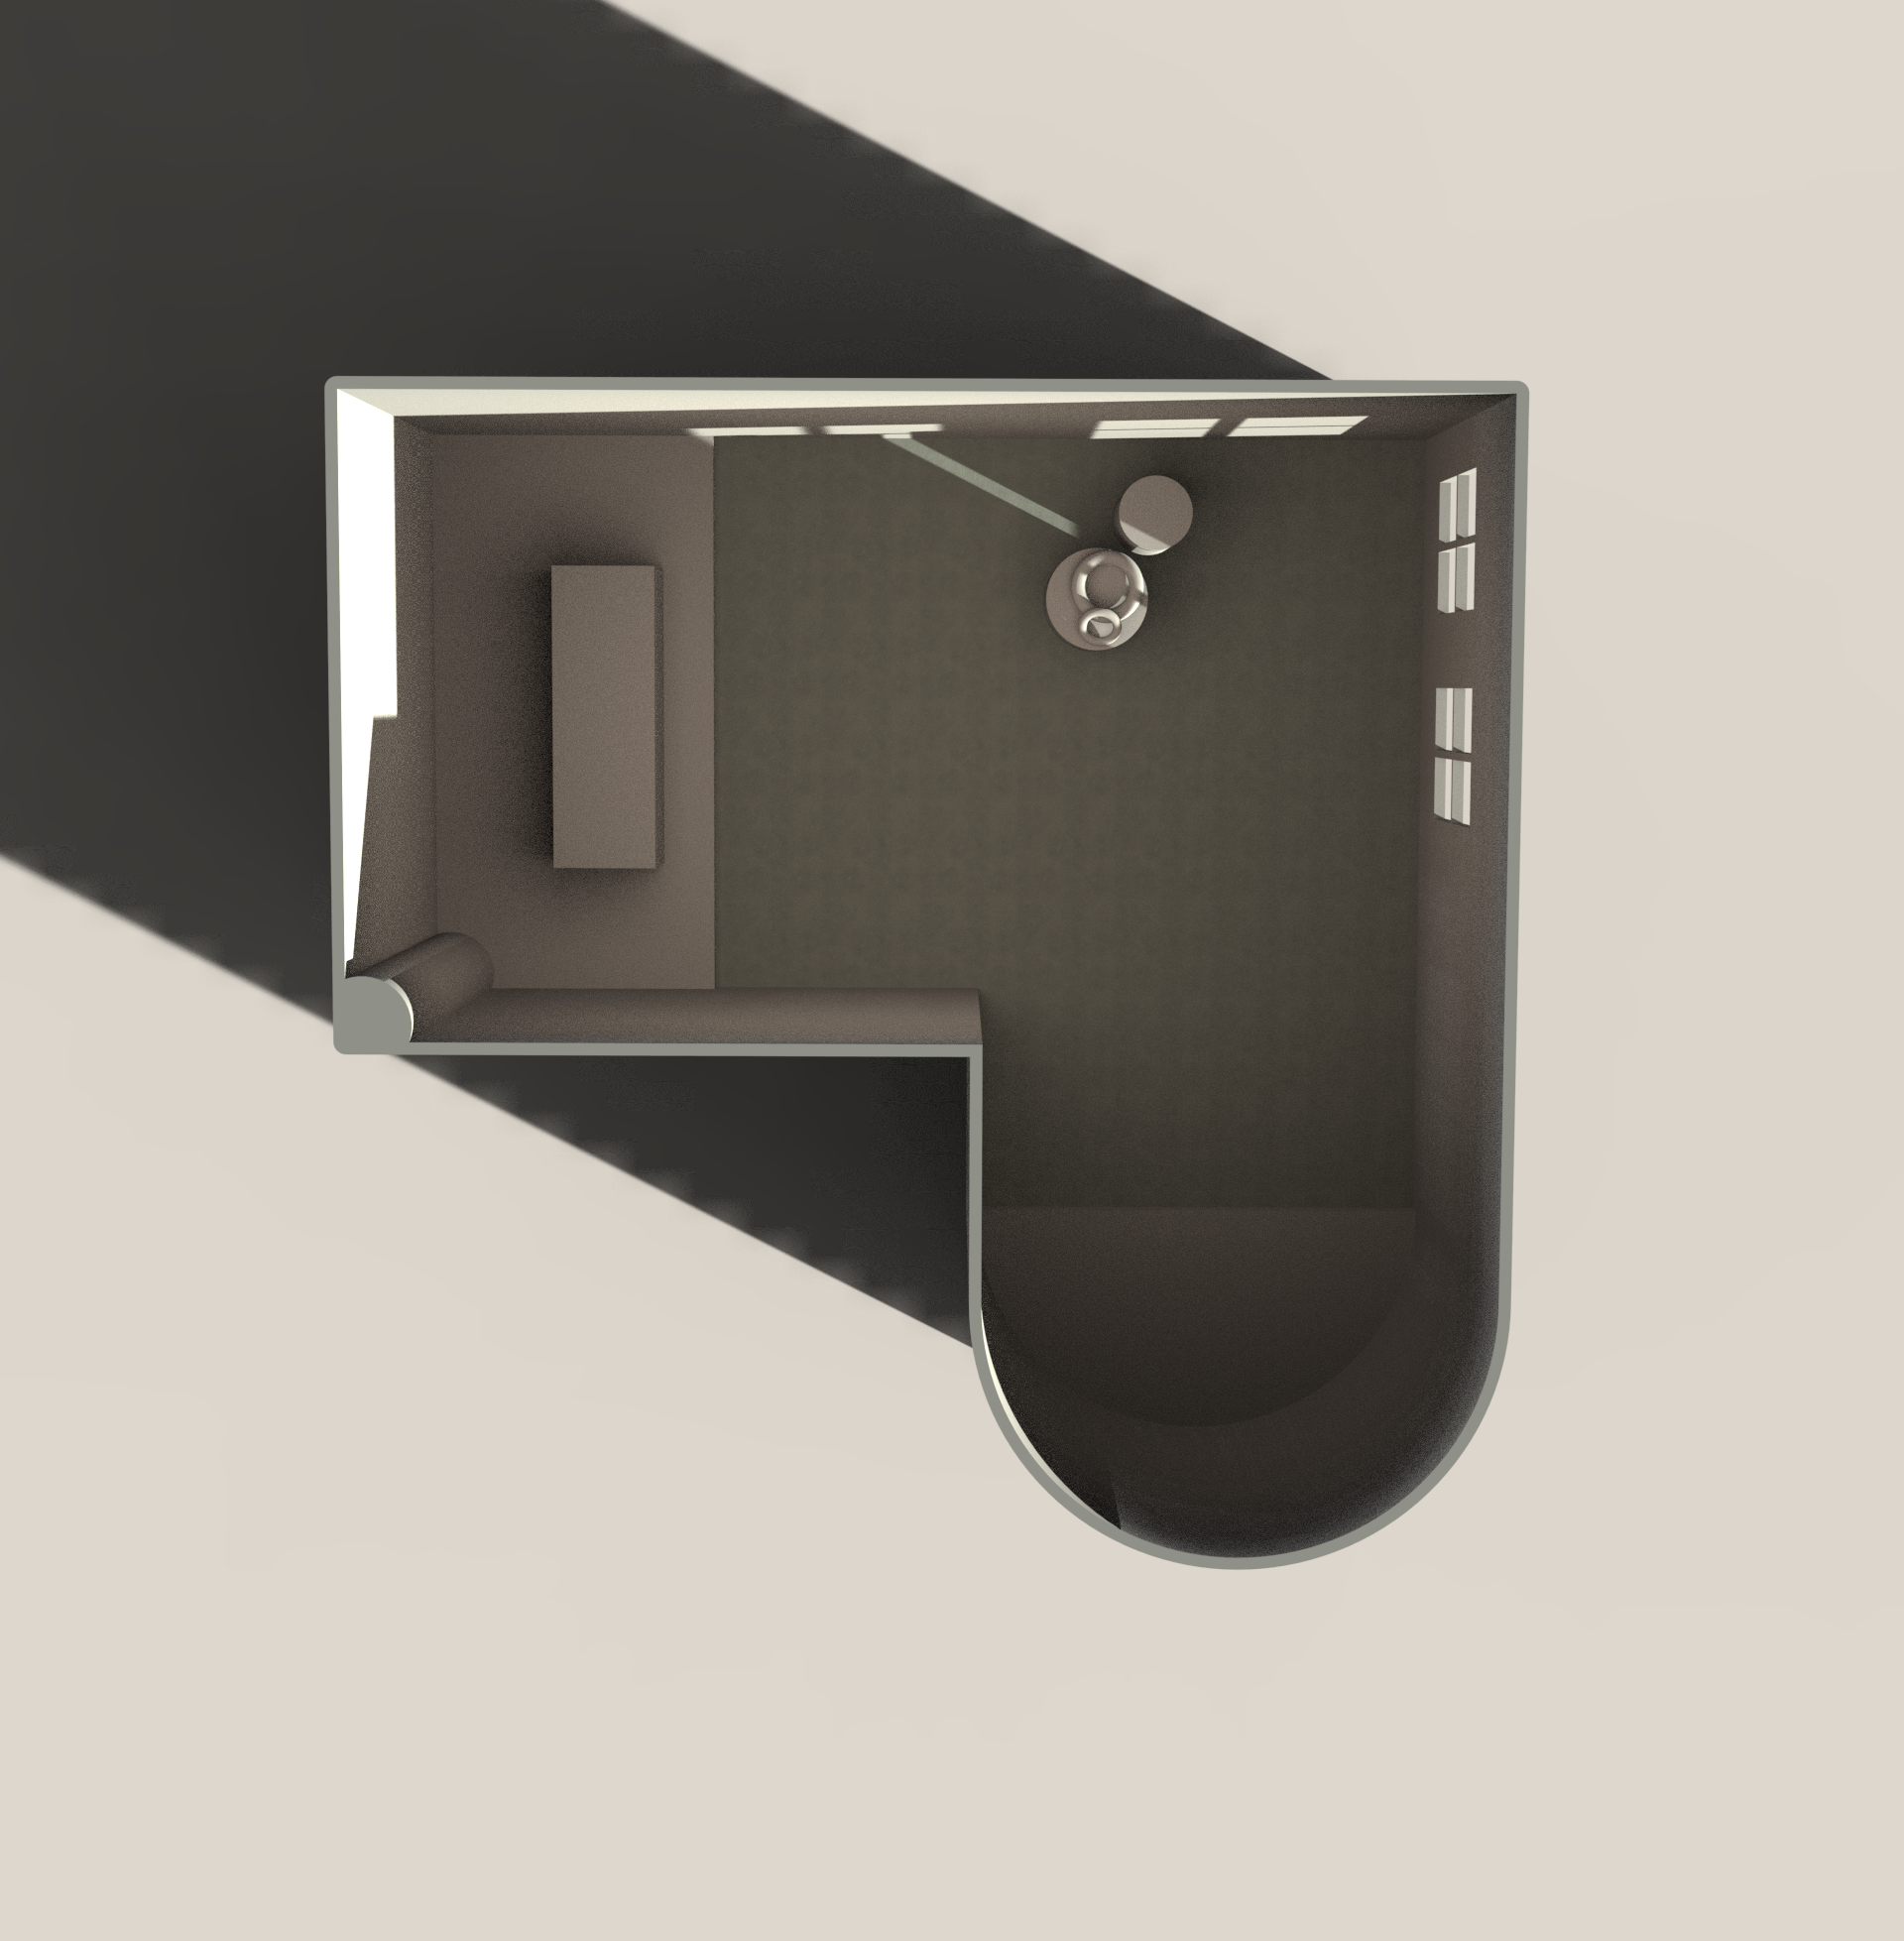

Day 02: Virtual product photography space
Modeled in Rhino3D and rendered in KeyShot.
When I render designs, a large part of my time is spent building and rendering the room it occupies. I have never been fond of the typical grey, black, or white void that many renders are set in. I find that objects feel more real– even if less “professional”– when they are placed in a tangible space that the user can picture themselves in. To me, building the rendering environment is an opportunity to blend still life photography with design. I spent most of my OOPD time yesterday building the space to make my render aesthetically pleasing. It would be much more efficient to designate an entire OOPD day to design my ideal product photography space. For now, I want a little bit of everything: “natural” sunlight, some area lights to counteract and diffuse said sunlight, shadows from windows, and visual layering.With time, the perfect virtual space will reveal itself, and I will modify the Rhino file to welcome this. I am not an architectural or interior designer, but I know what kind of physical environment I want to showcase my product designs. For now, the completion of this environment will allow me to focus on the designs of the objects.
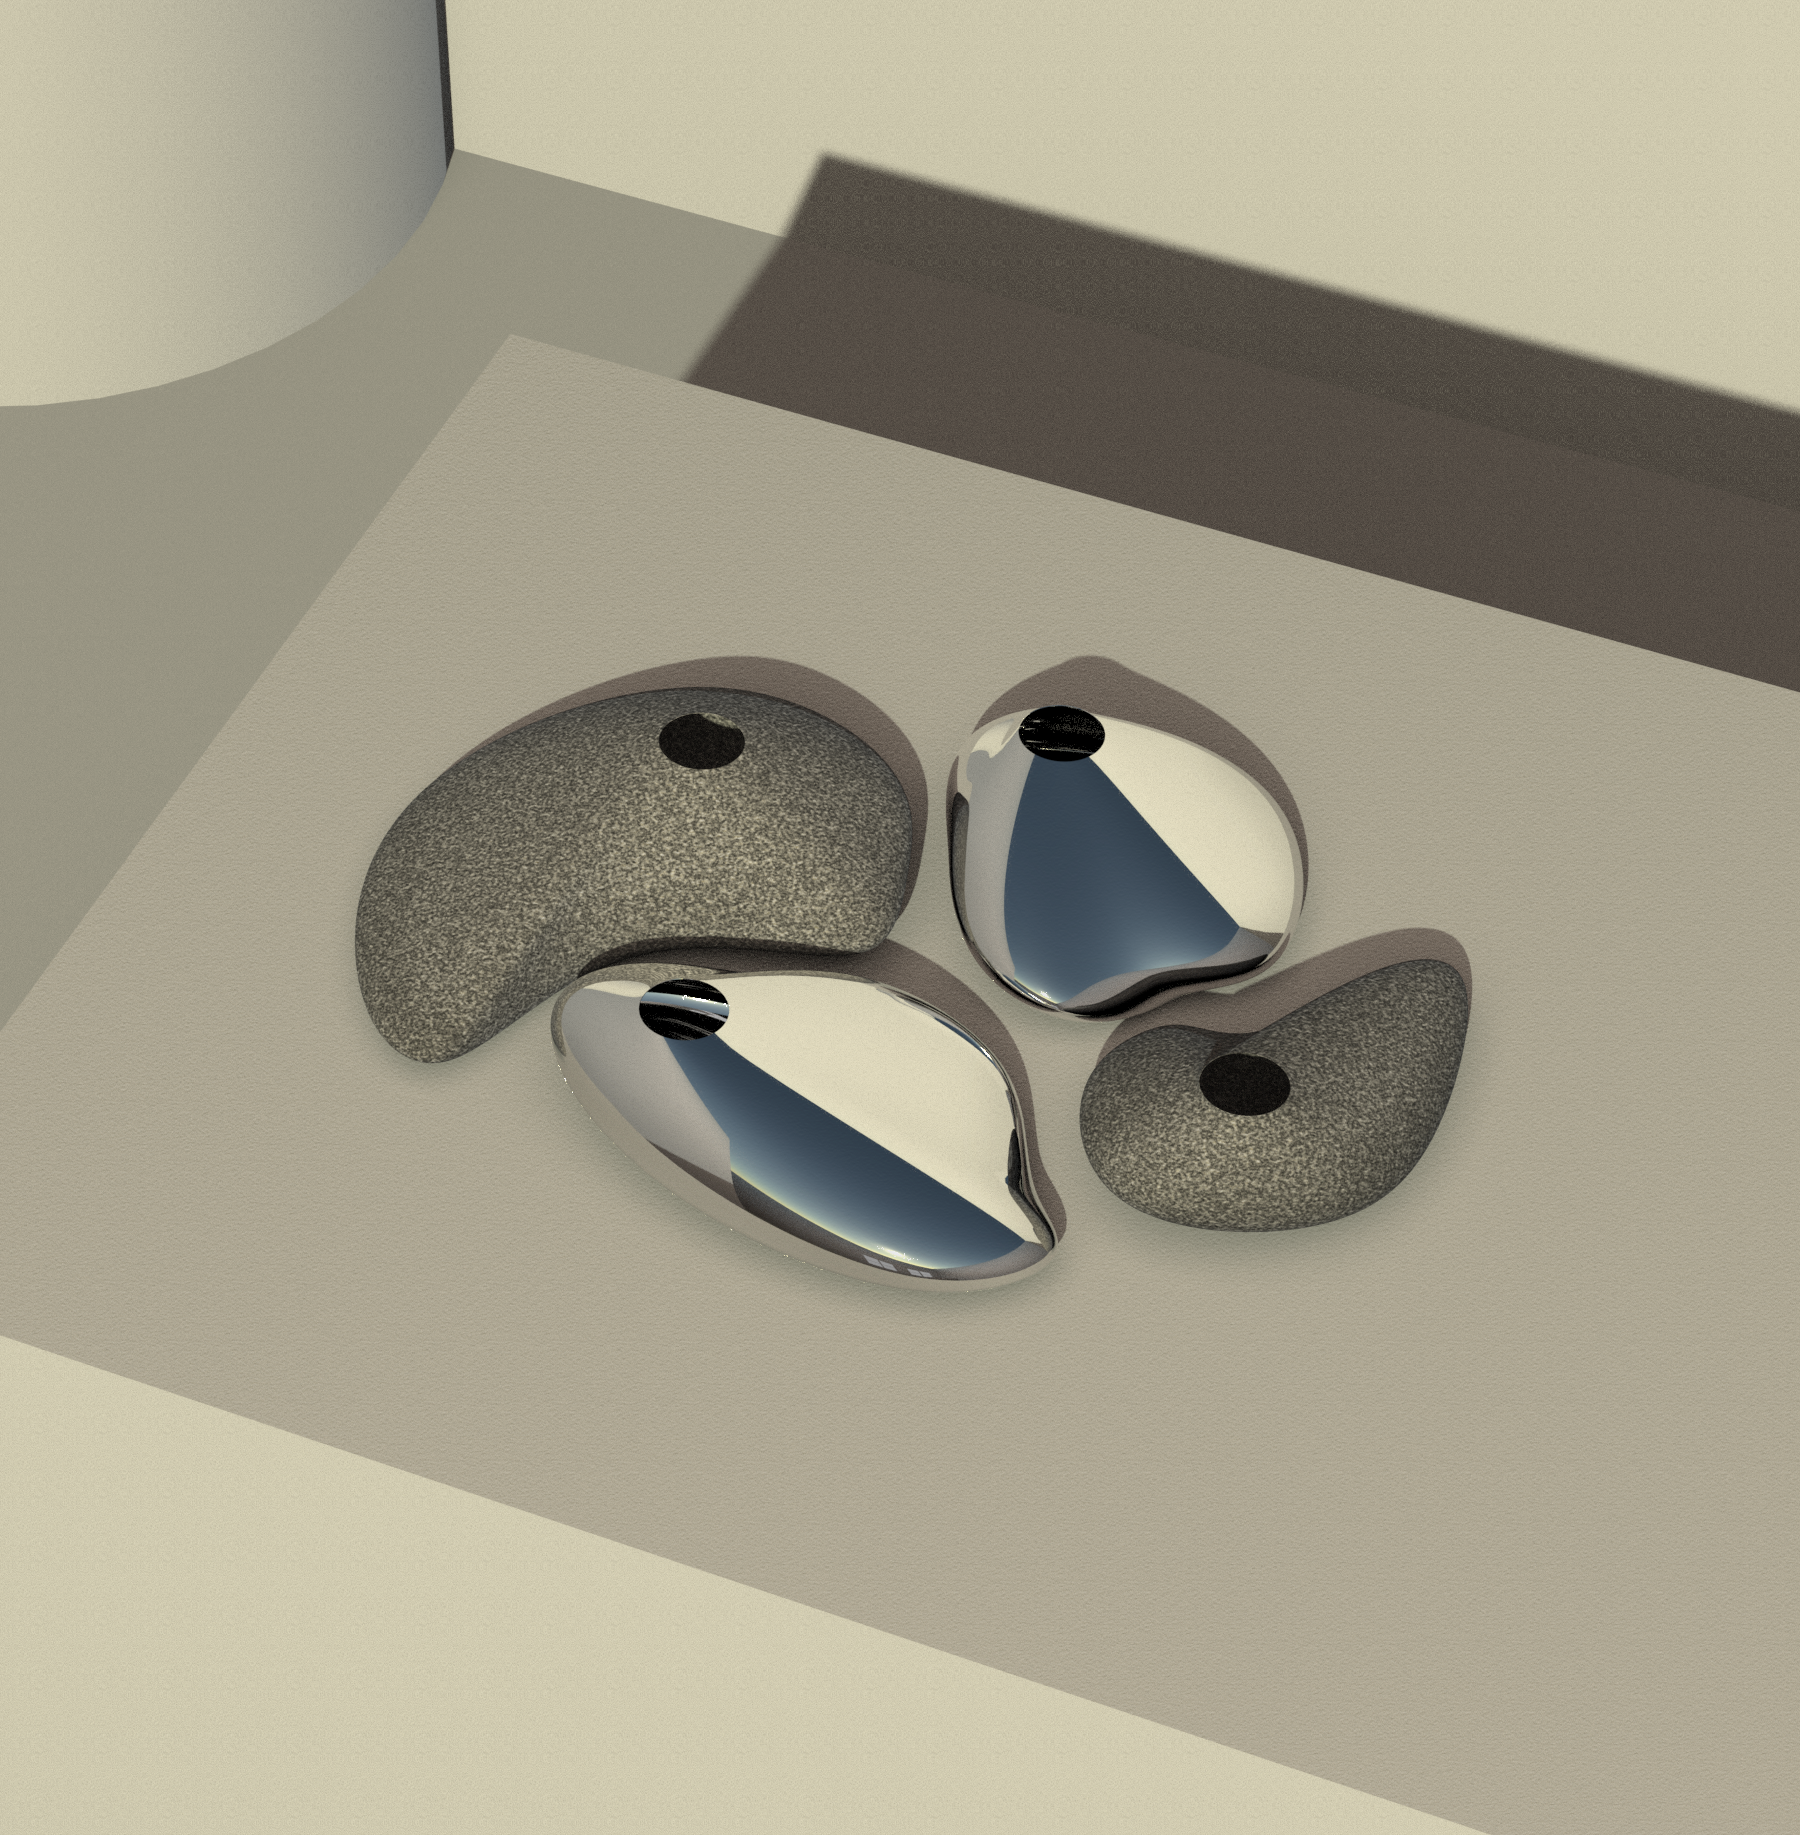
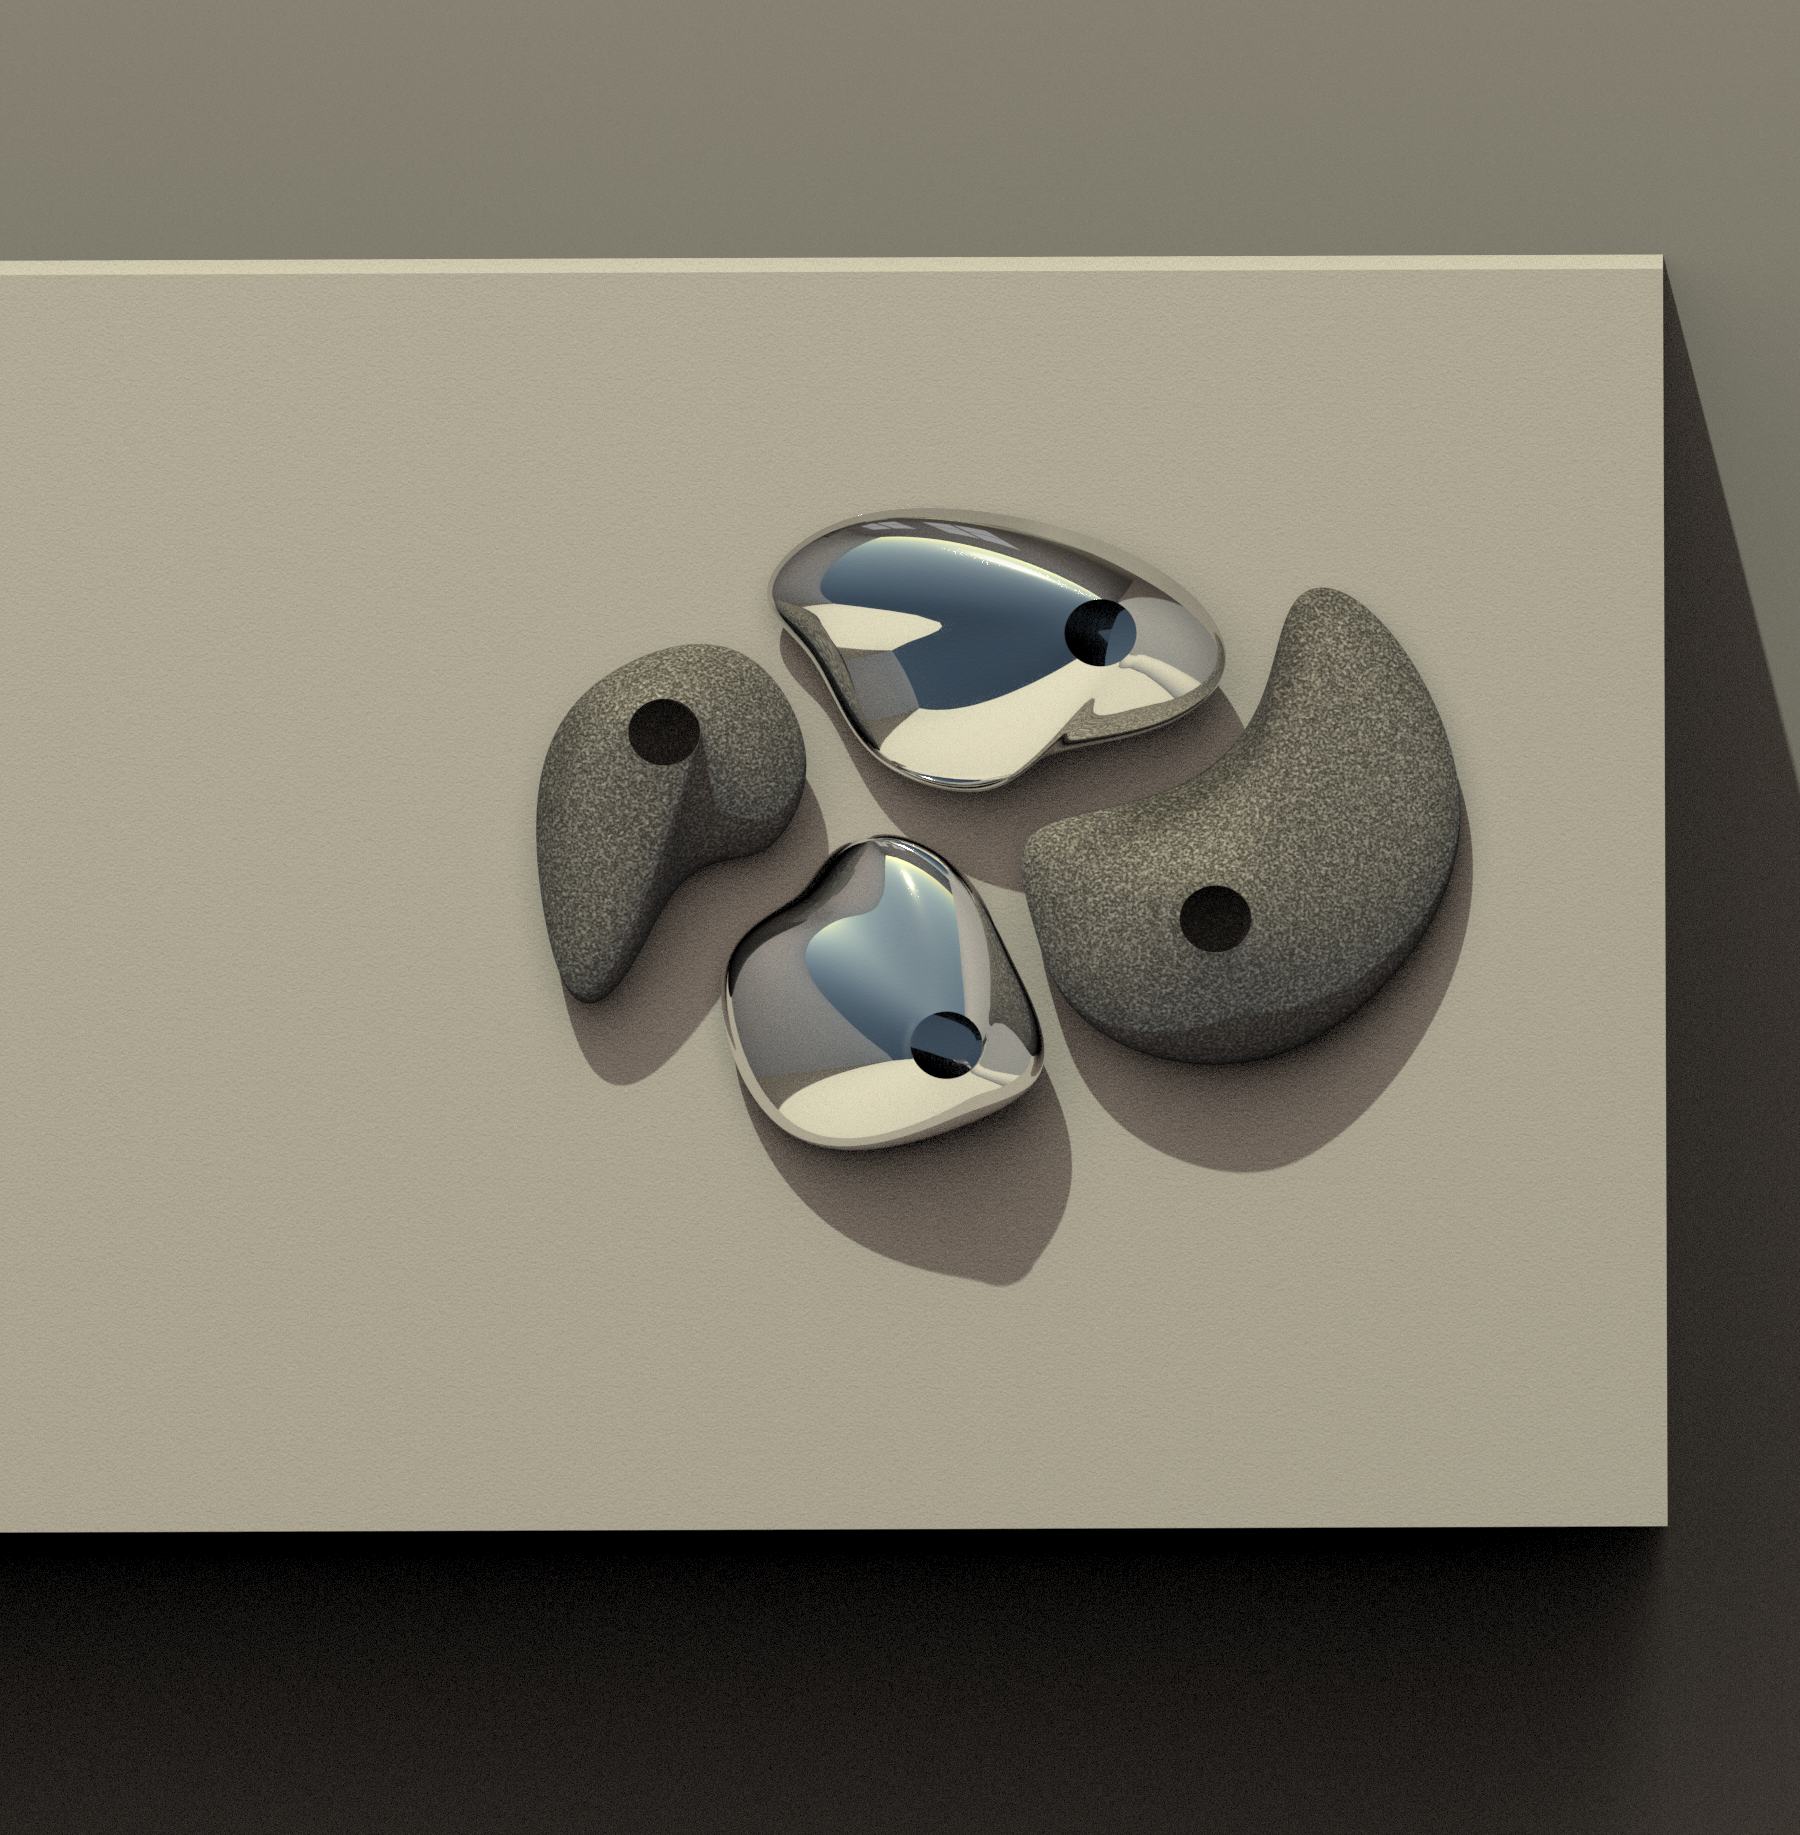
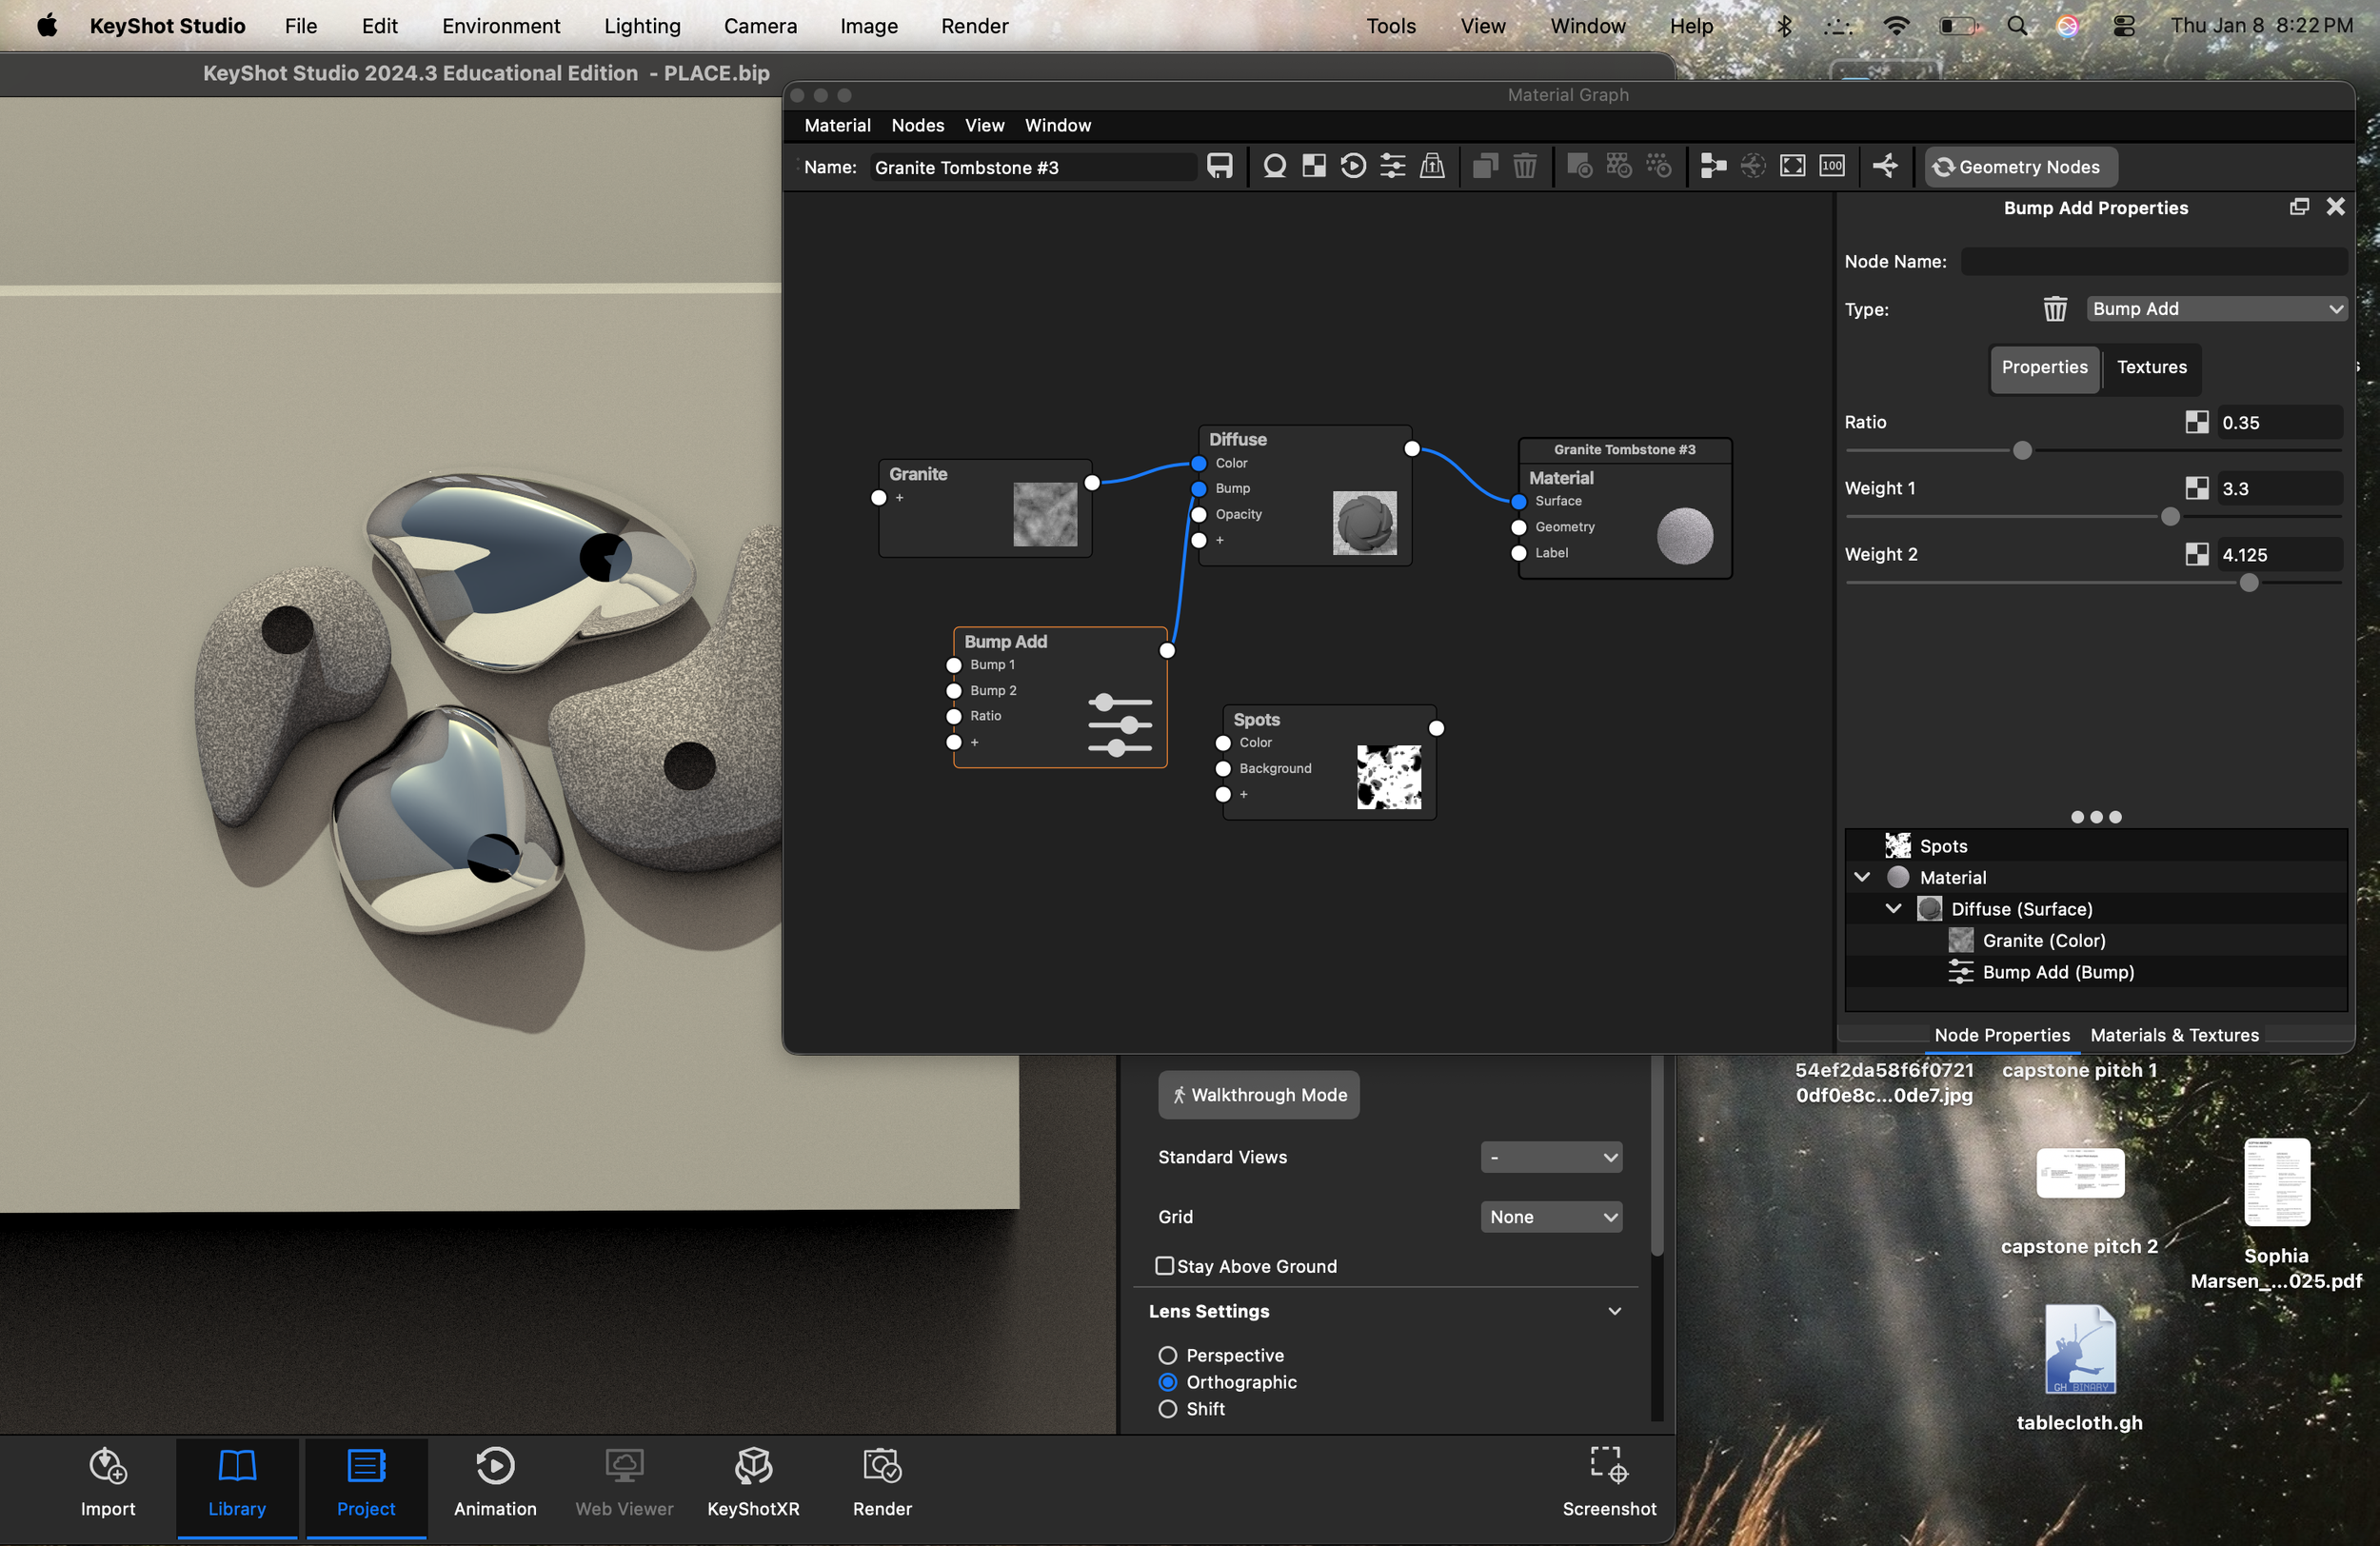
Day 03: Set of vases
Modeled in Rhino, rendered in KeyShot, enhanced in Photoshop.
How does materiality affect visual perceptions of haptic engagement?
Organic, amorphous forms have long fascinated me, appearing persistently across moodbaords for all sorts of projects. The form is haptically inviting: its continuous curves and softened recesses visually demand touch, inviting the hands to trace and rest. Materiality, however, influences haptic appeal profoundly, even if subconsciously. Prior experience informs perception. A polished metal vase may visually reinforce the form, yet introduce restraint. The intuitive knowledge that polished metal readily records oily fingerprints and smudges undermines its haptic appeal. This positions the object as something to be preserved rather than handled. In this instance, materiality contradicts form. The granite version may prompt a different response. While it shares the same formal language, its material communicates durability. Though granite generally lacks the perceived fineness of polished metal, it invites interaction more freely. Touch is permissible rather than transgressive.
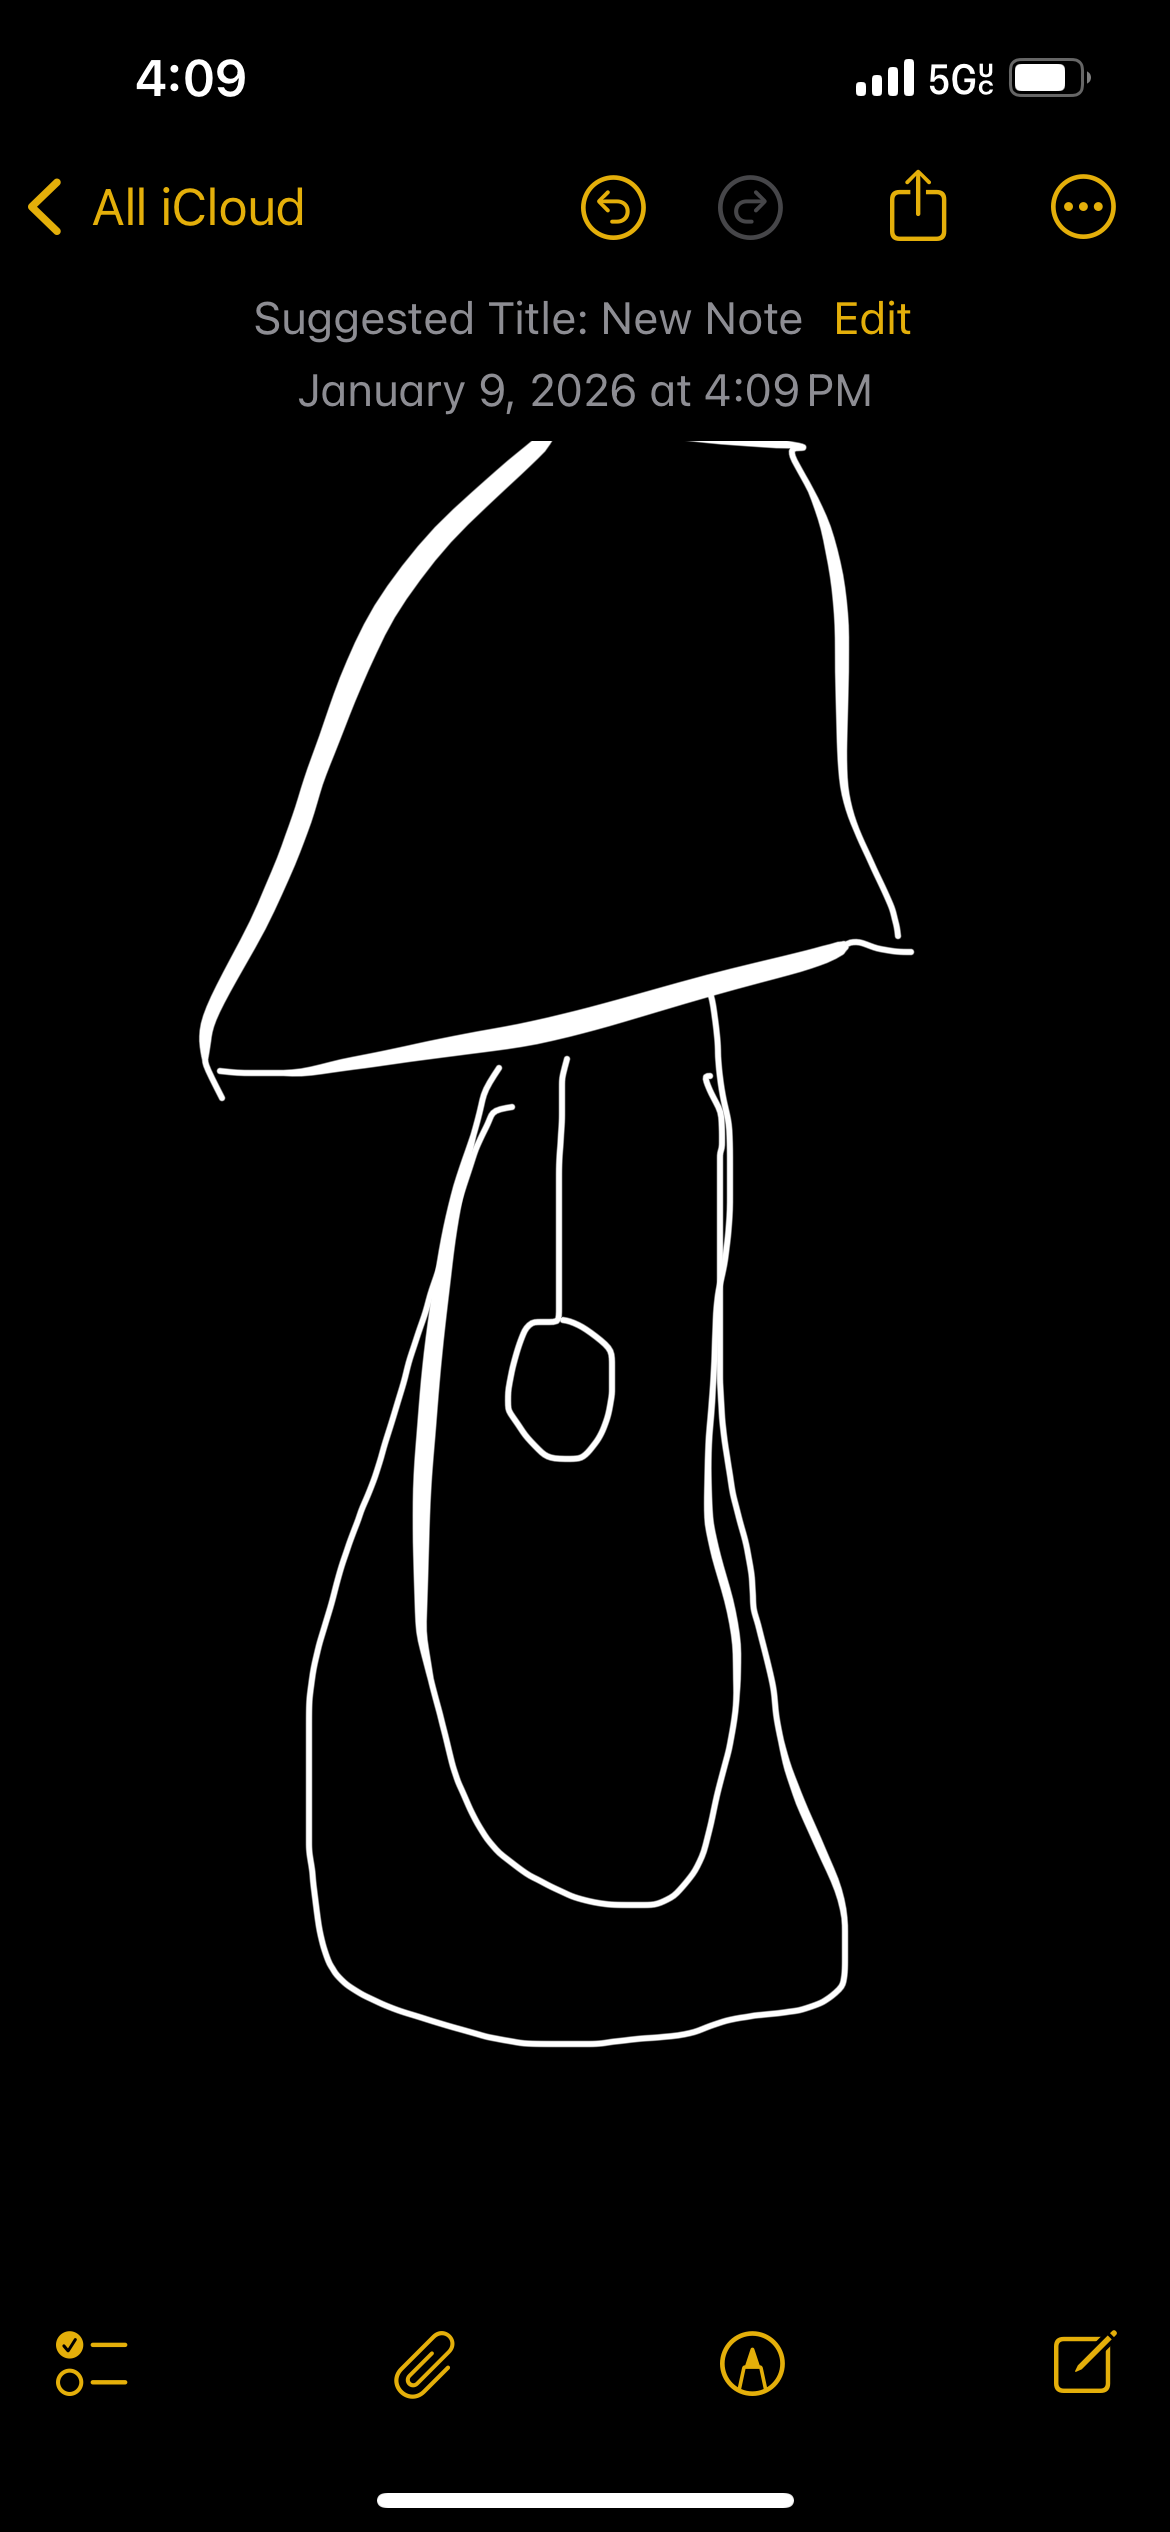


Day 04: Object, soon-to-be lamp base
From a desperate notes app scribble to render.
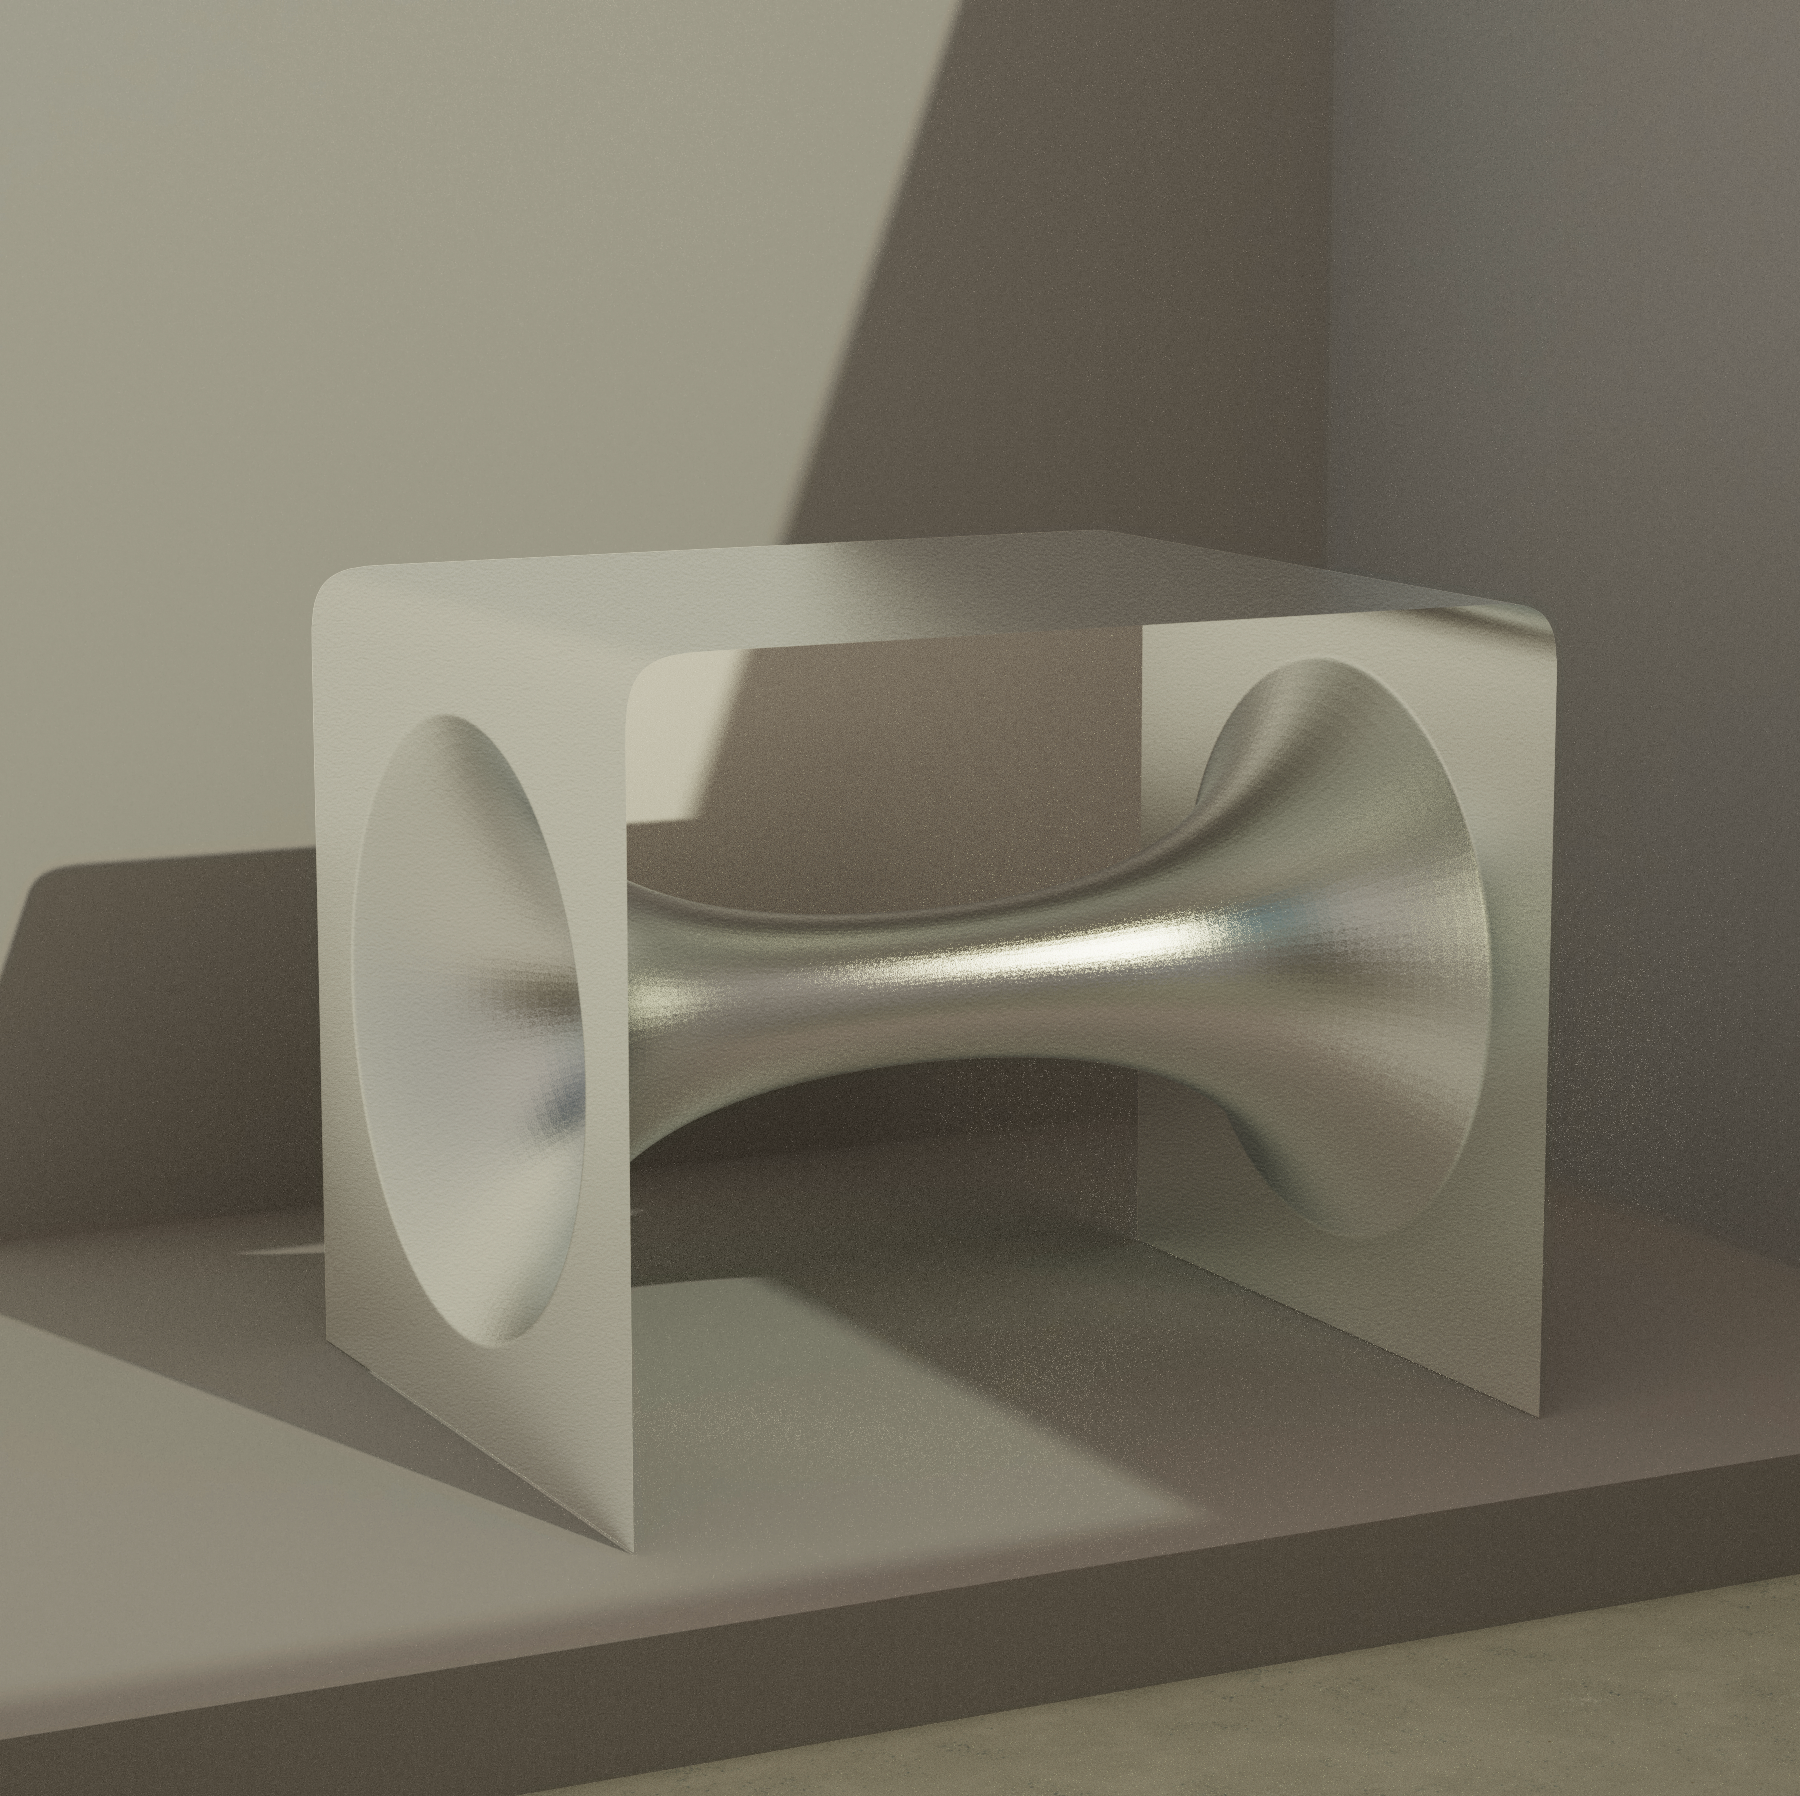
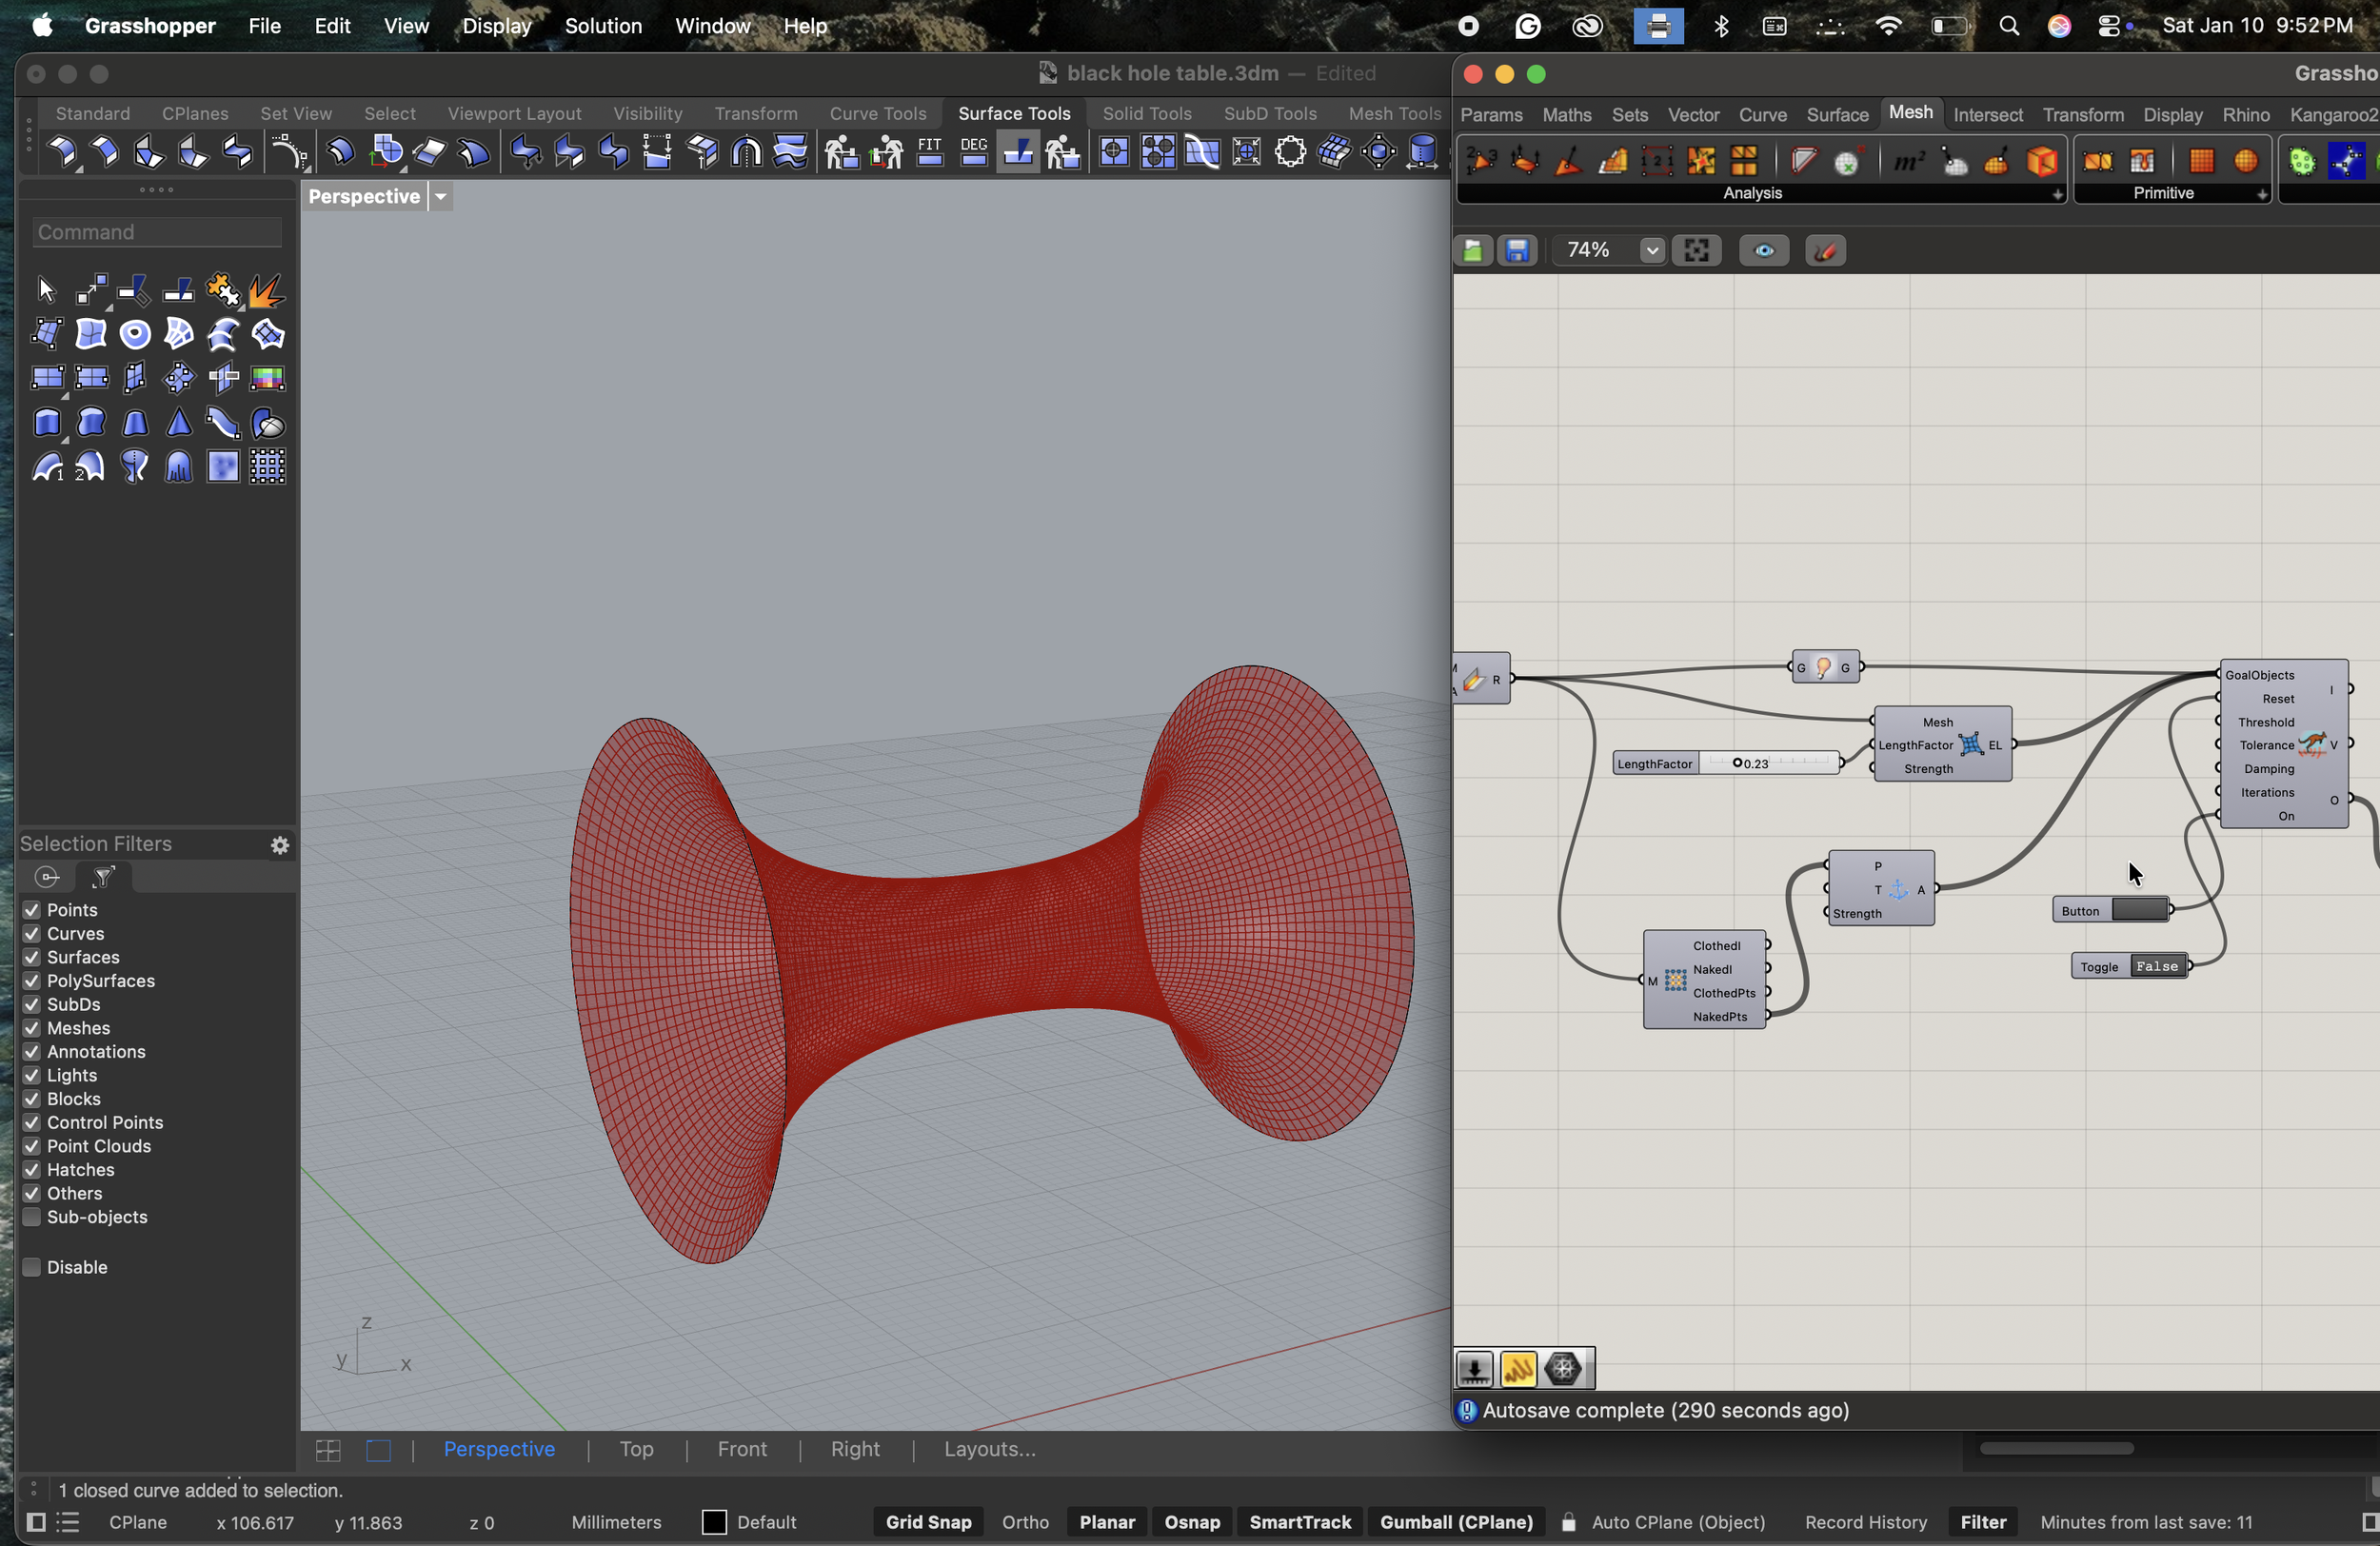
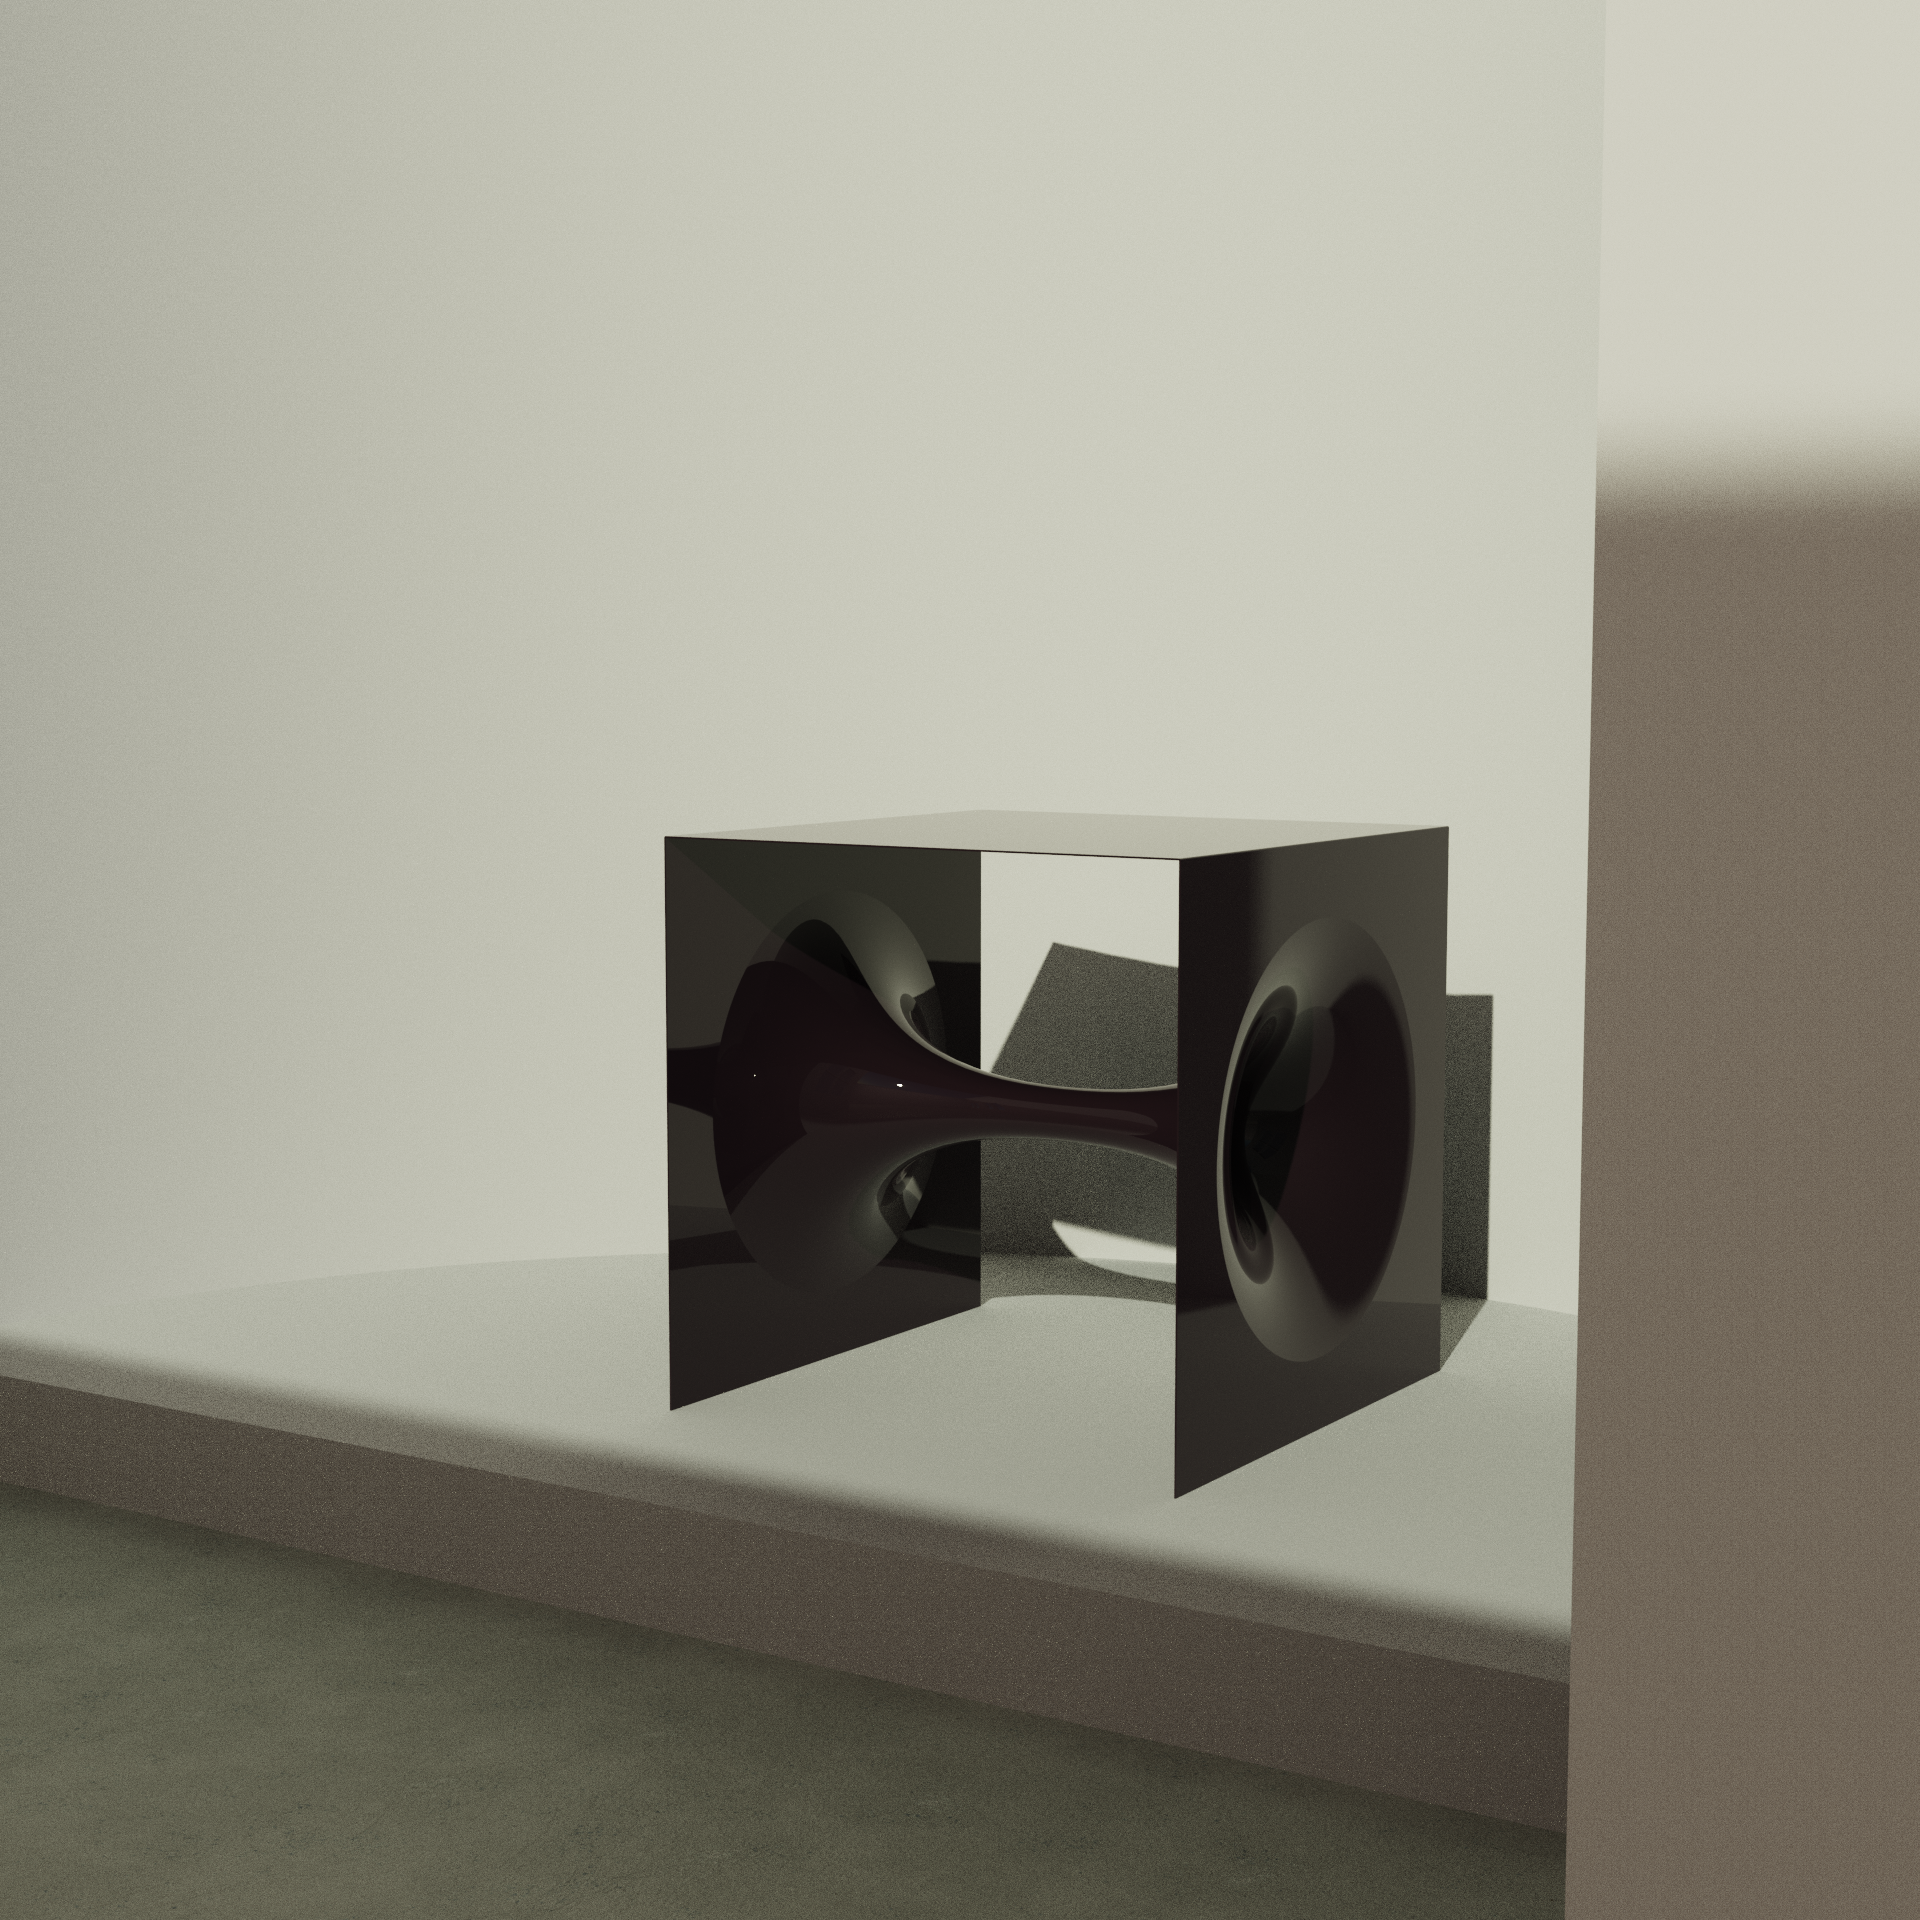
Day 05: Wormhole table concept
Parametrically modeled in Rhino Grasshopper, using the Kangaroo plugin for the minimal surface simulation.
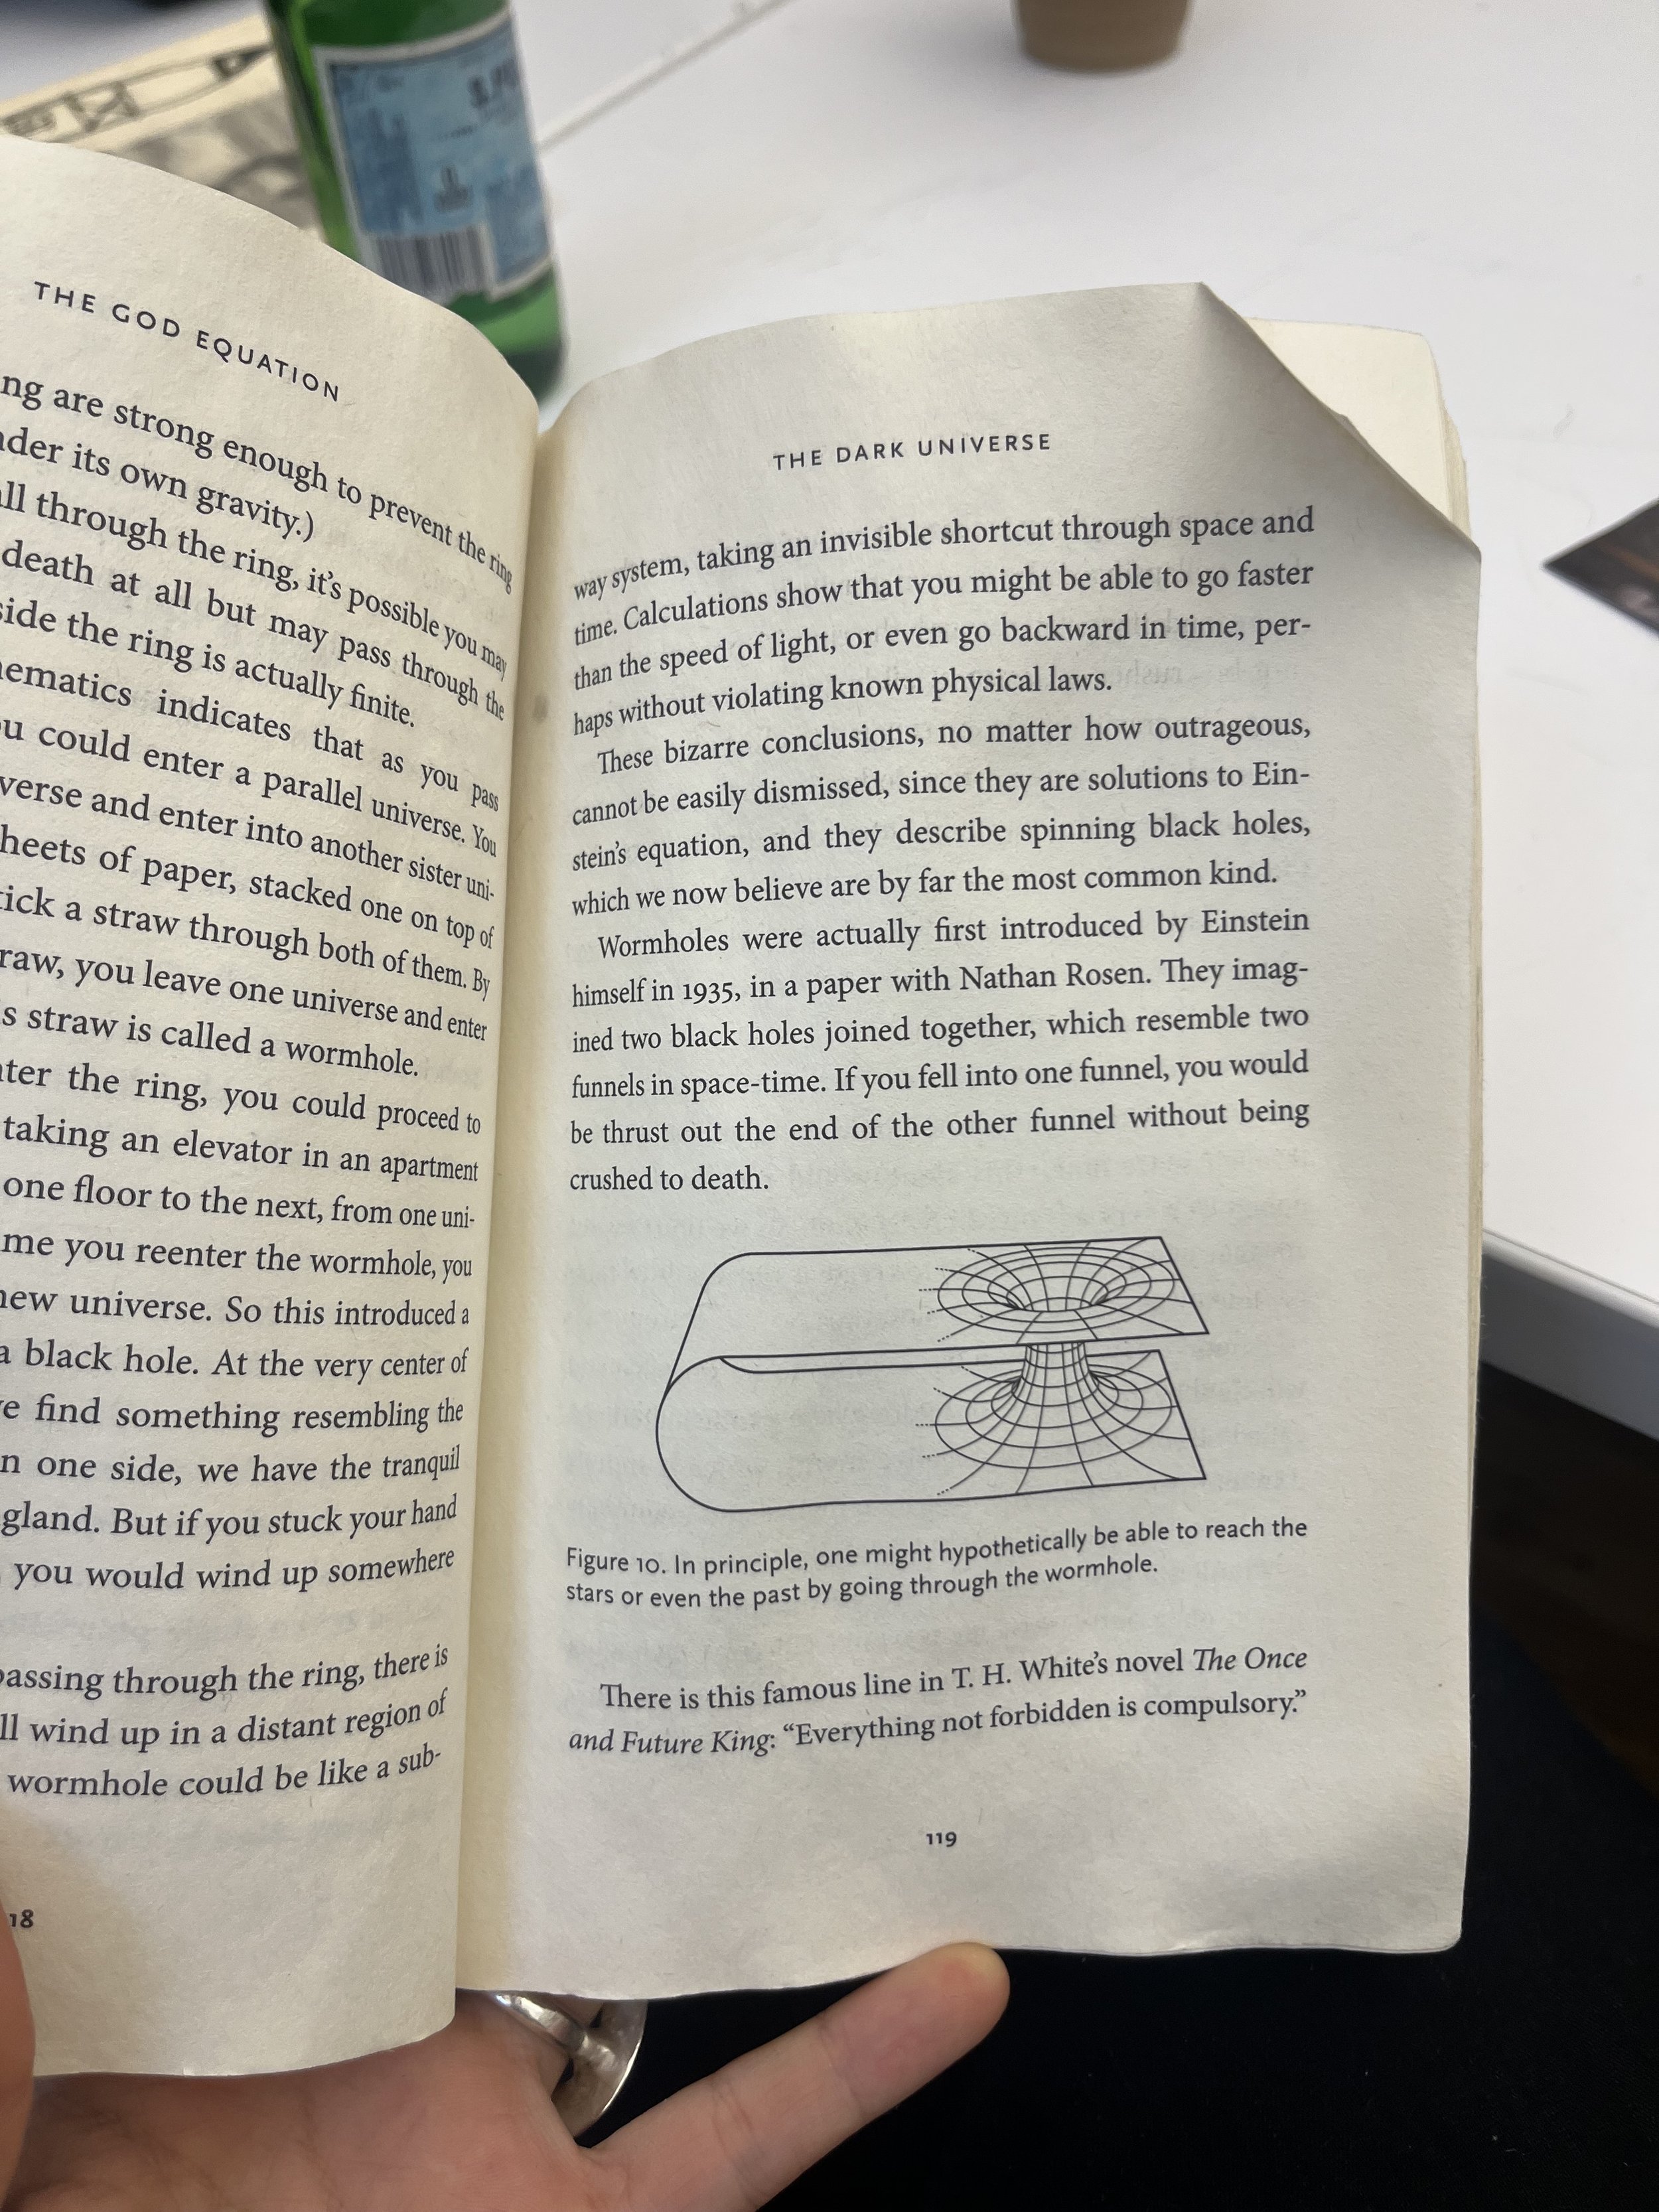
Sometimes when I talk about Grasshopper and all of the plugins I play with it sounds like I’m talking about a zoo. This form was inspired first by an illustration in Michio Kaku’s “The God Equation”, but I was called to action by the Stranger Things season 5 finale, where the upside-down is revealed to be be a wormhole . Wormholes aren’t just theoretically fascinating- the theorized form is also a stunning visual of minimal surface geometry. I am unhappy with the clearly visible mesh topography. The hundreds of tiny mesh faces are ridiculously intensive to simulate, and result in a patchy visual. I will remedy this in the future and create a smooth, uninterrupted surface, which will also be computationally easier to offset.
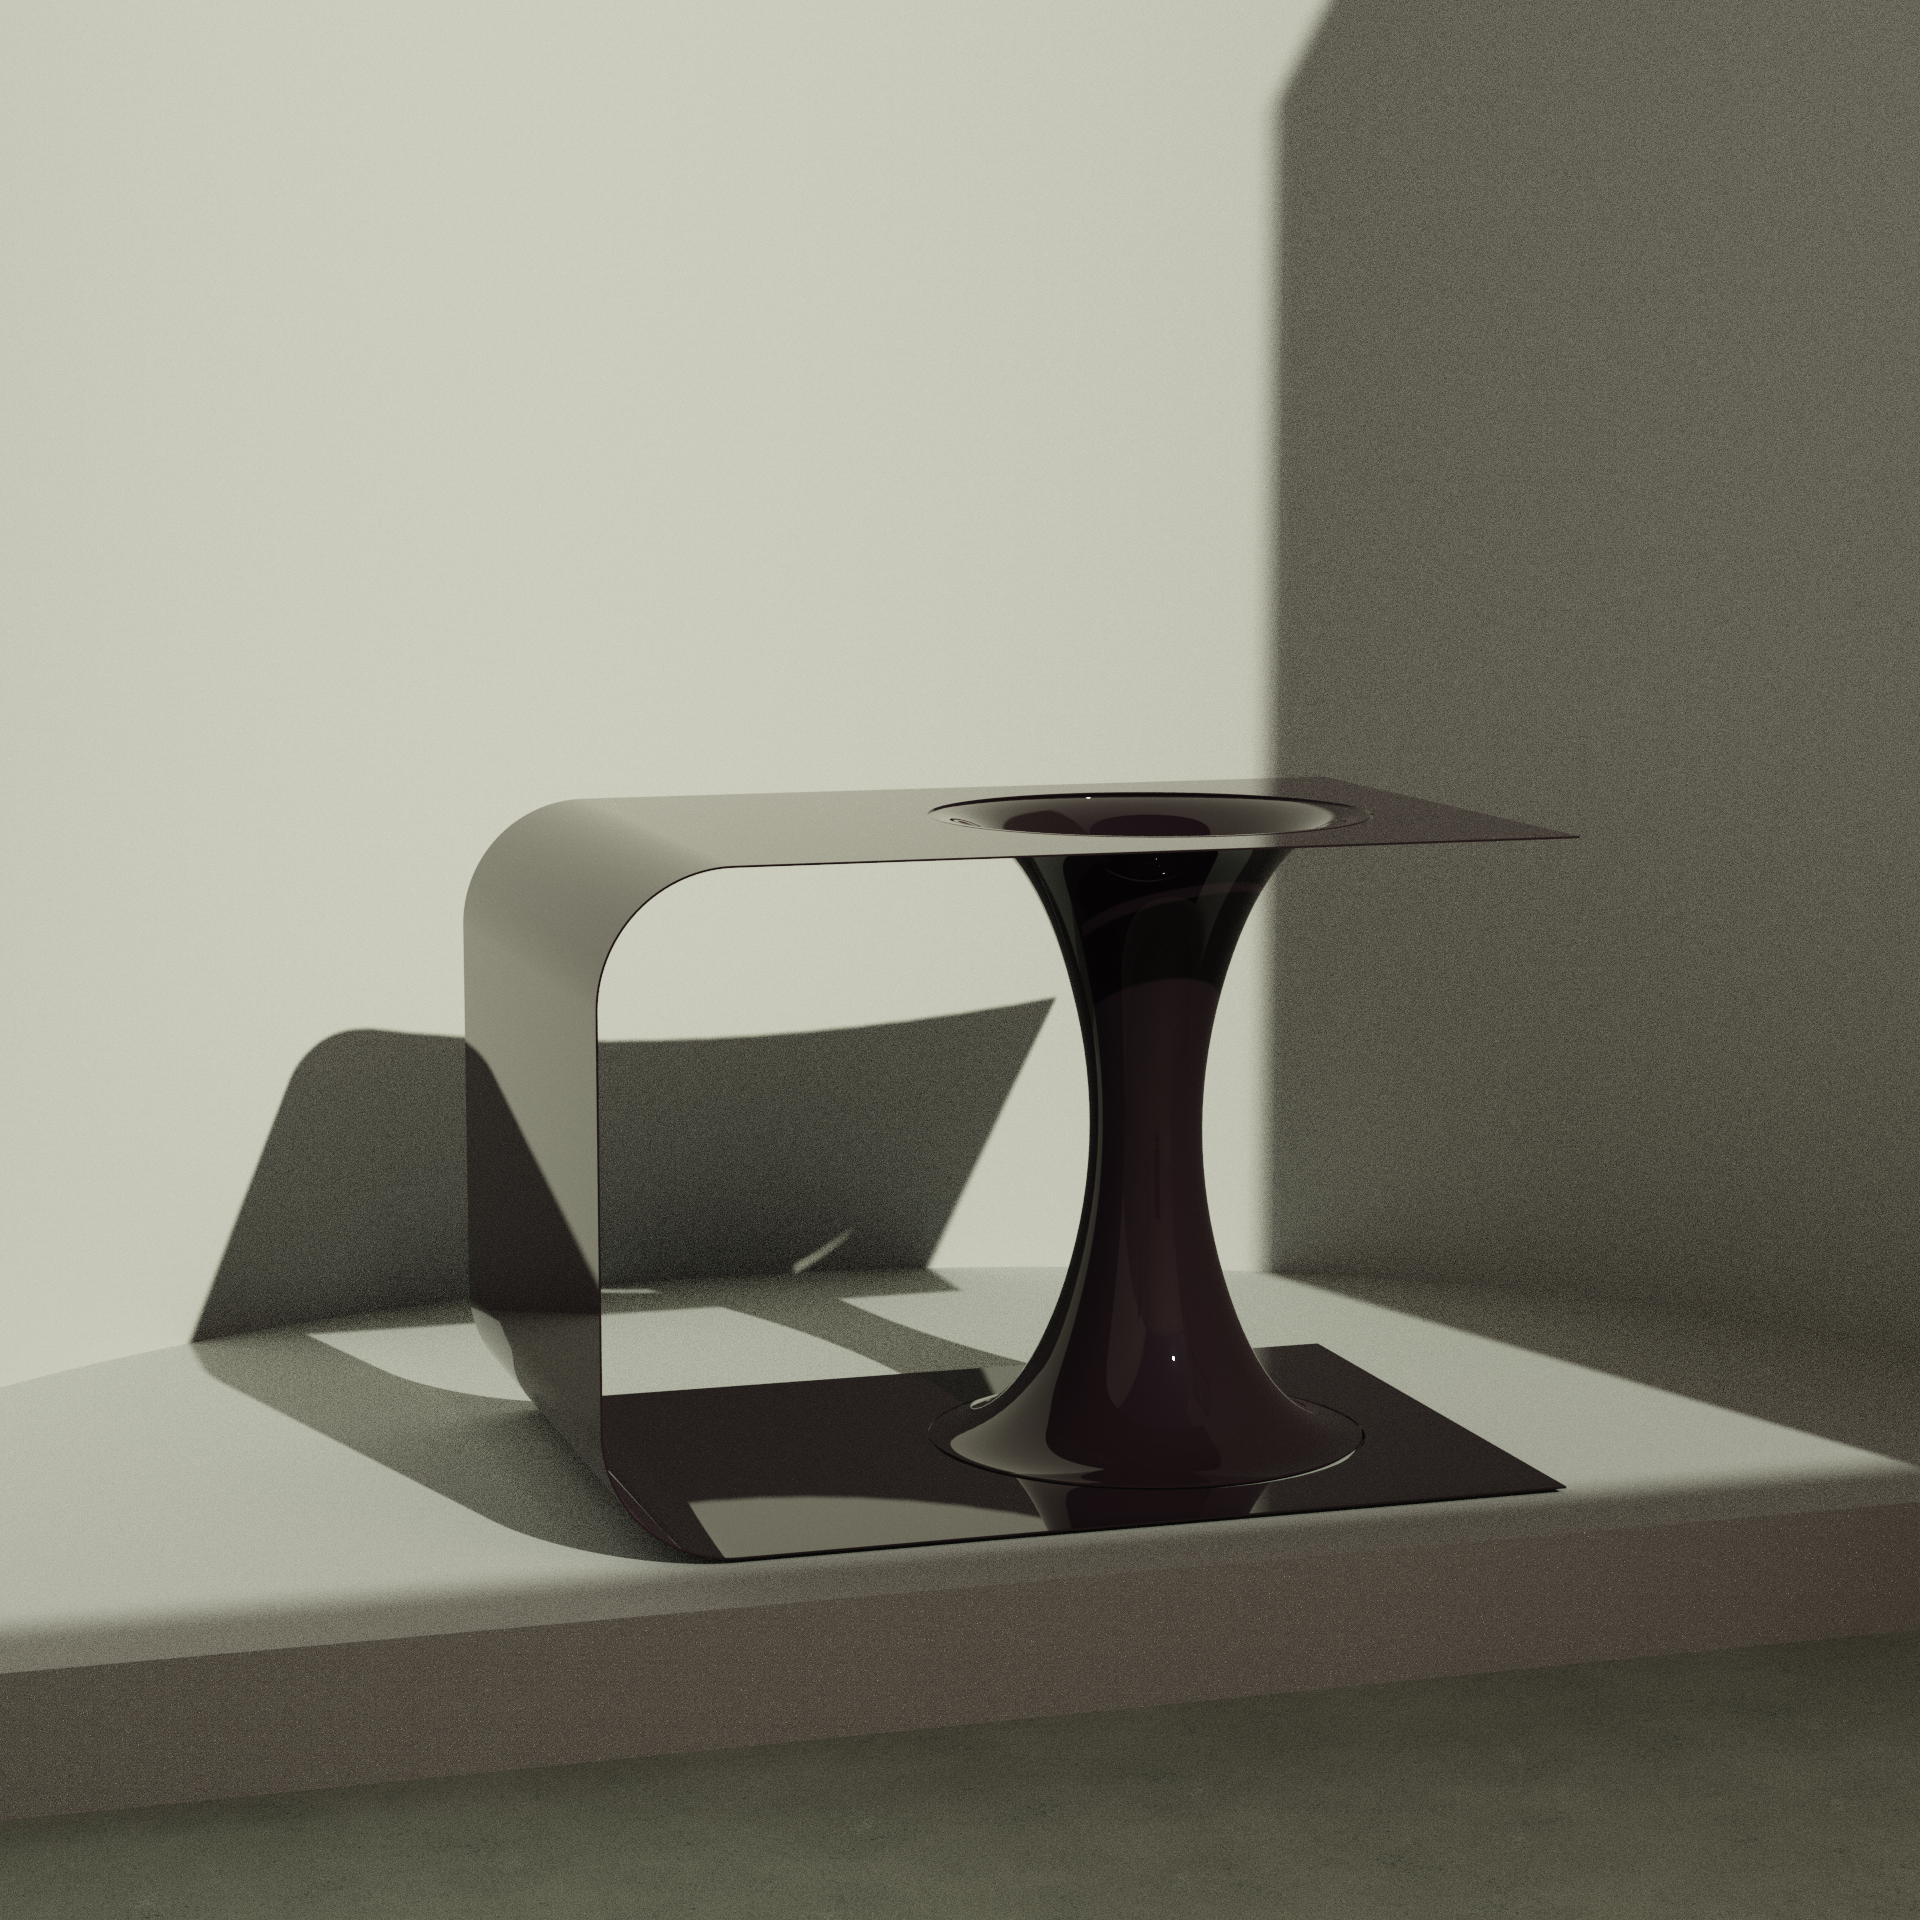
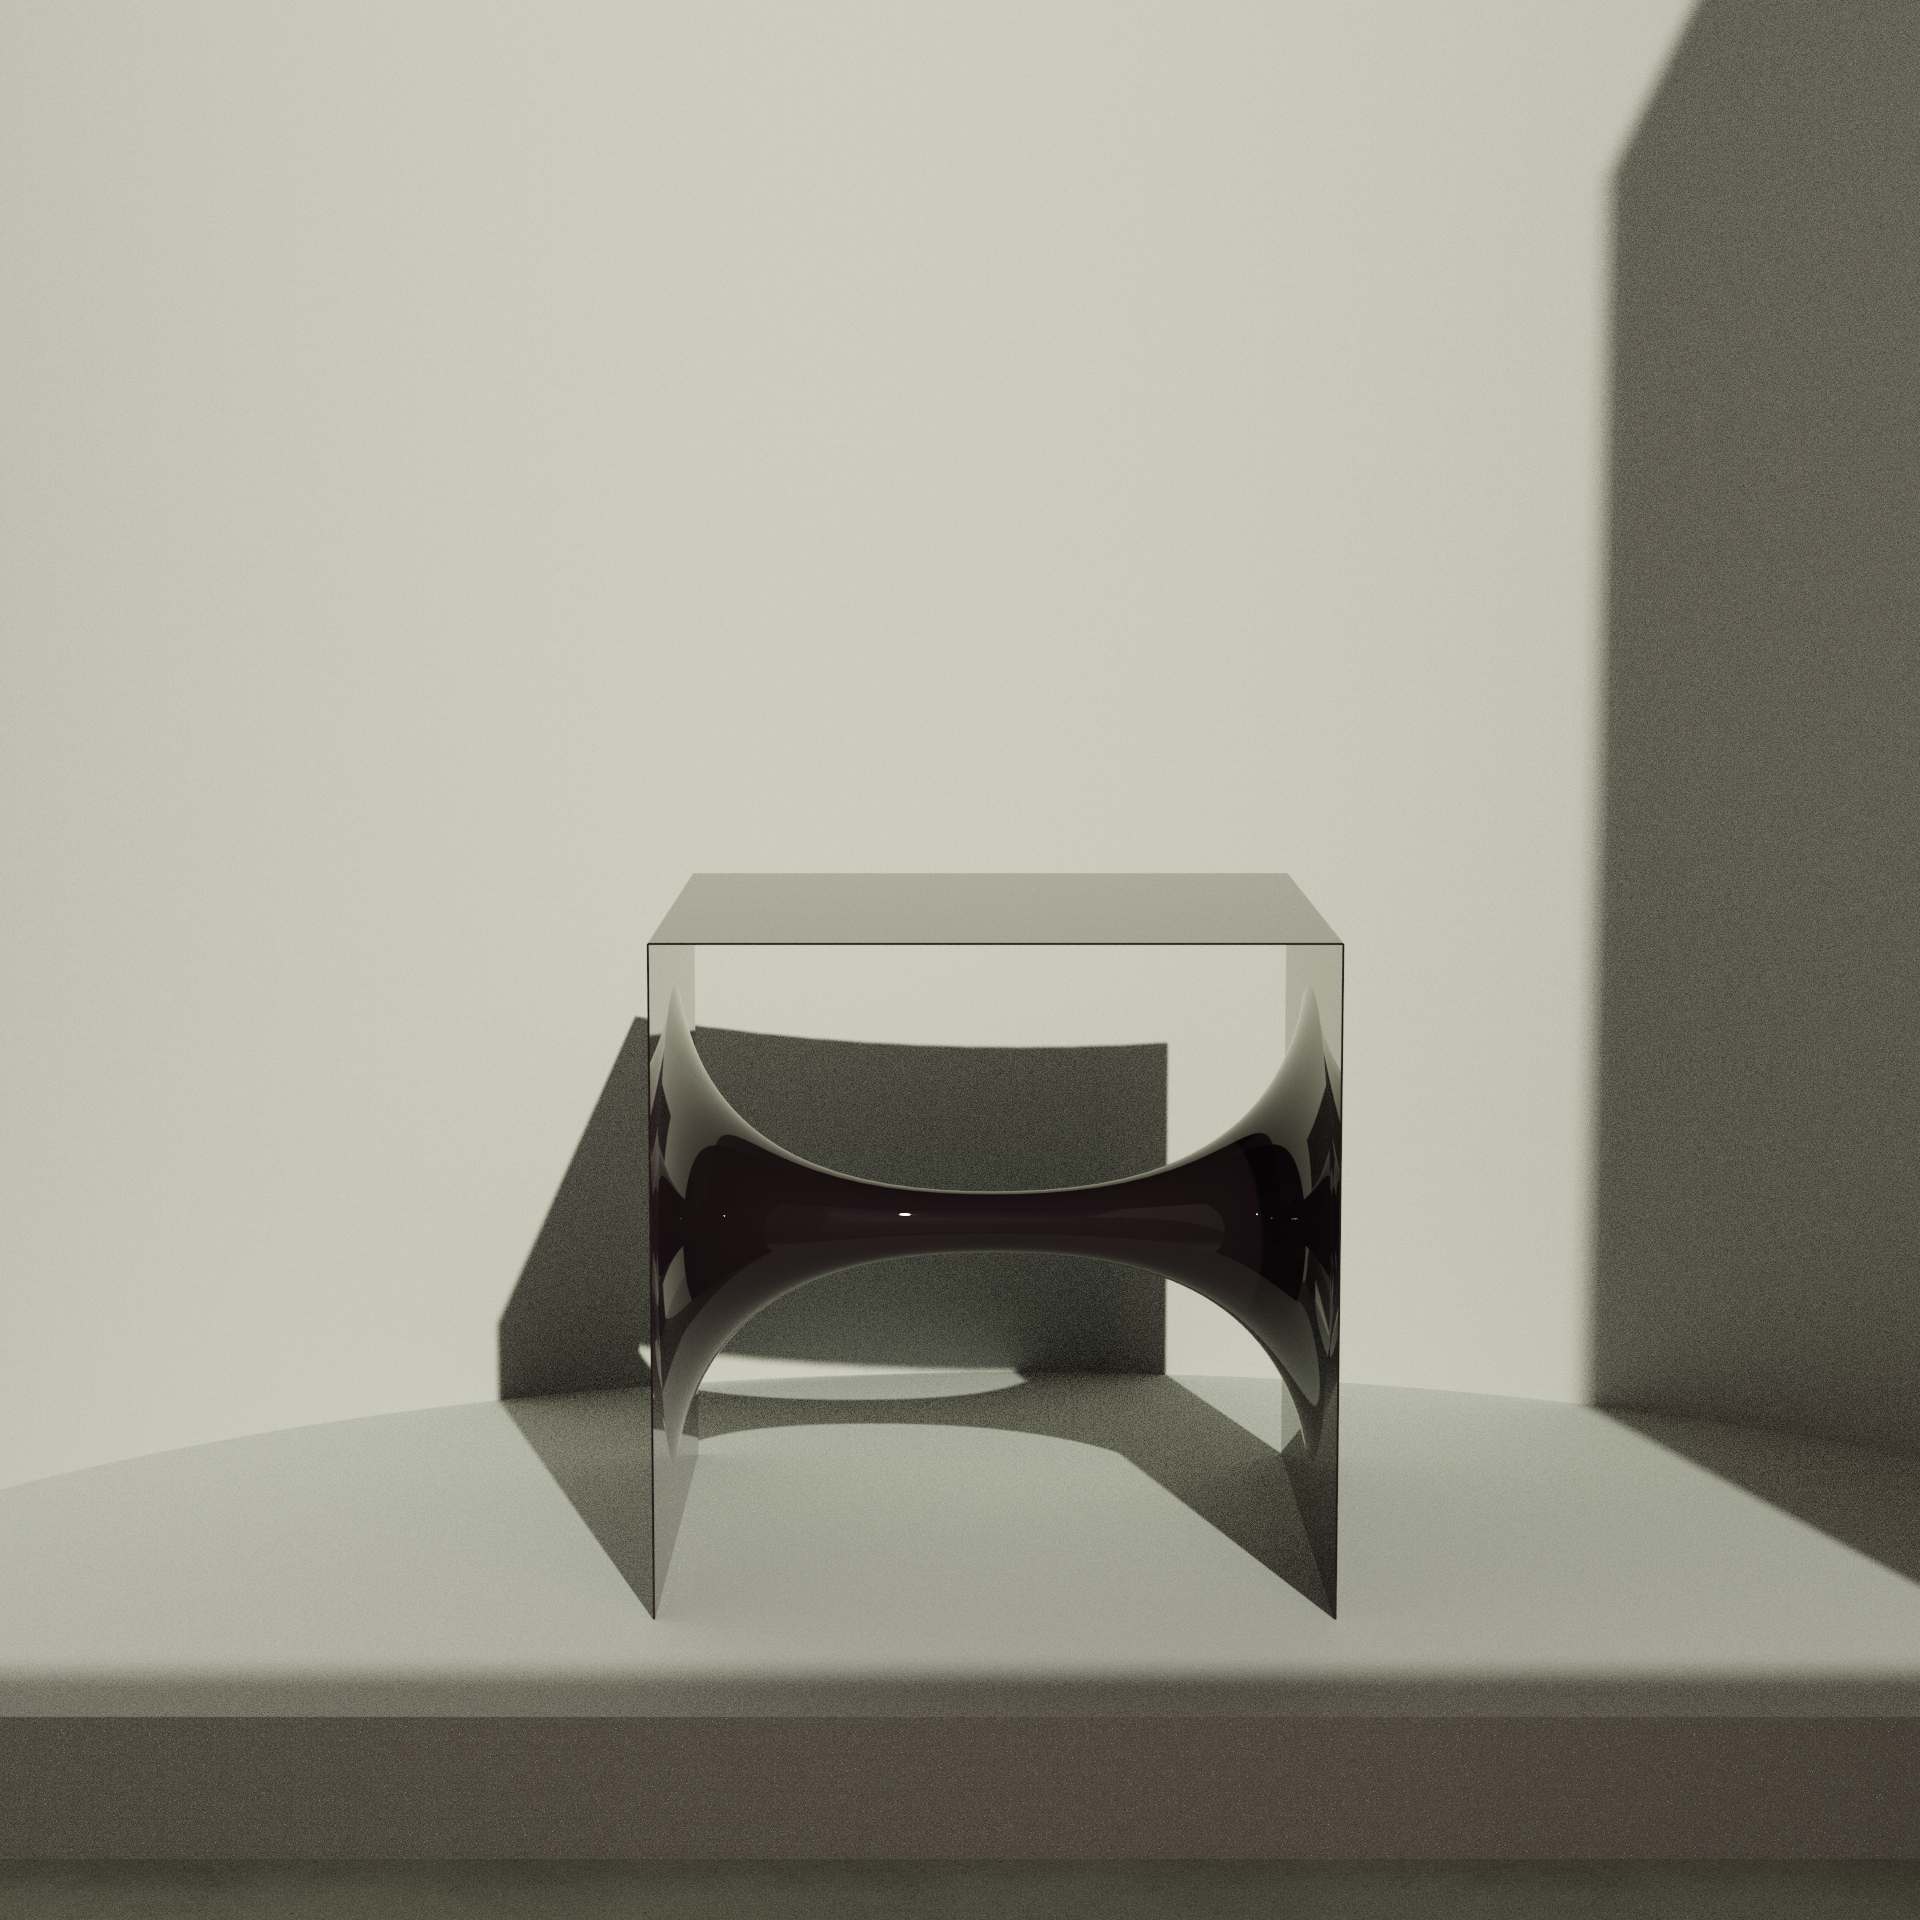
Day 06: Continued iteration of wormhole table concept
Unlike yesterday’s geometry, today’s version uses a NURBS surface rather than a mesh. This made for easier control and was much lighter computationally. I created the form in the simplest way: a control point curve swept along two circles. I need to retrain myself, since I am somehow much more comfortable using Grasshopper than Rhino (I know, a bit backwards). Not everything needs a kangaroo physics simulation– sometimes the simplest solution will look the best. Grasshopper and Kangaroo are tools to supplement native Rhino components. I can just use a mesh topology to run the physics simulation and use that as a guideline for a NURBS version.
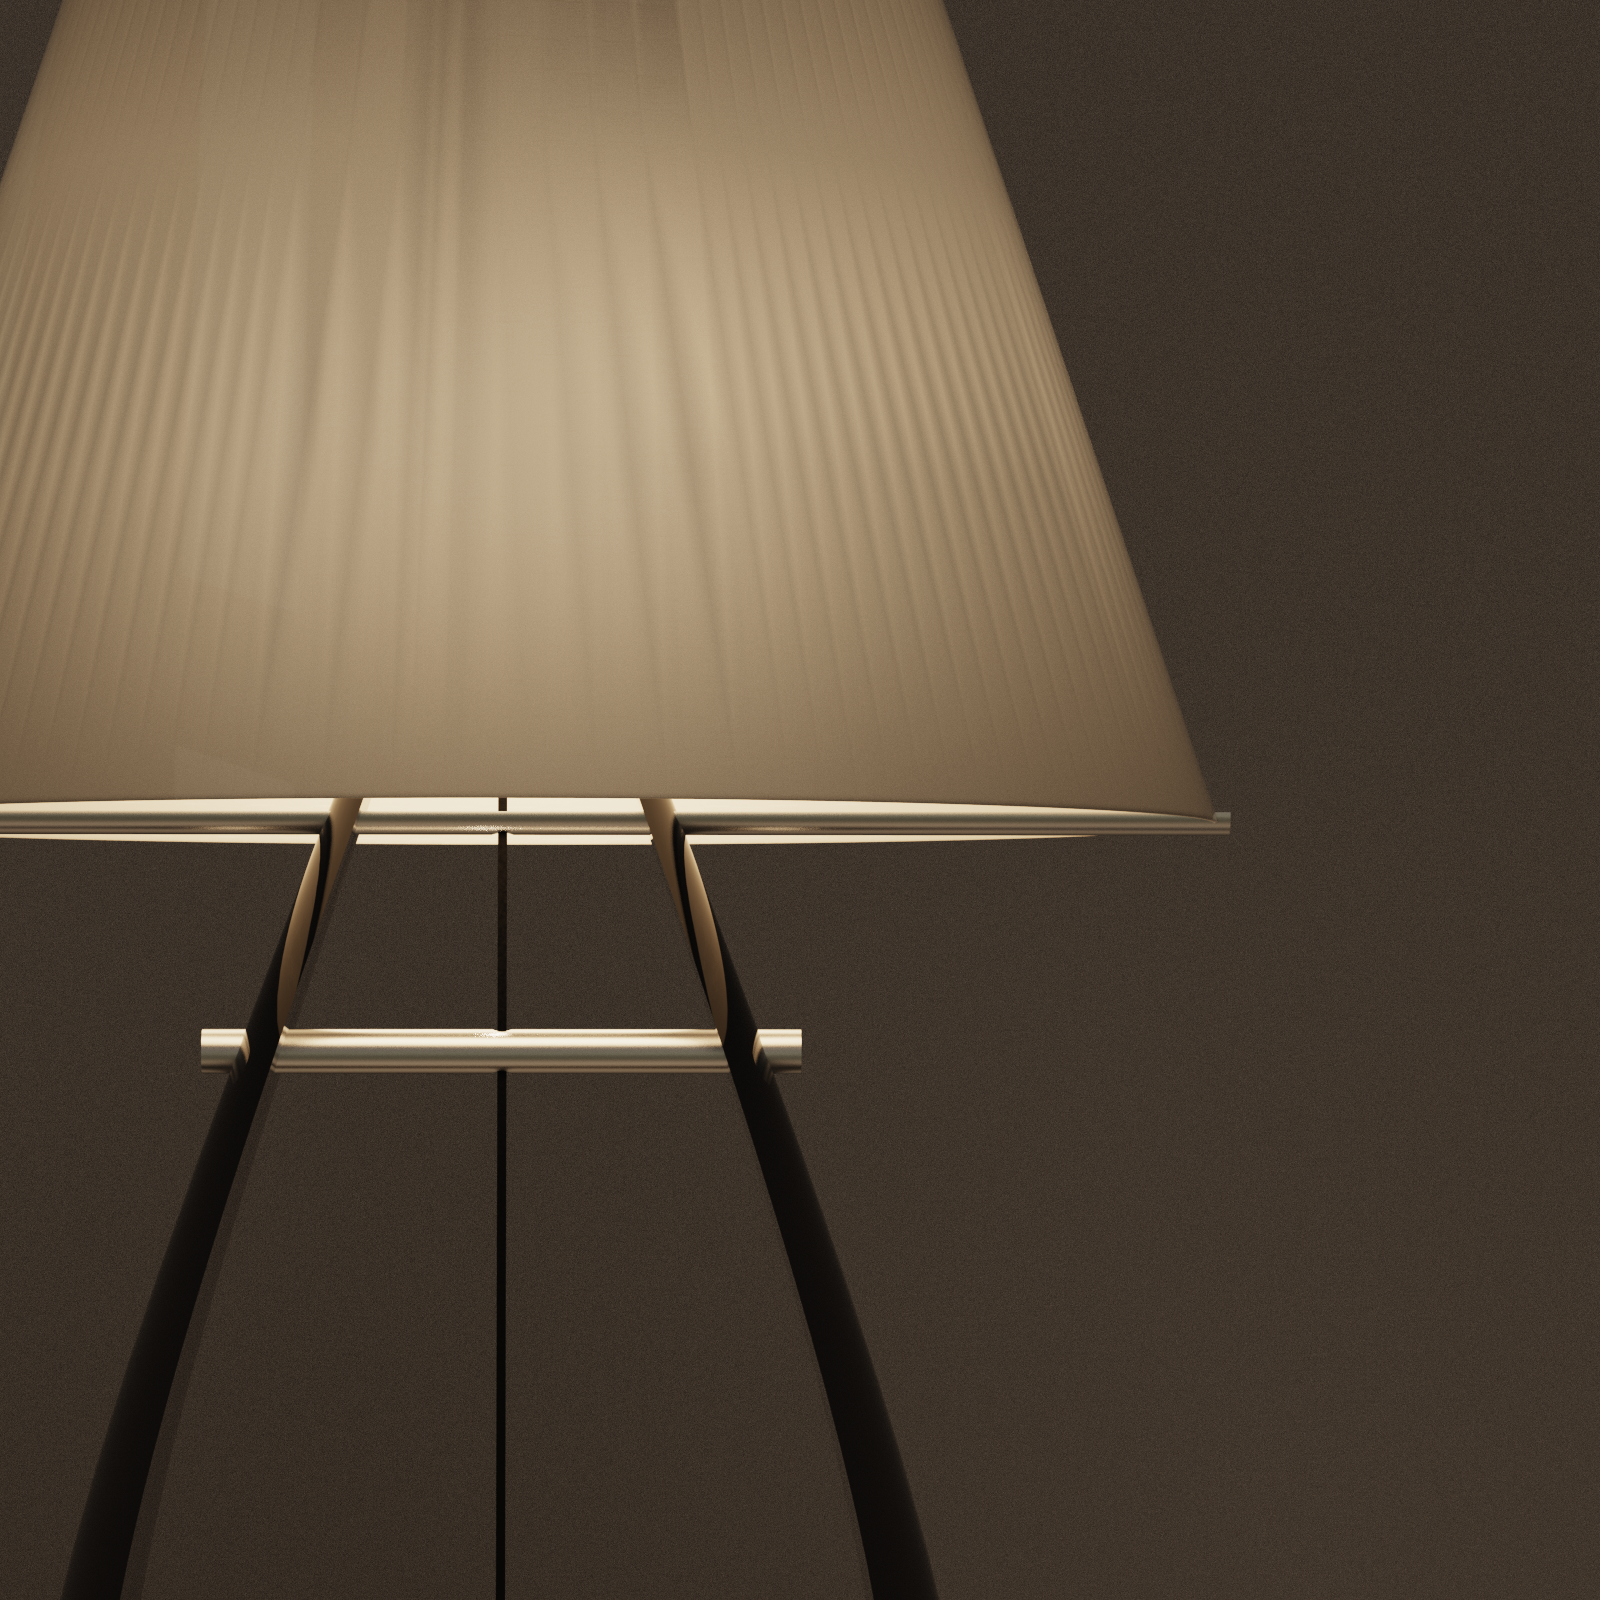
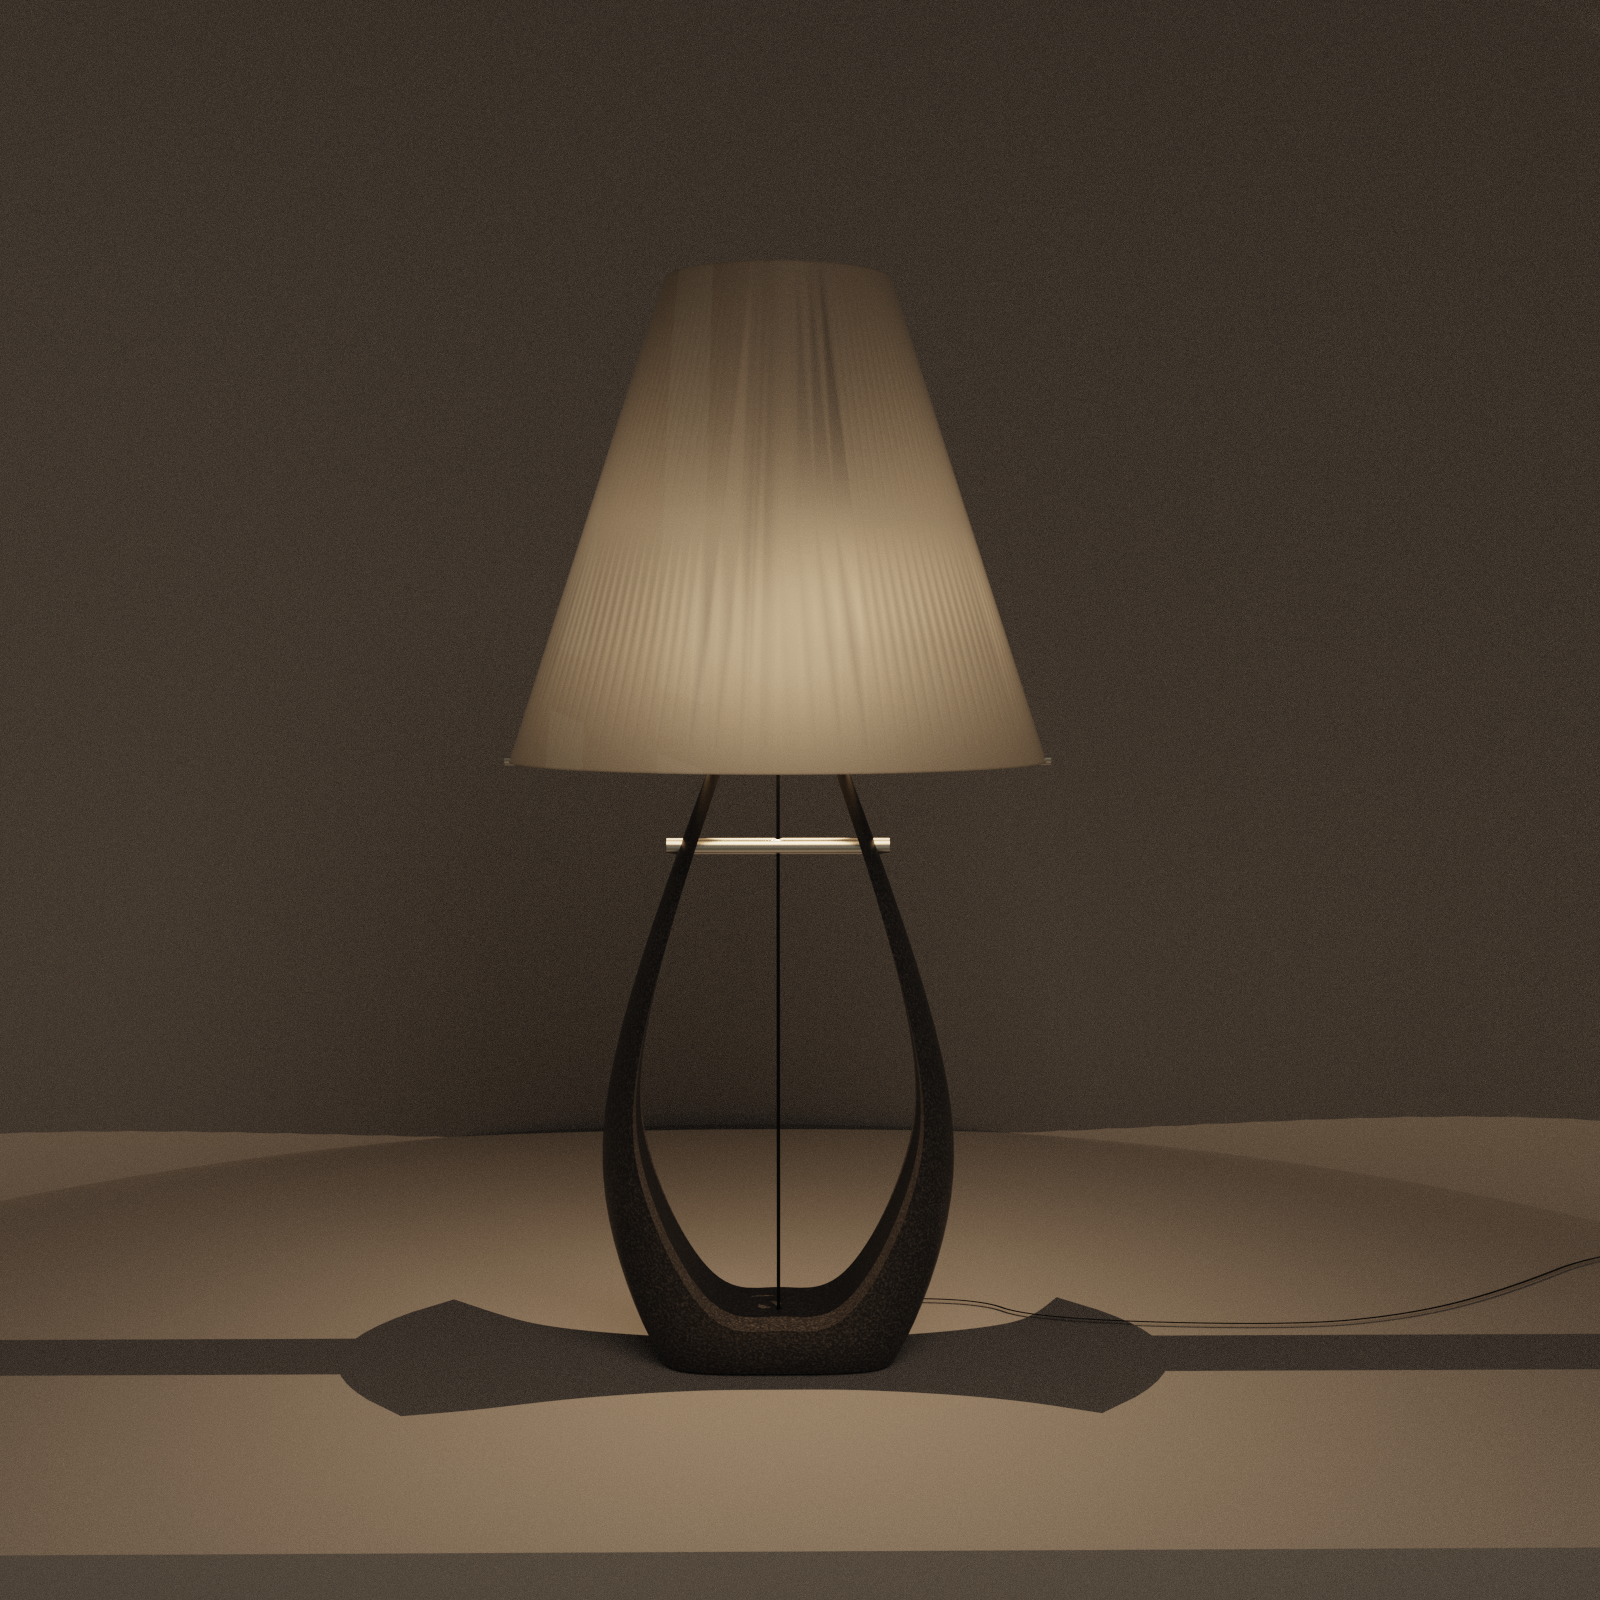
Day 07: Continuation of lamp form from day 04.
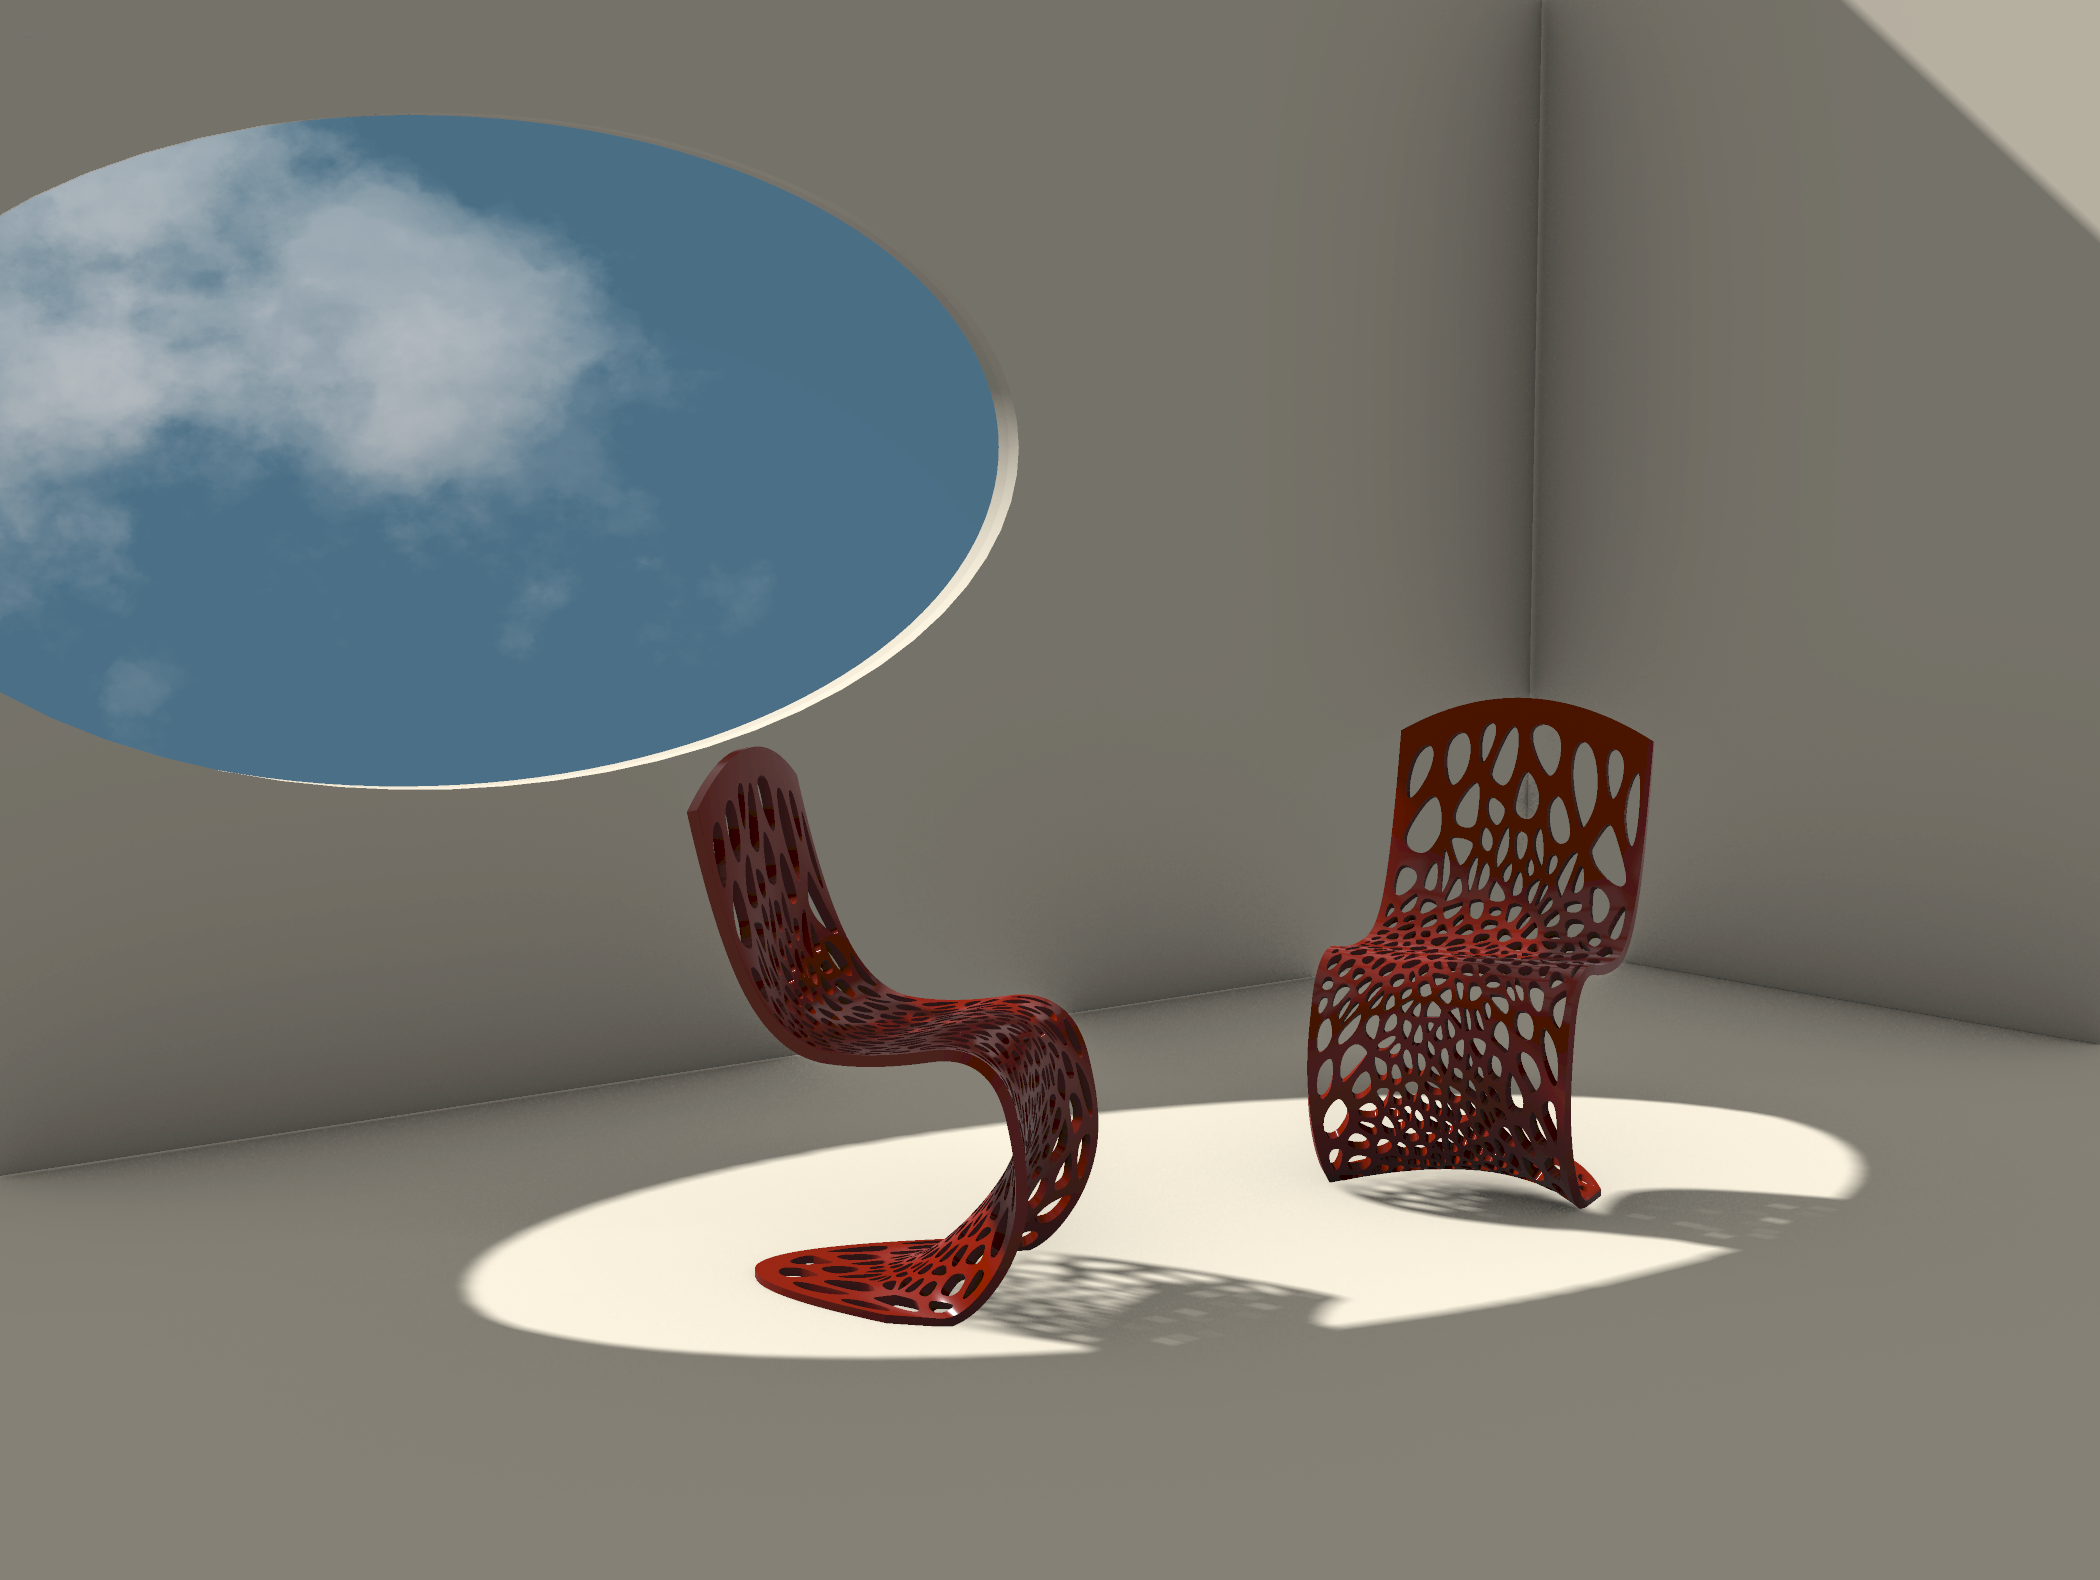

Day 08: Voronoi cell chair.
Modeled and rendered in Rhino… no KeyShot fun today because I was on a plane while modeling. The Voronoi cells were generated with Grasshopper, using attractors to achieve varying cell densities for a more comfortable seat.
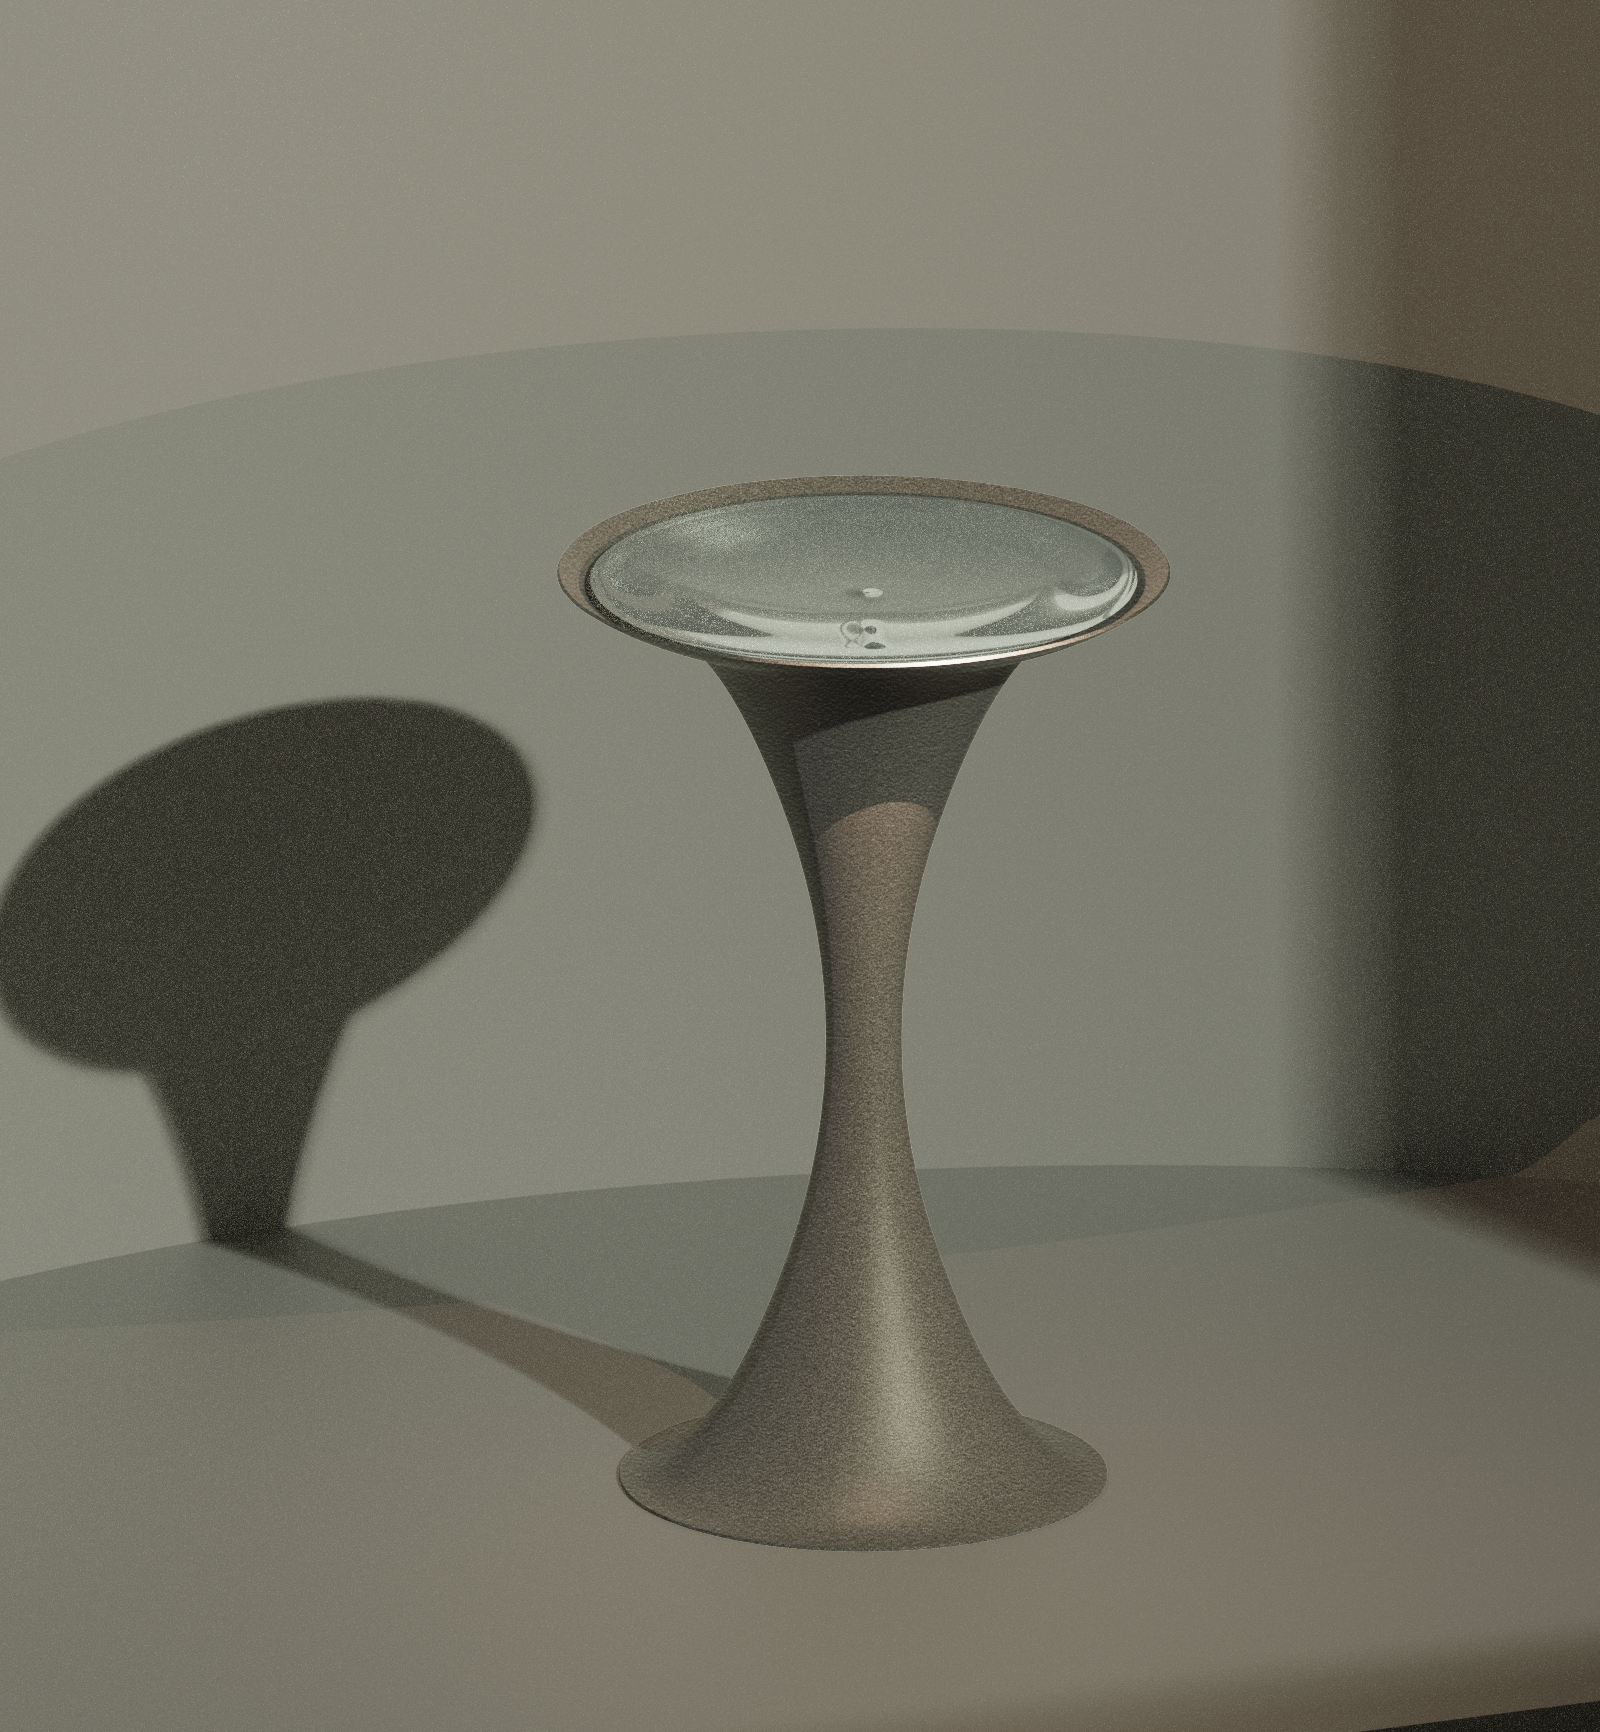
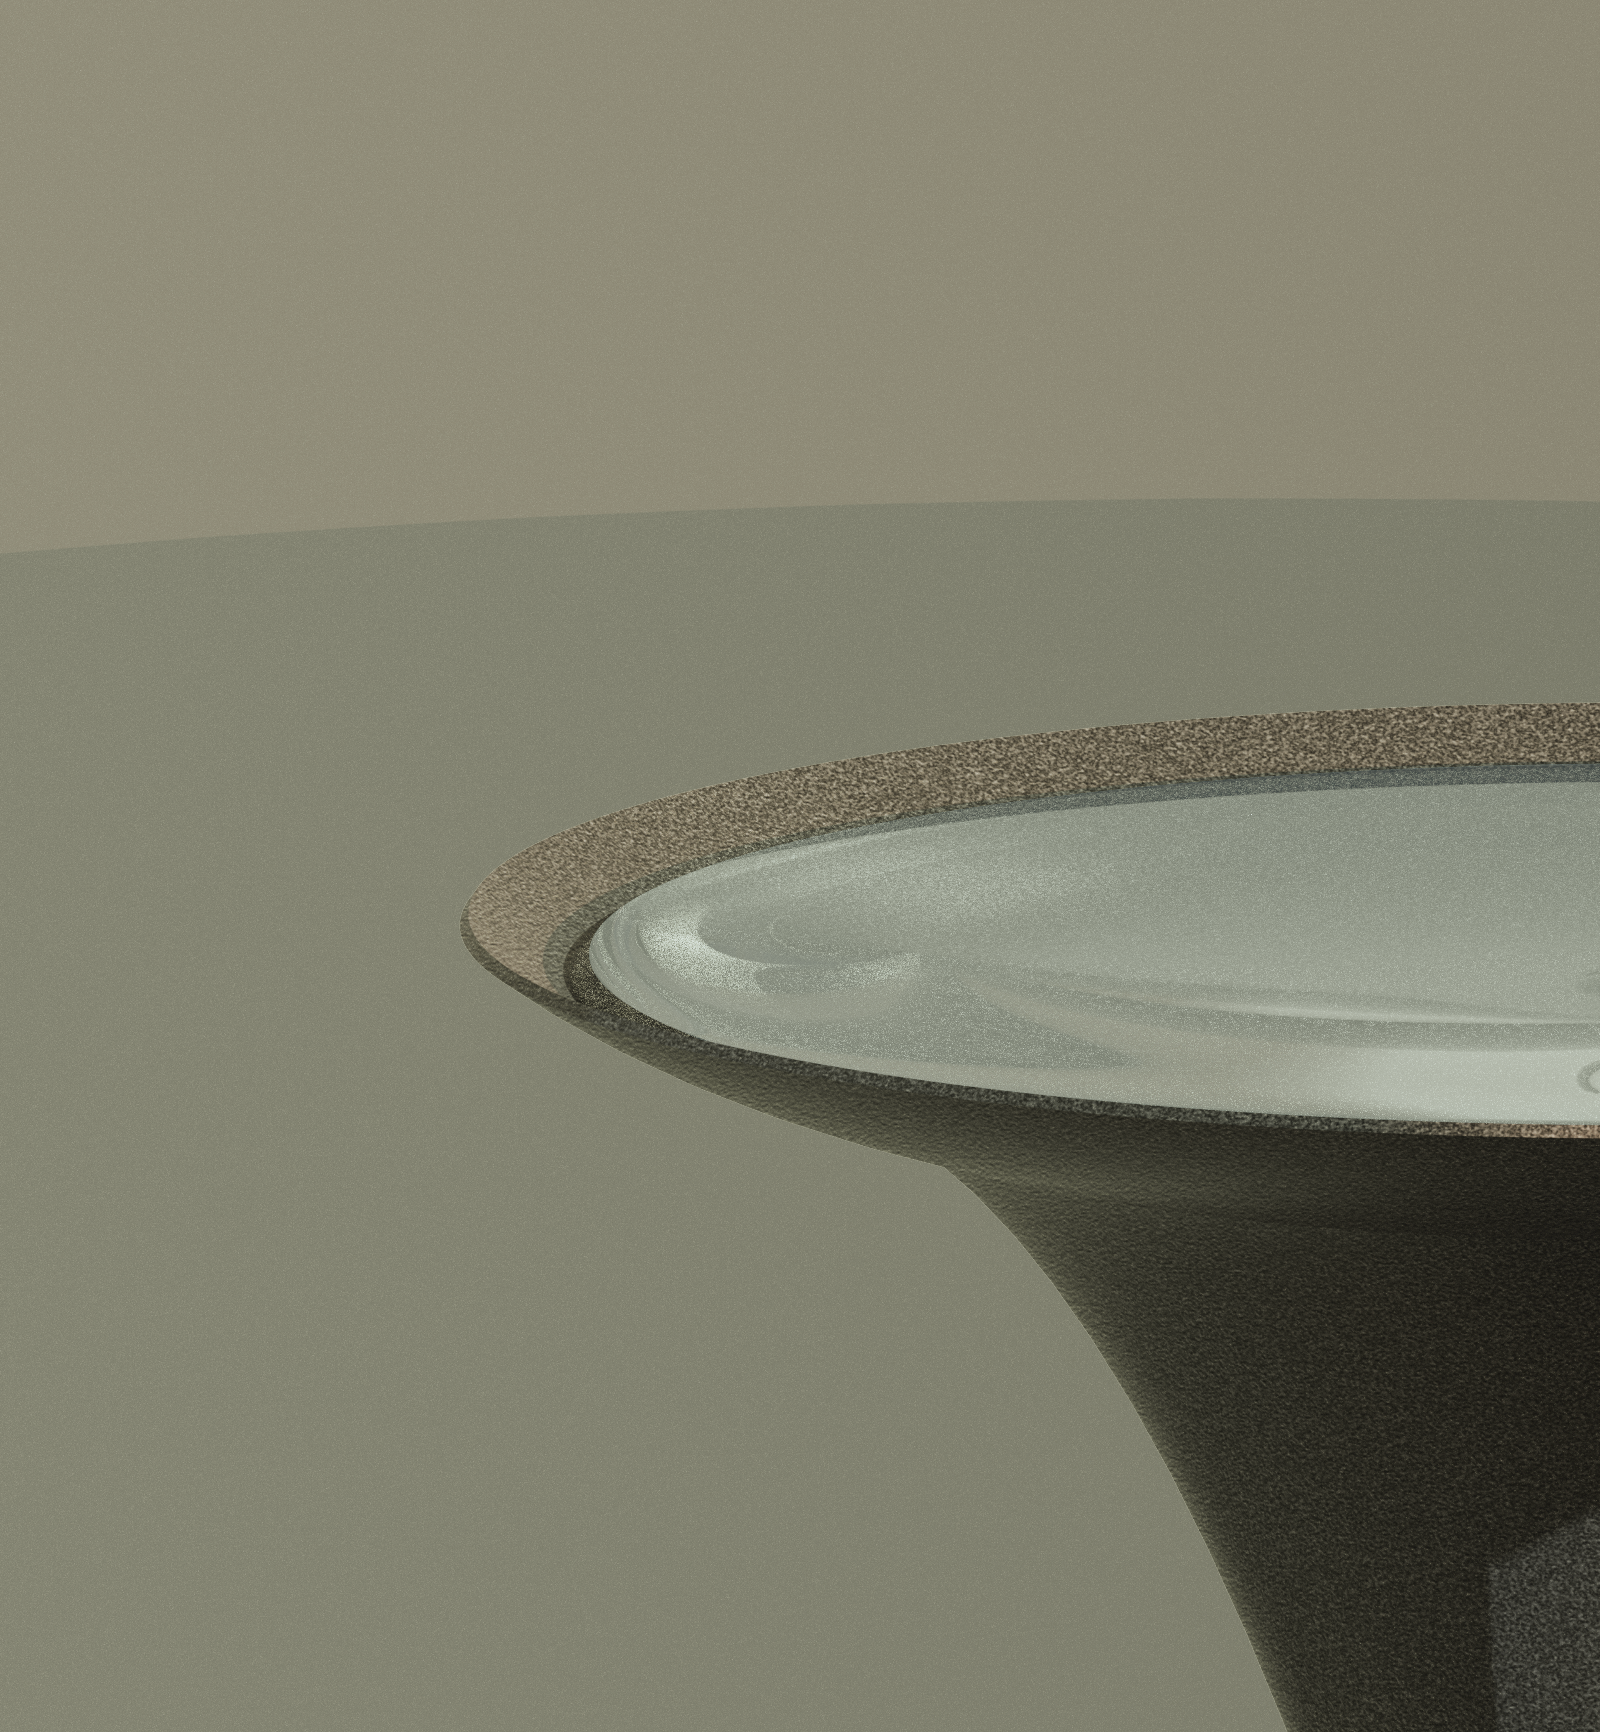
Day 09: Wormhole birdbath
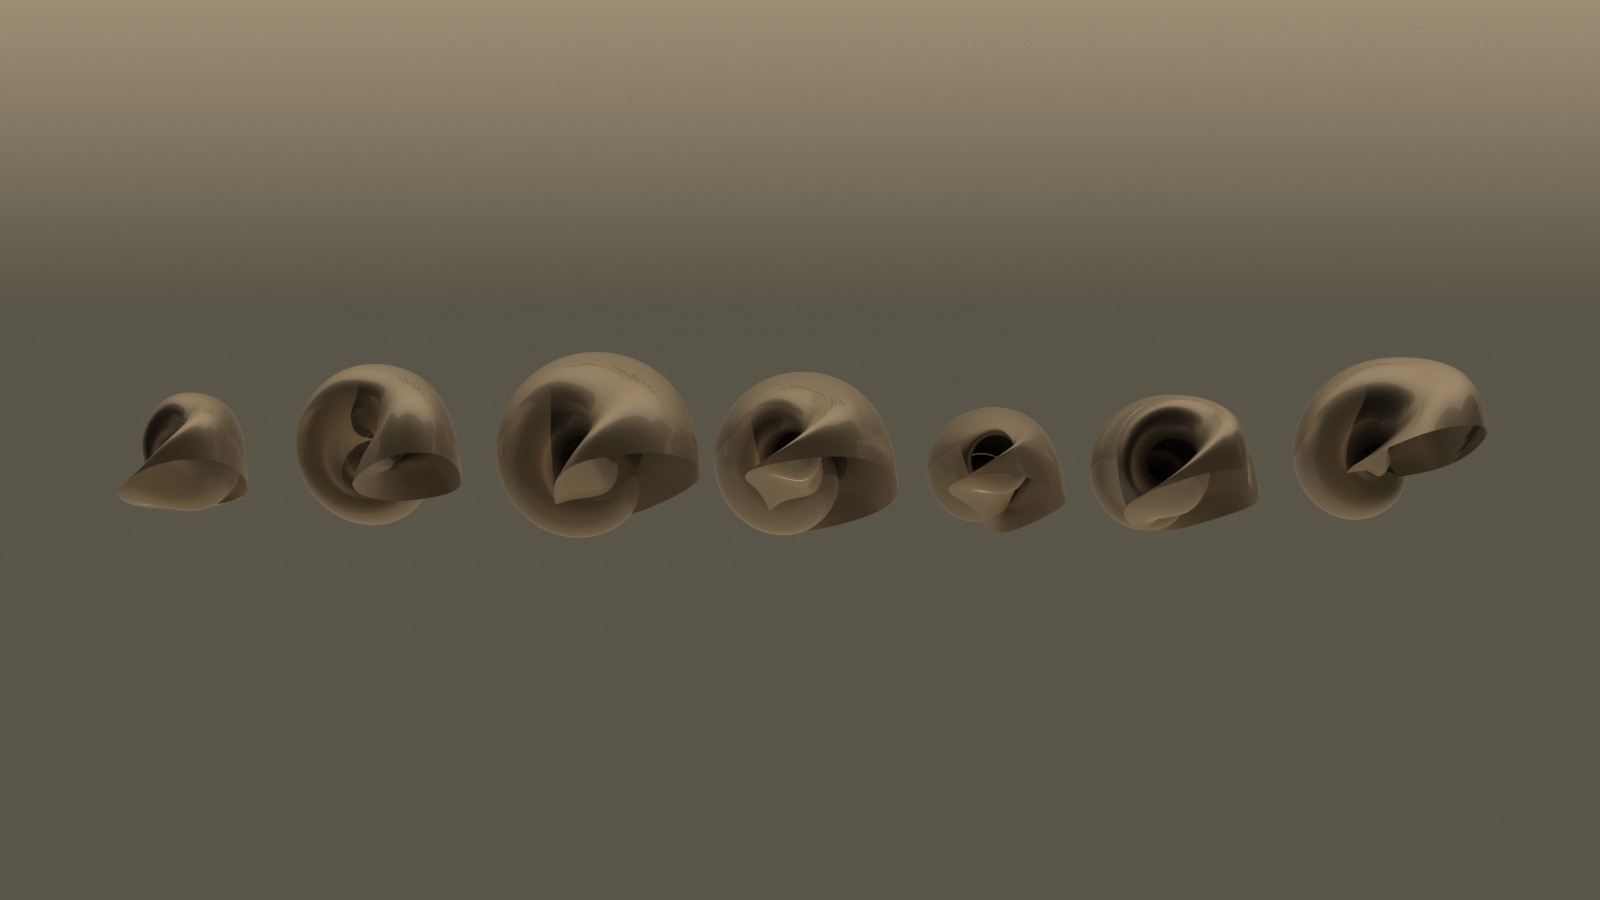

Day 10: Parametrically modeled seashells
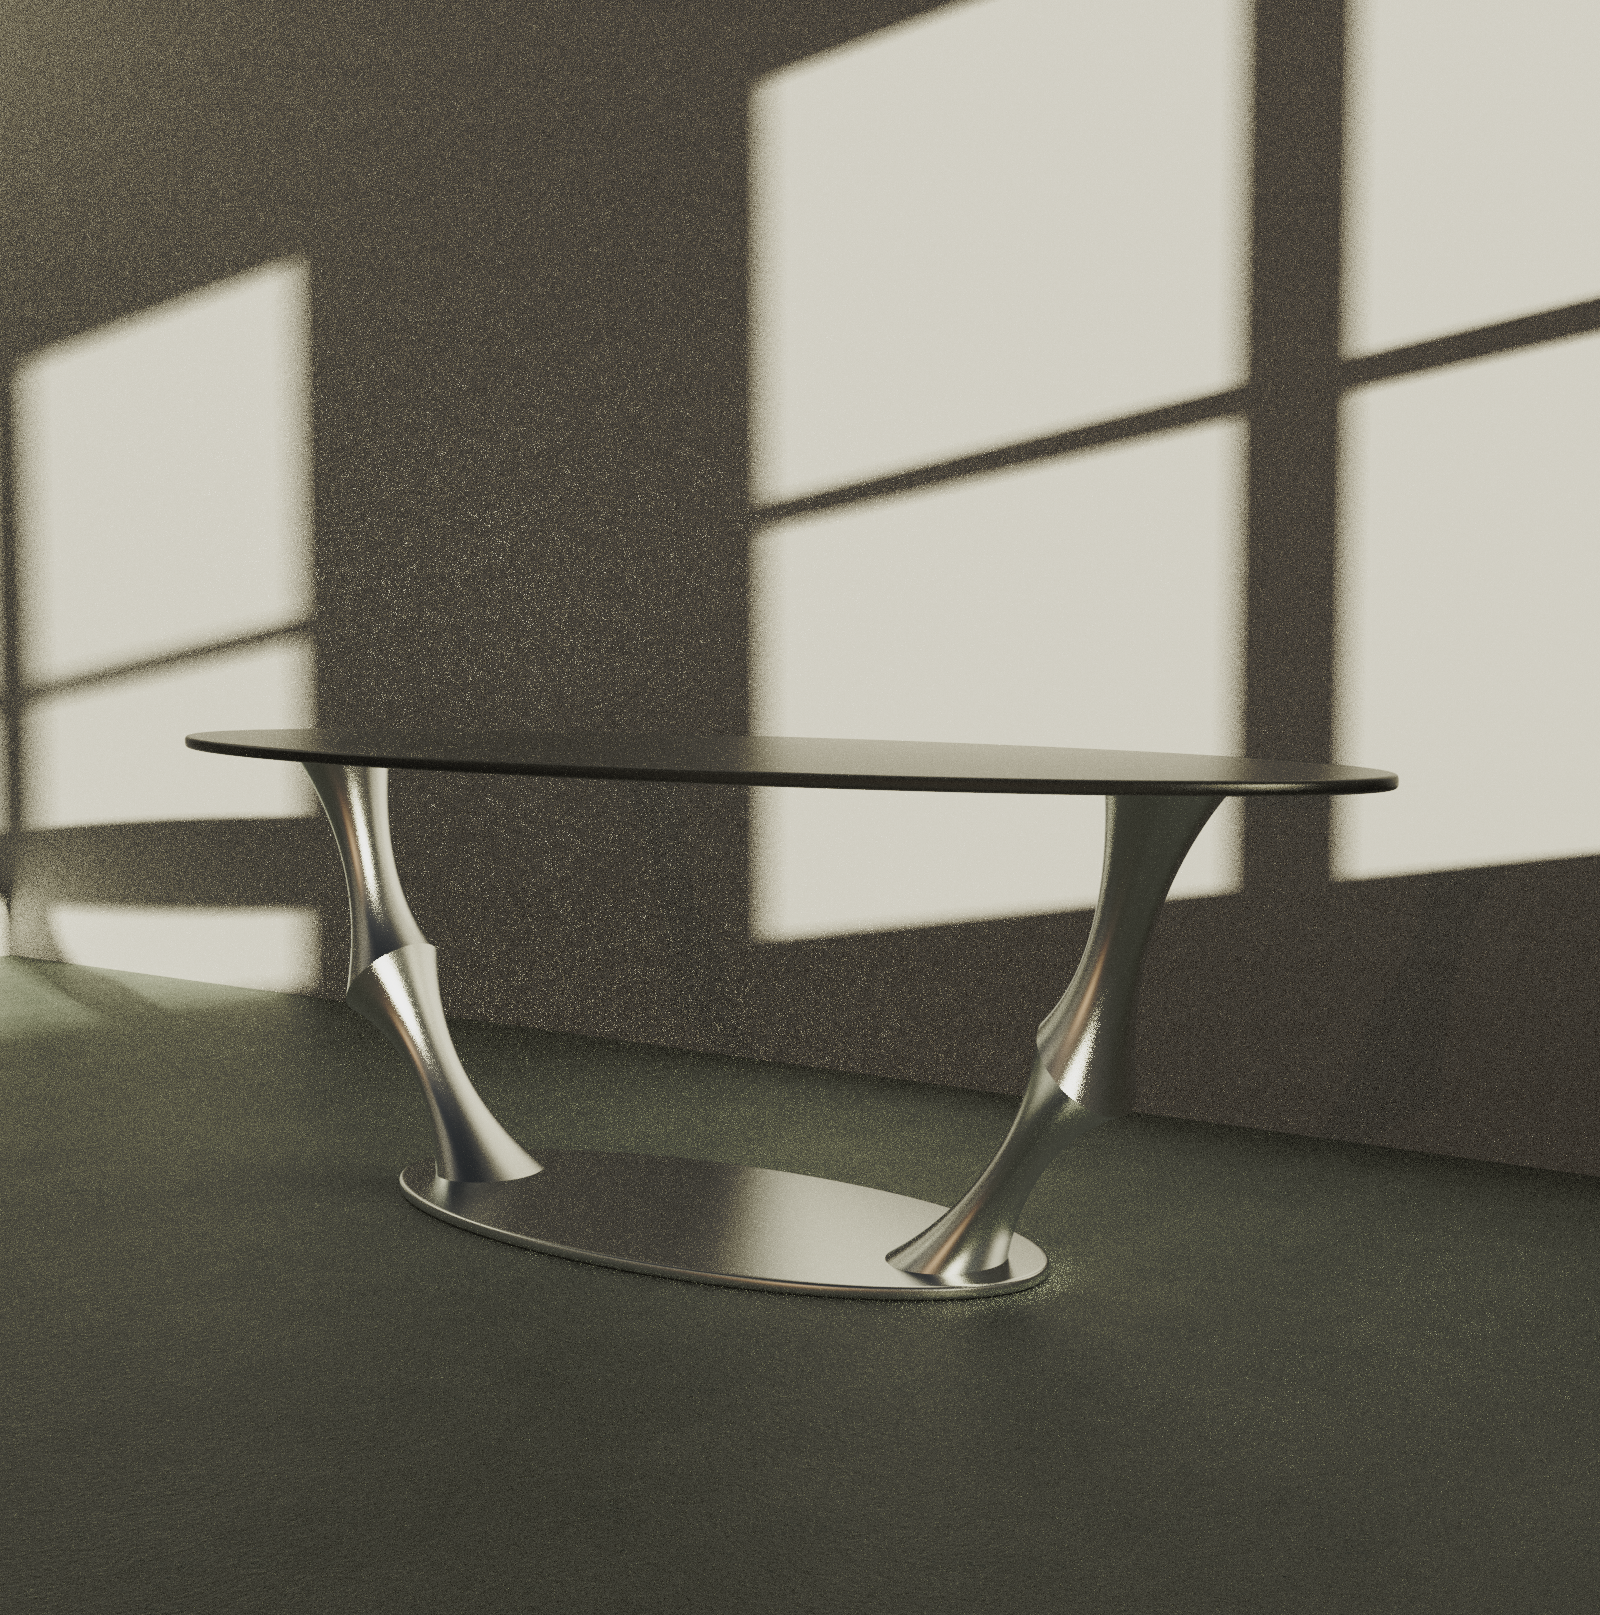
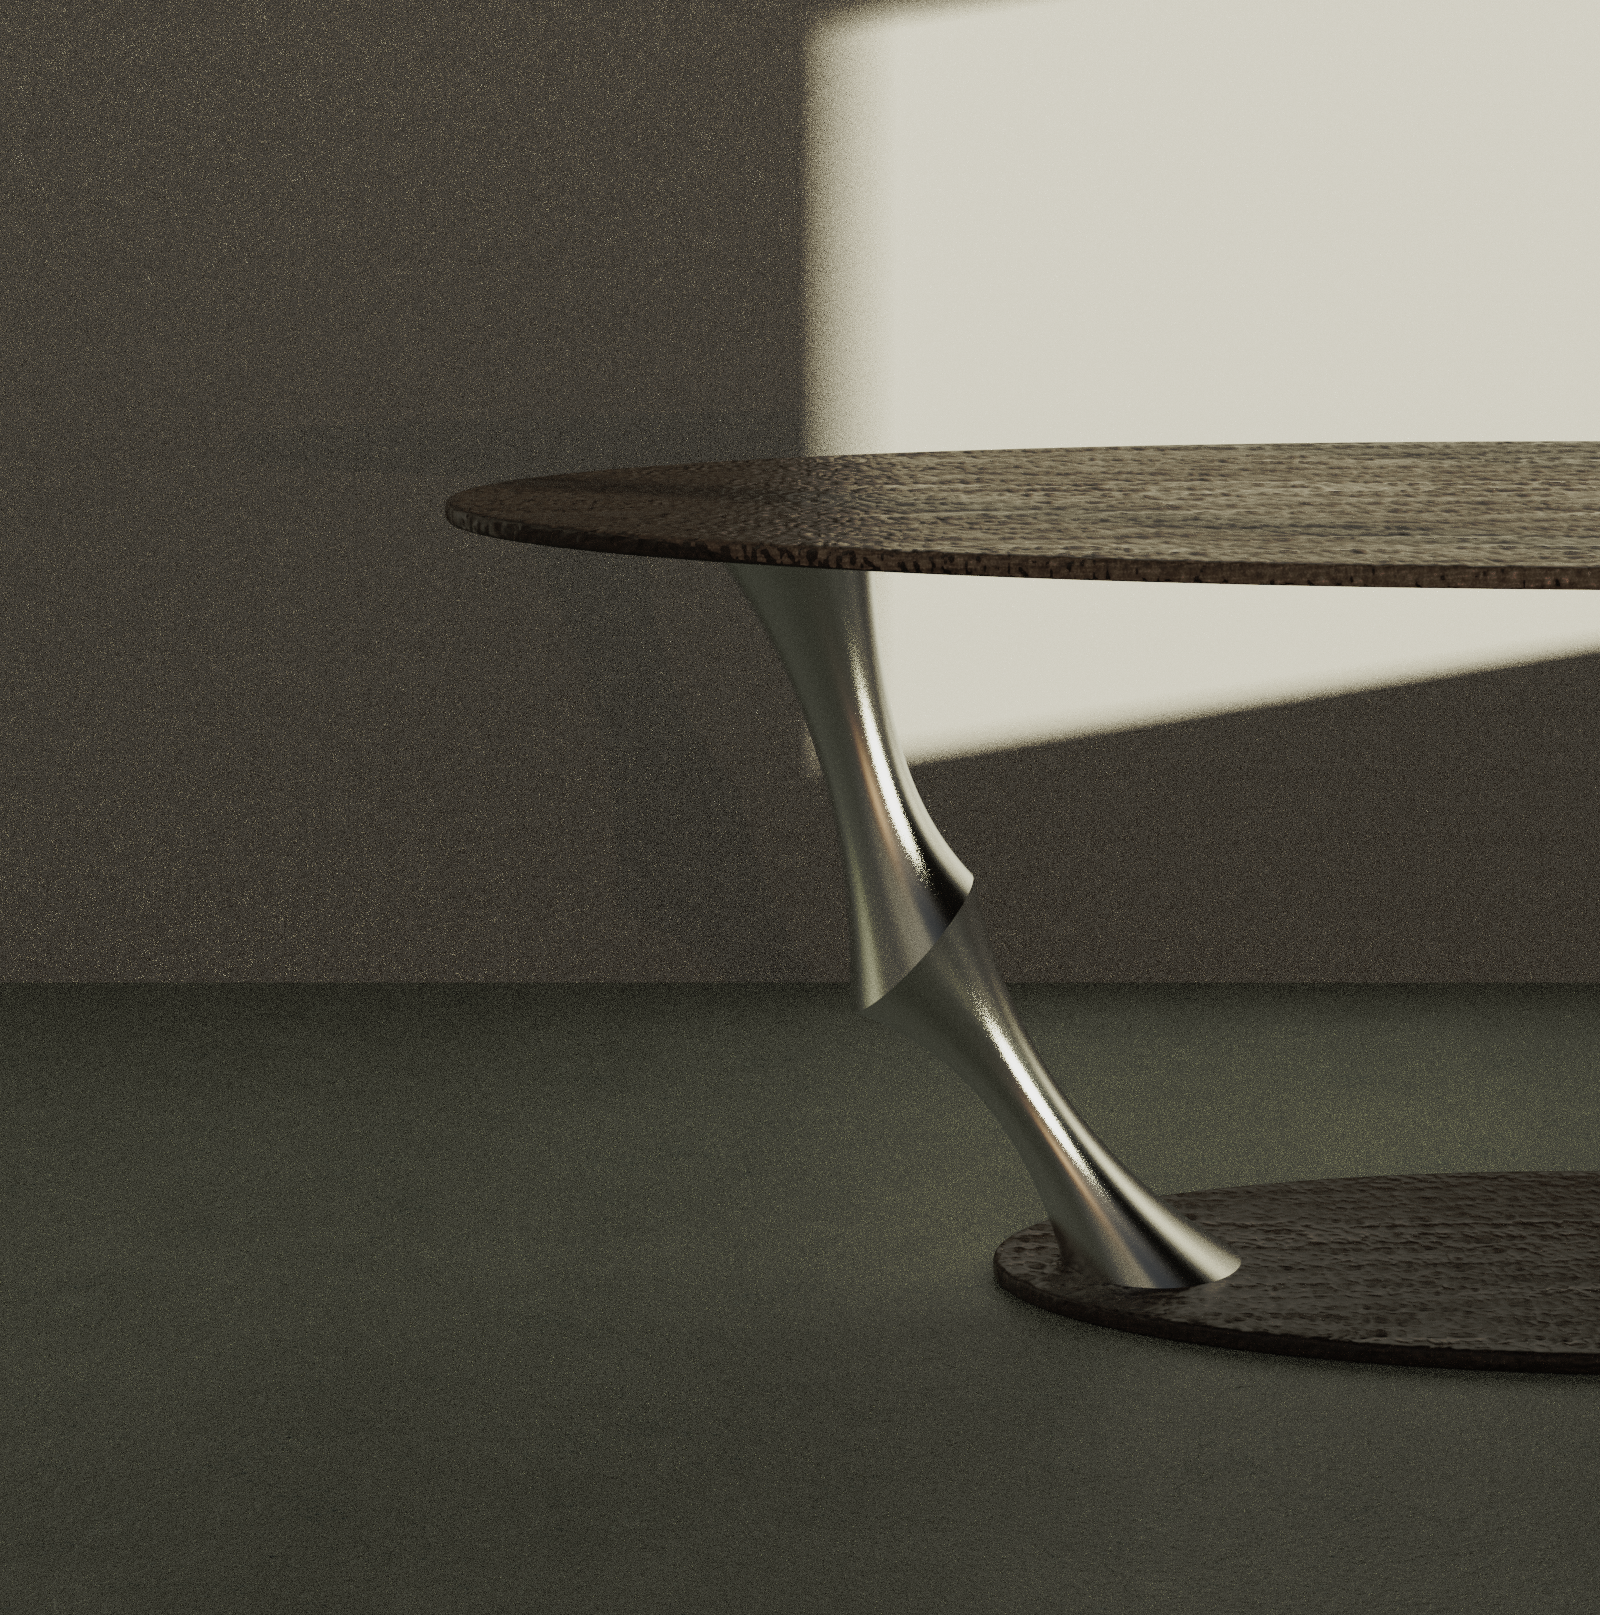
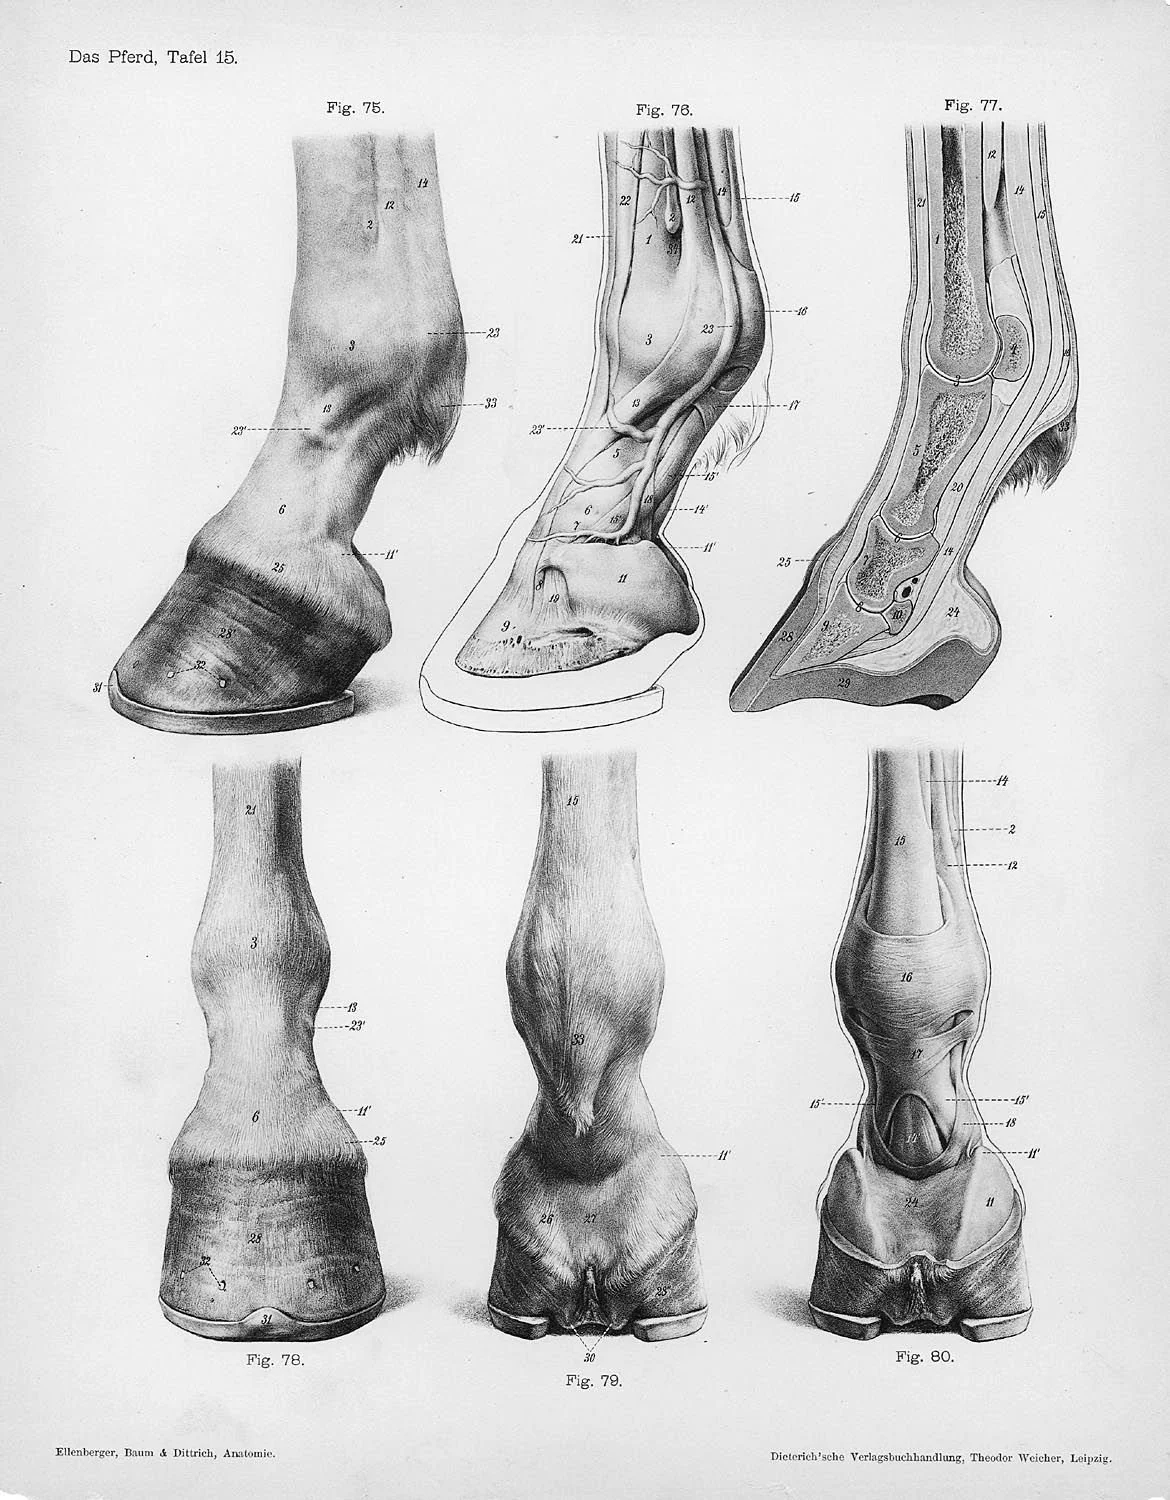
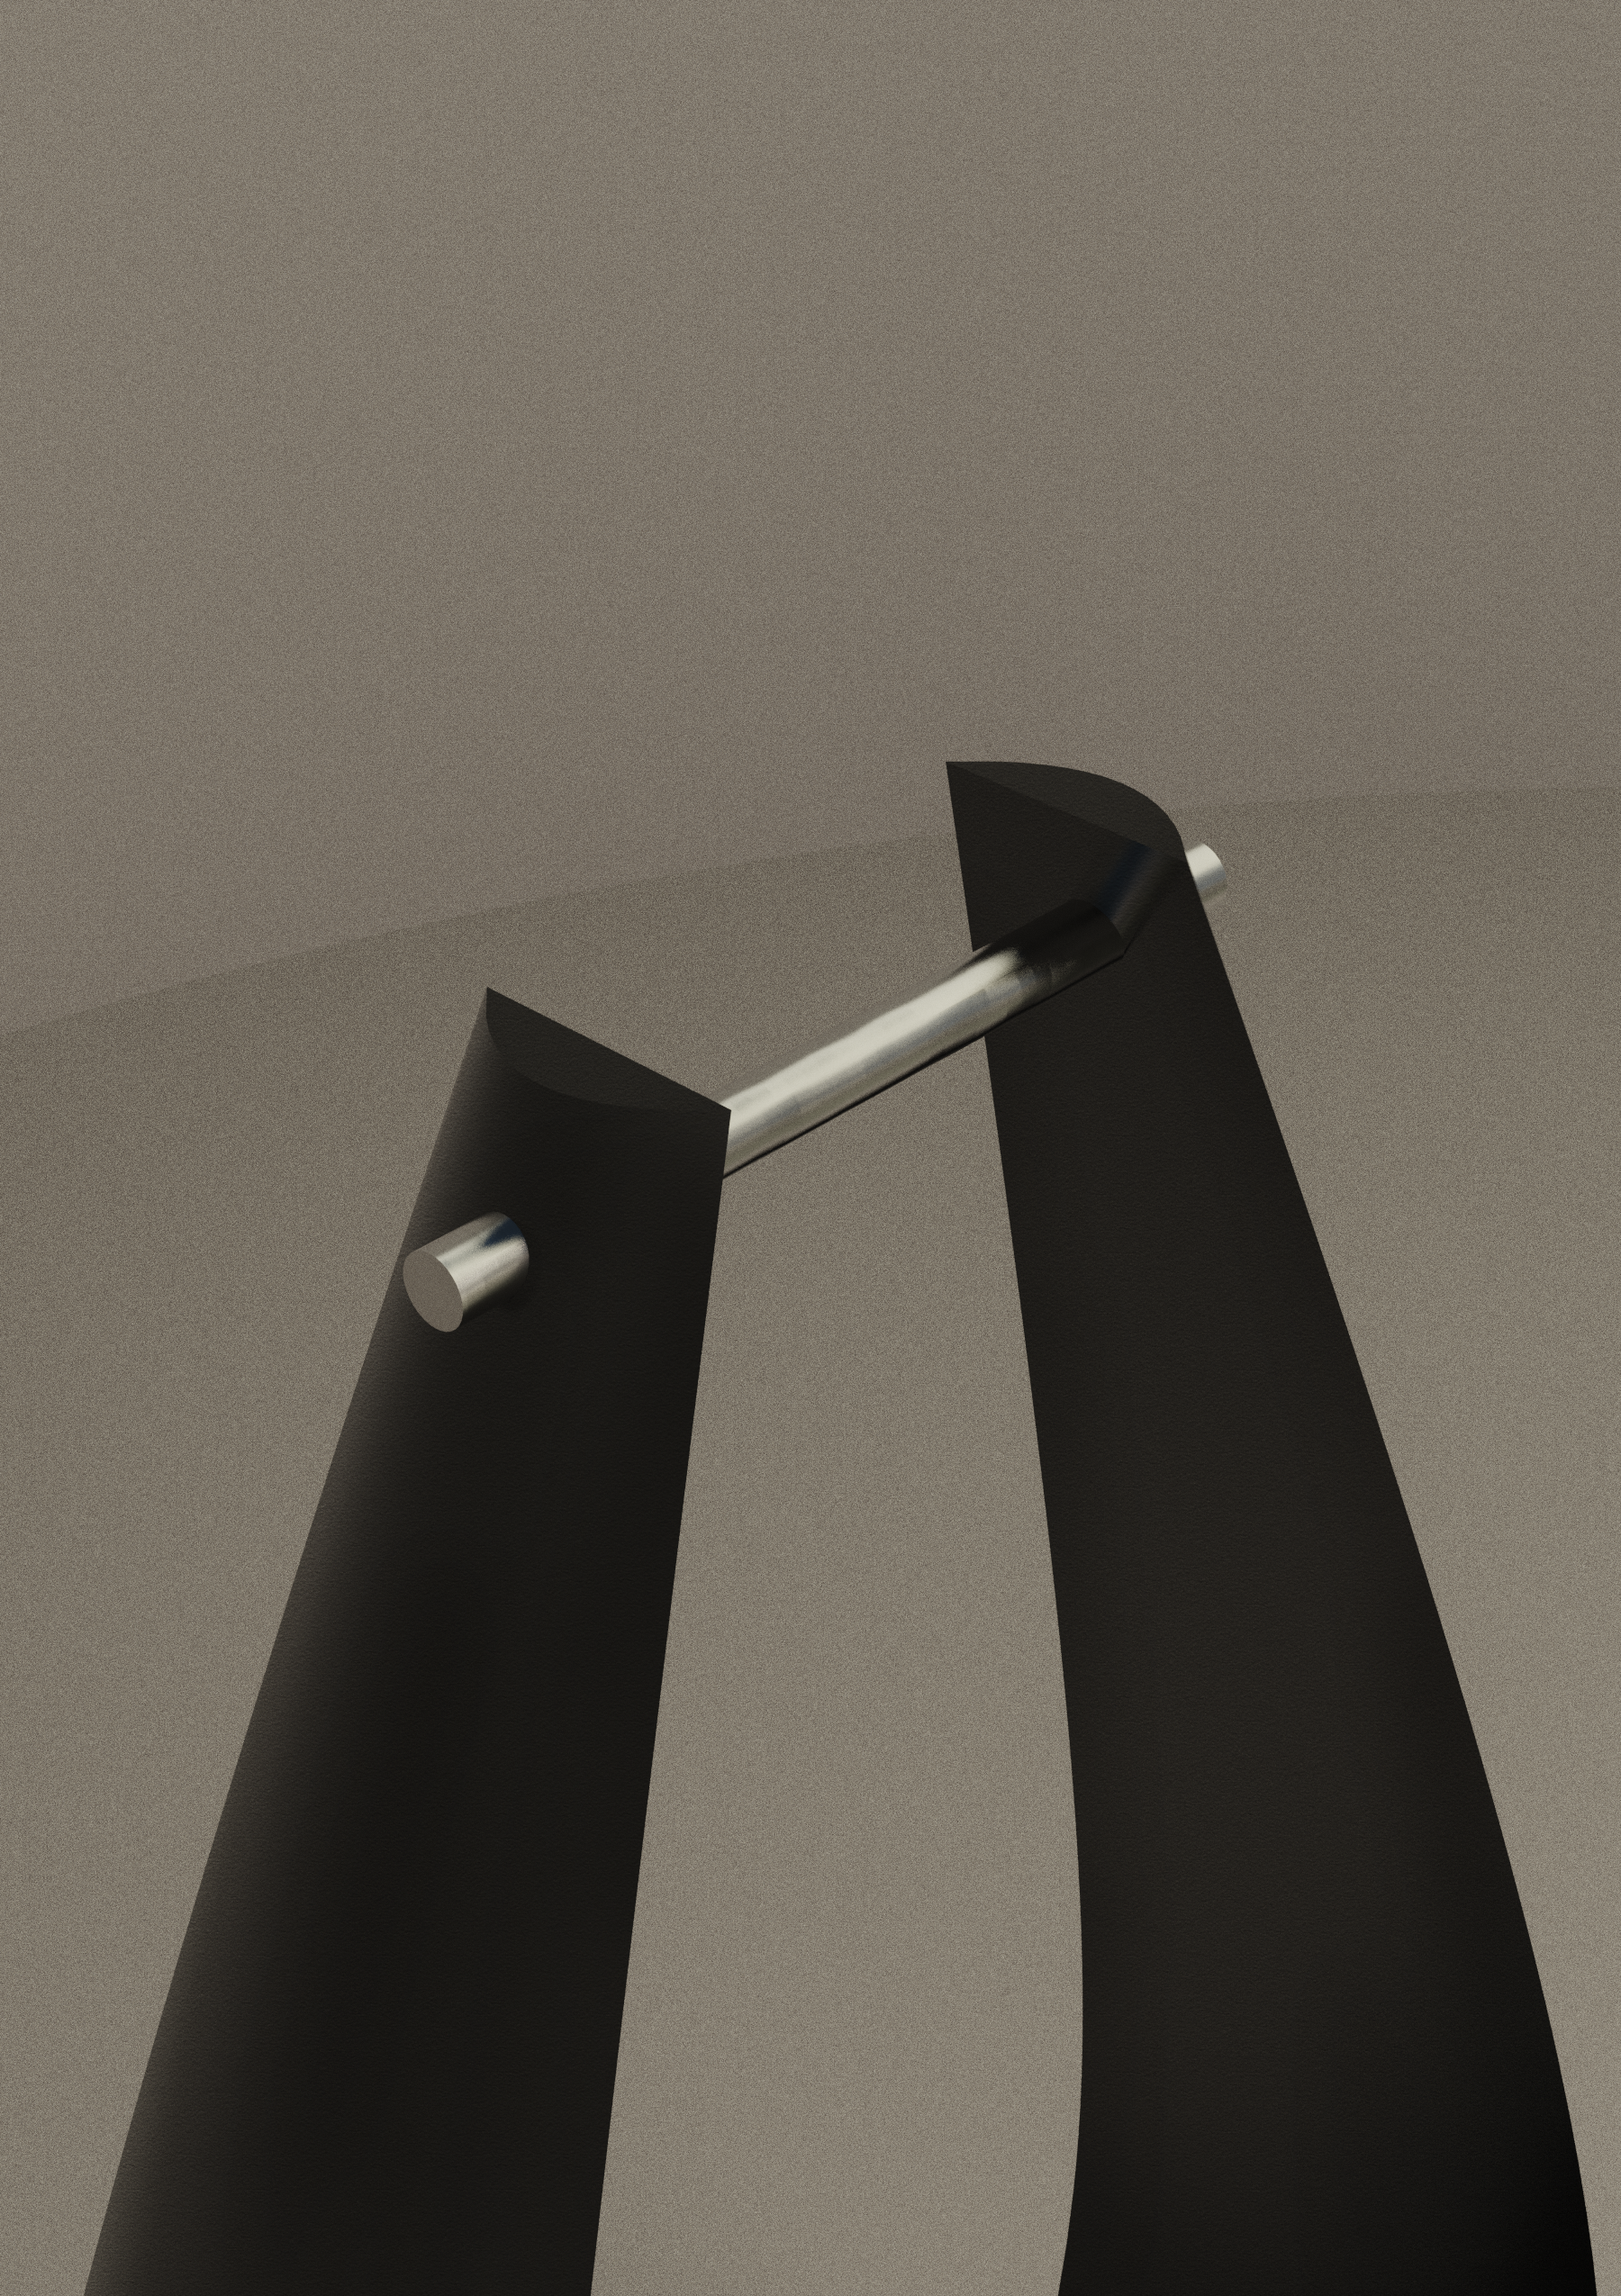
Day 11: Skeletal Table
Modeled with Rhino and Grasshopper, rendered in KeyShot.
Inspired by the cantilever hooves of horses.
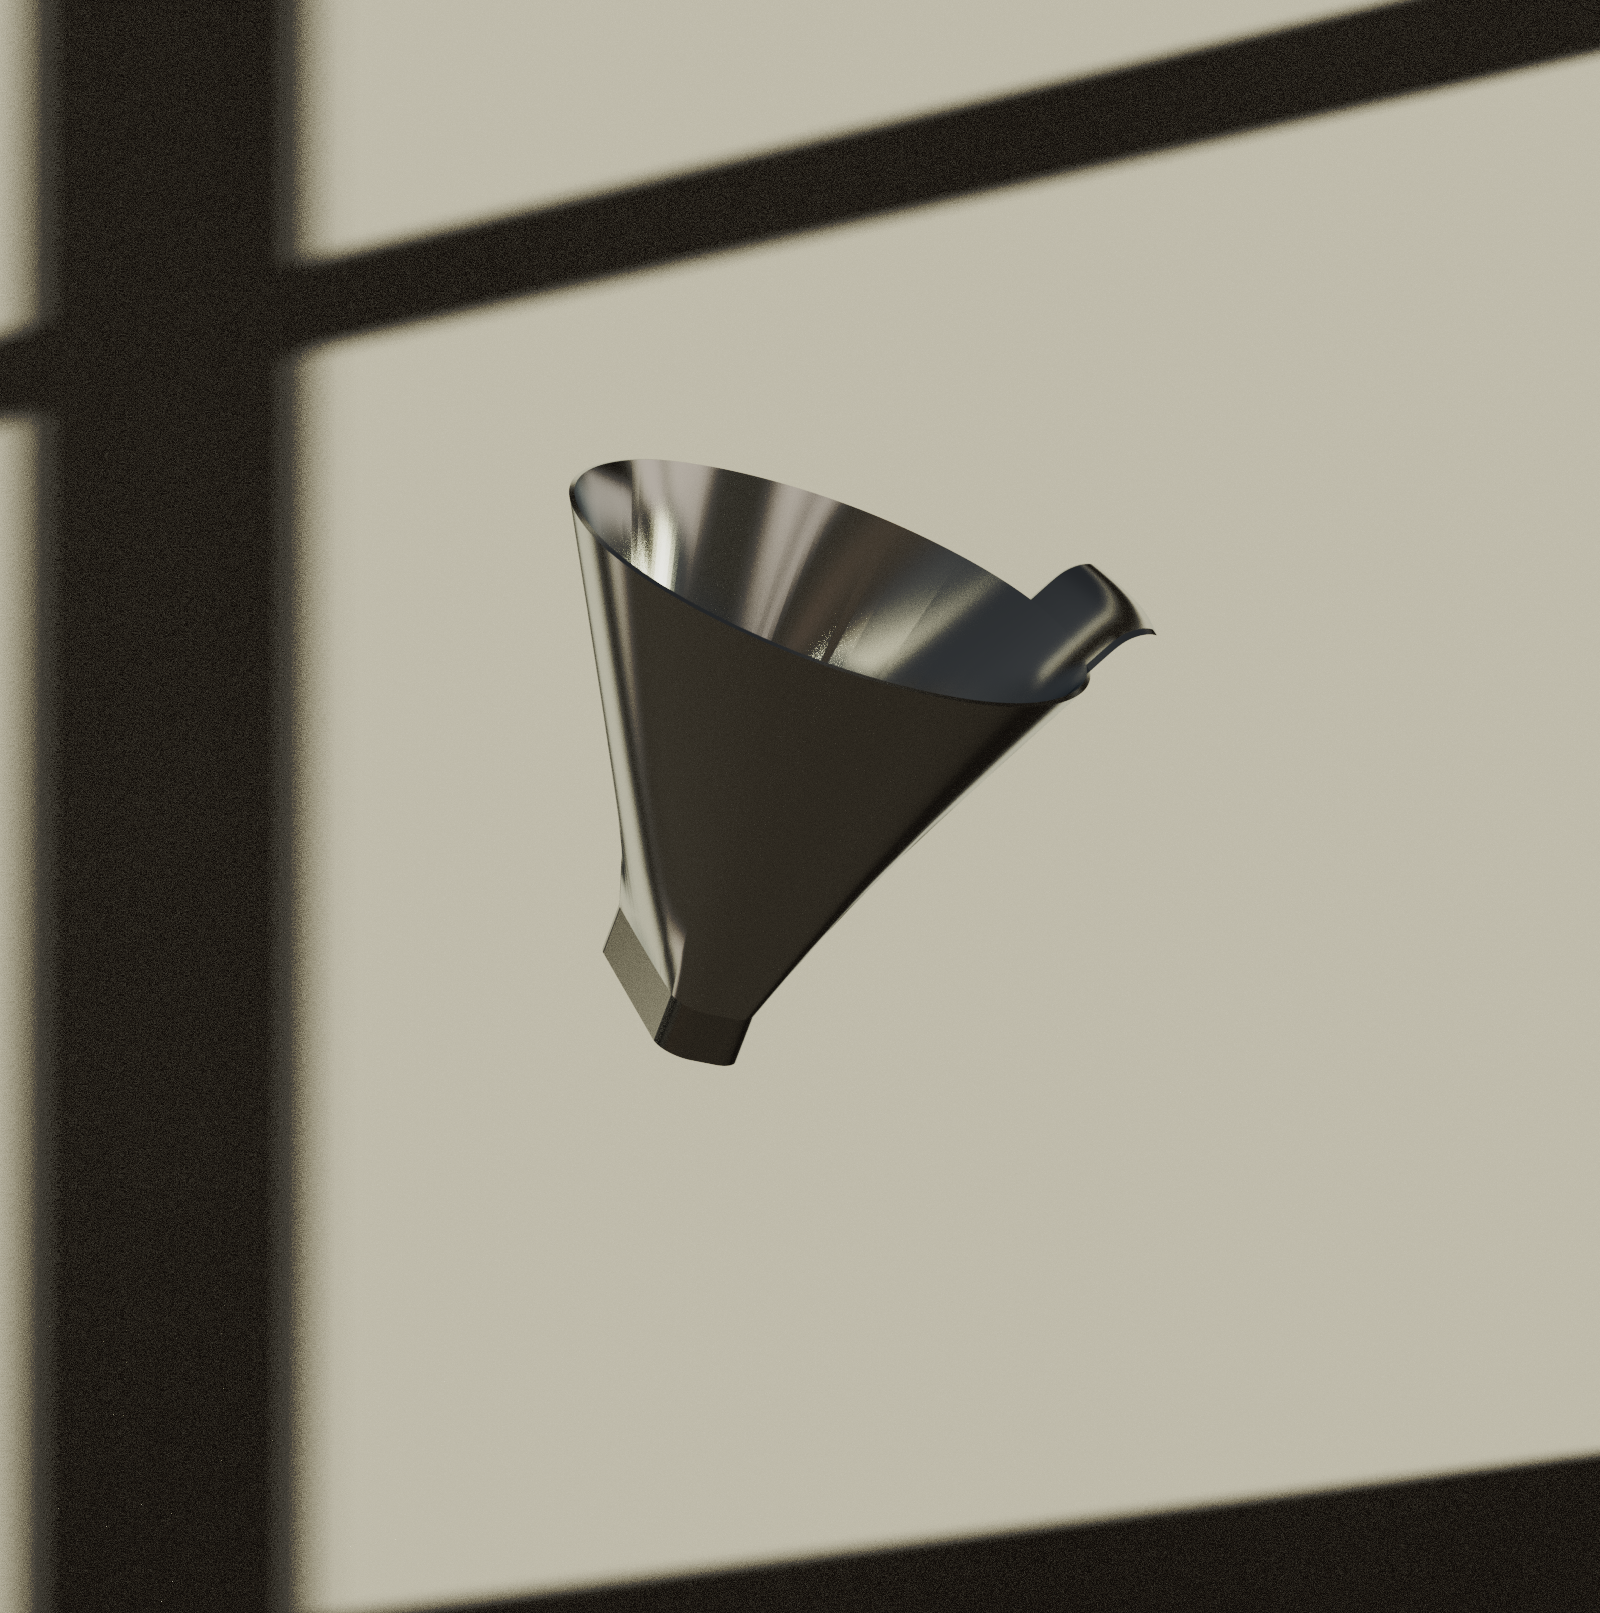
Day 12: Coffee filter
Modeled in Rhino, rendered in KeyShot.
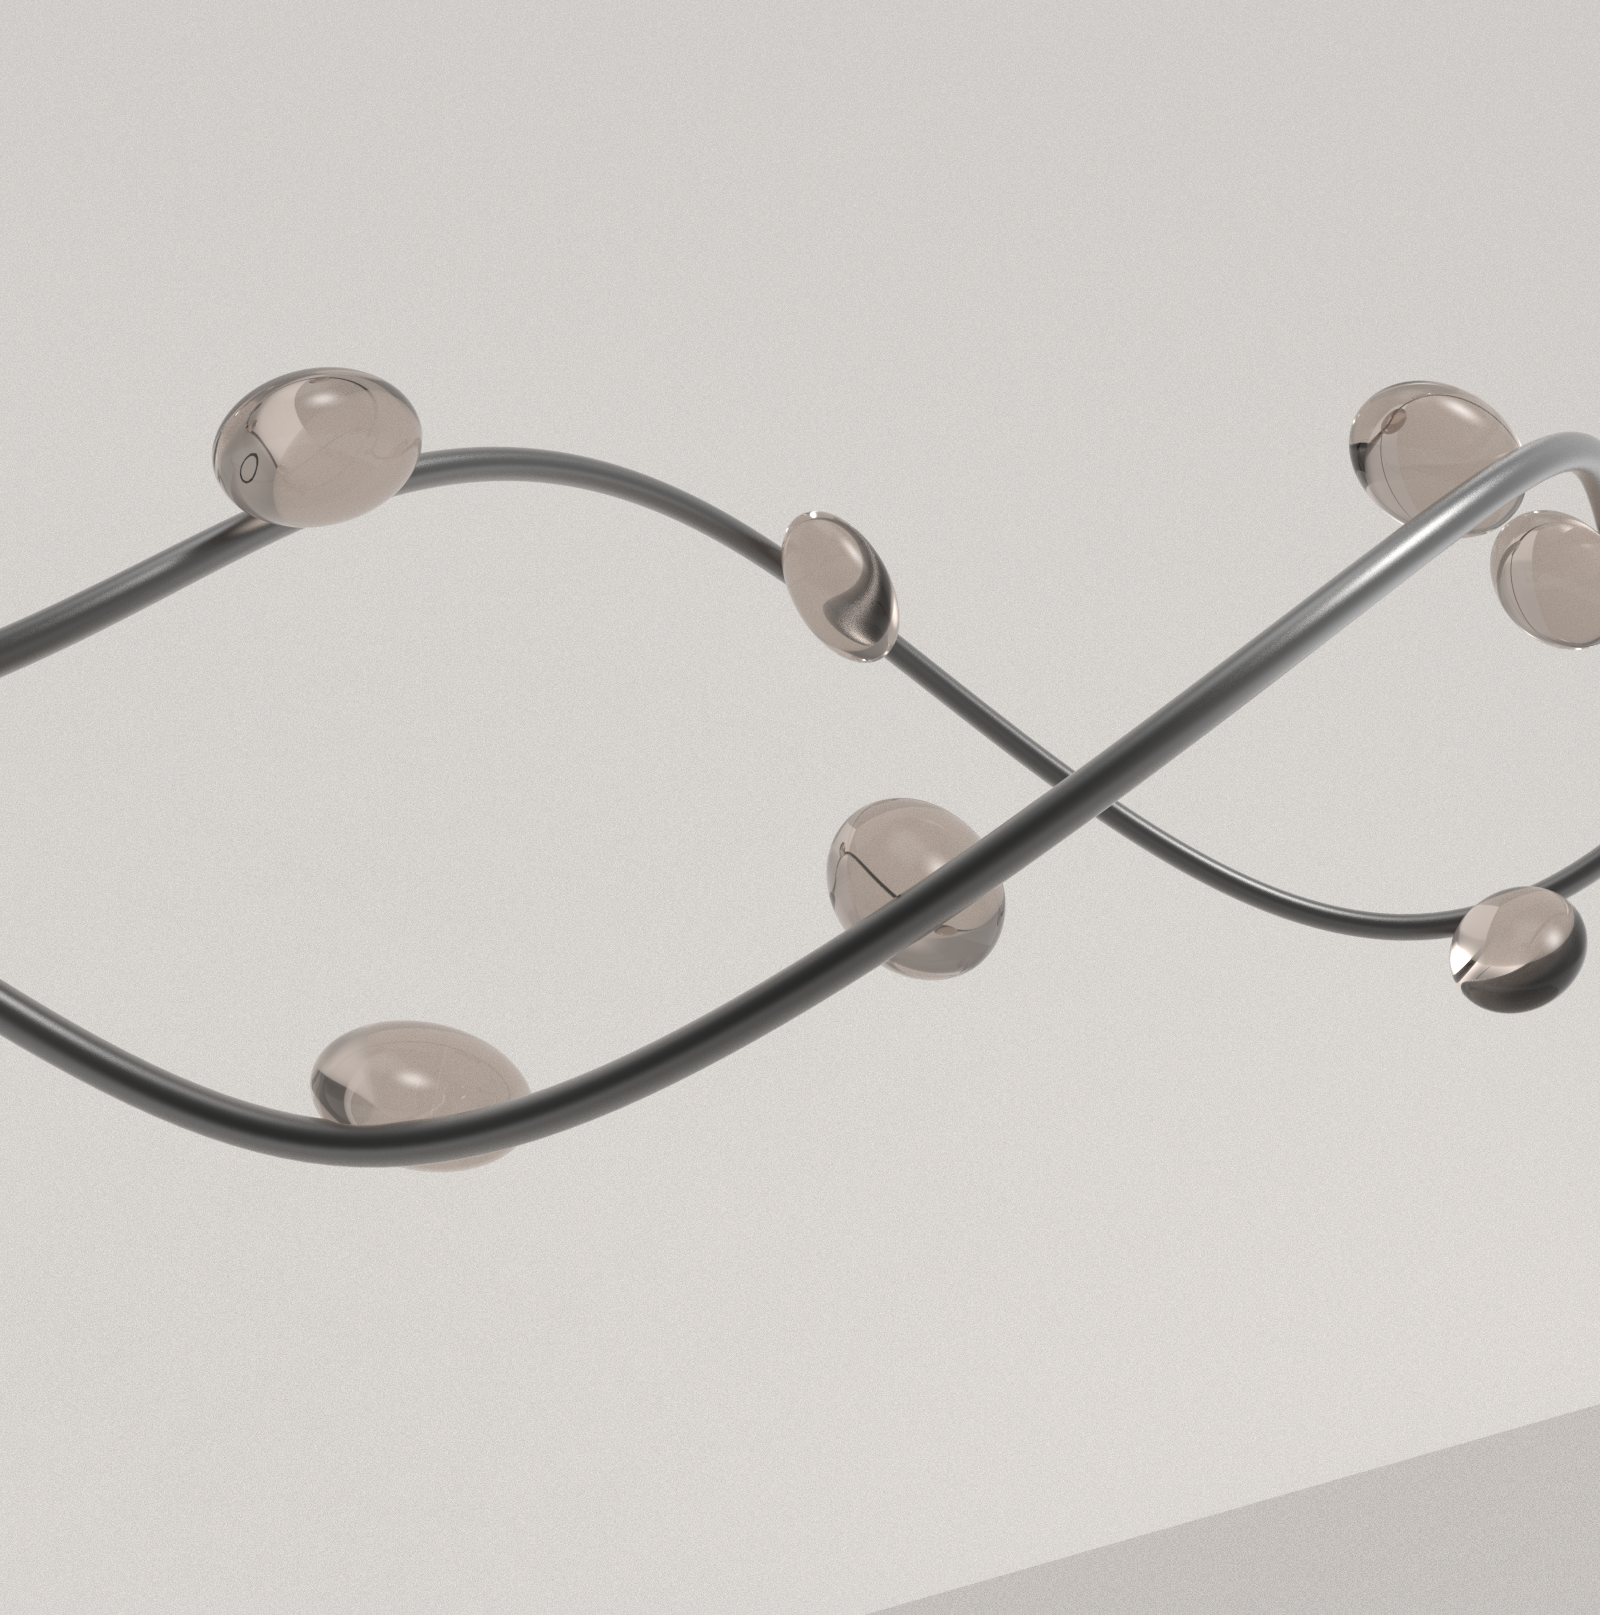
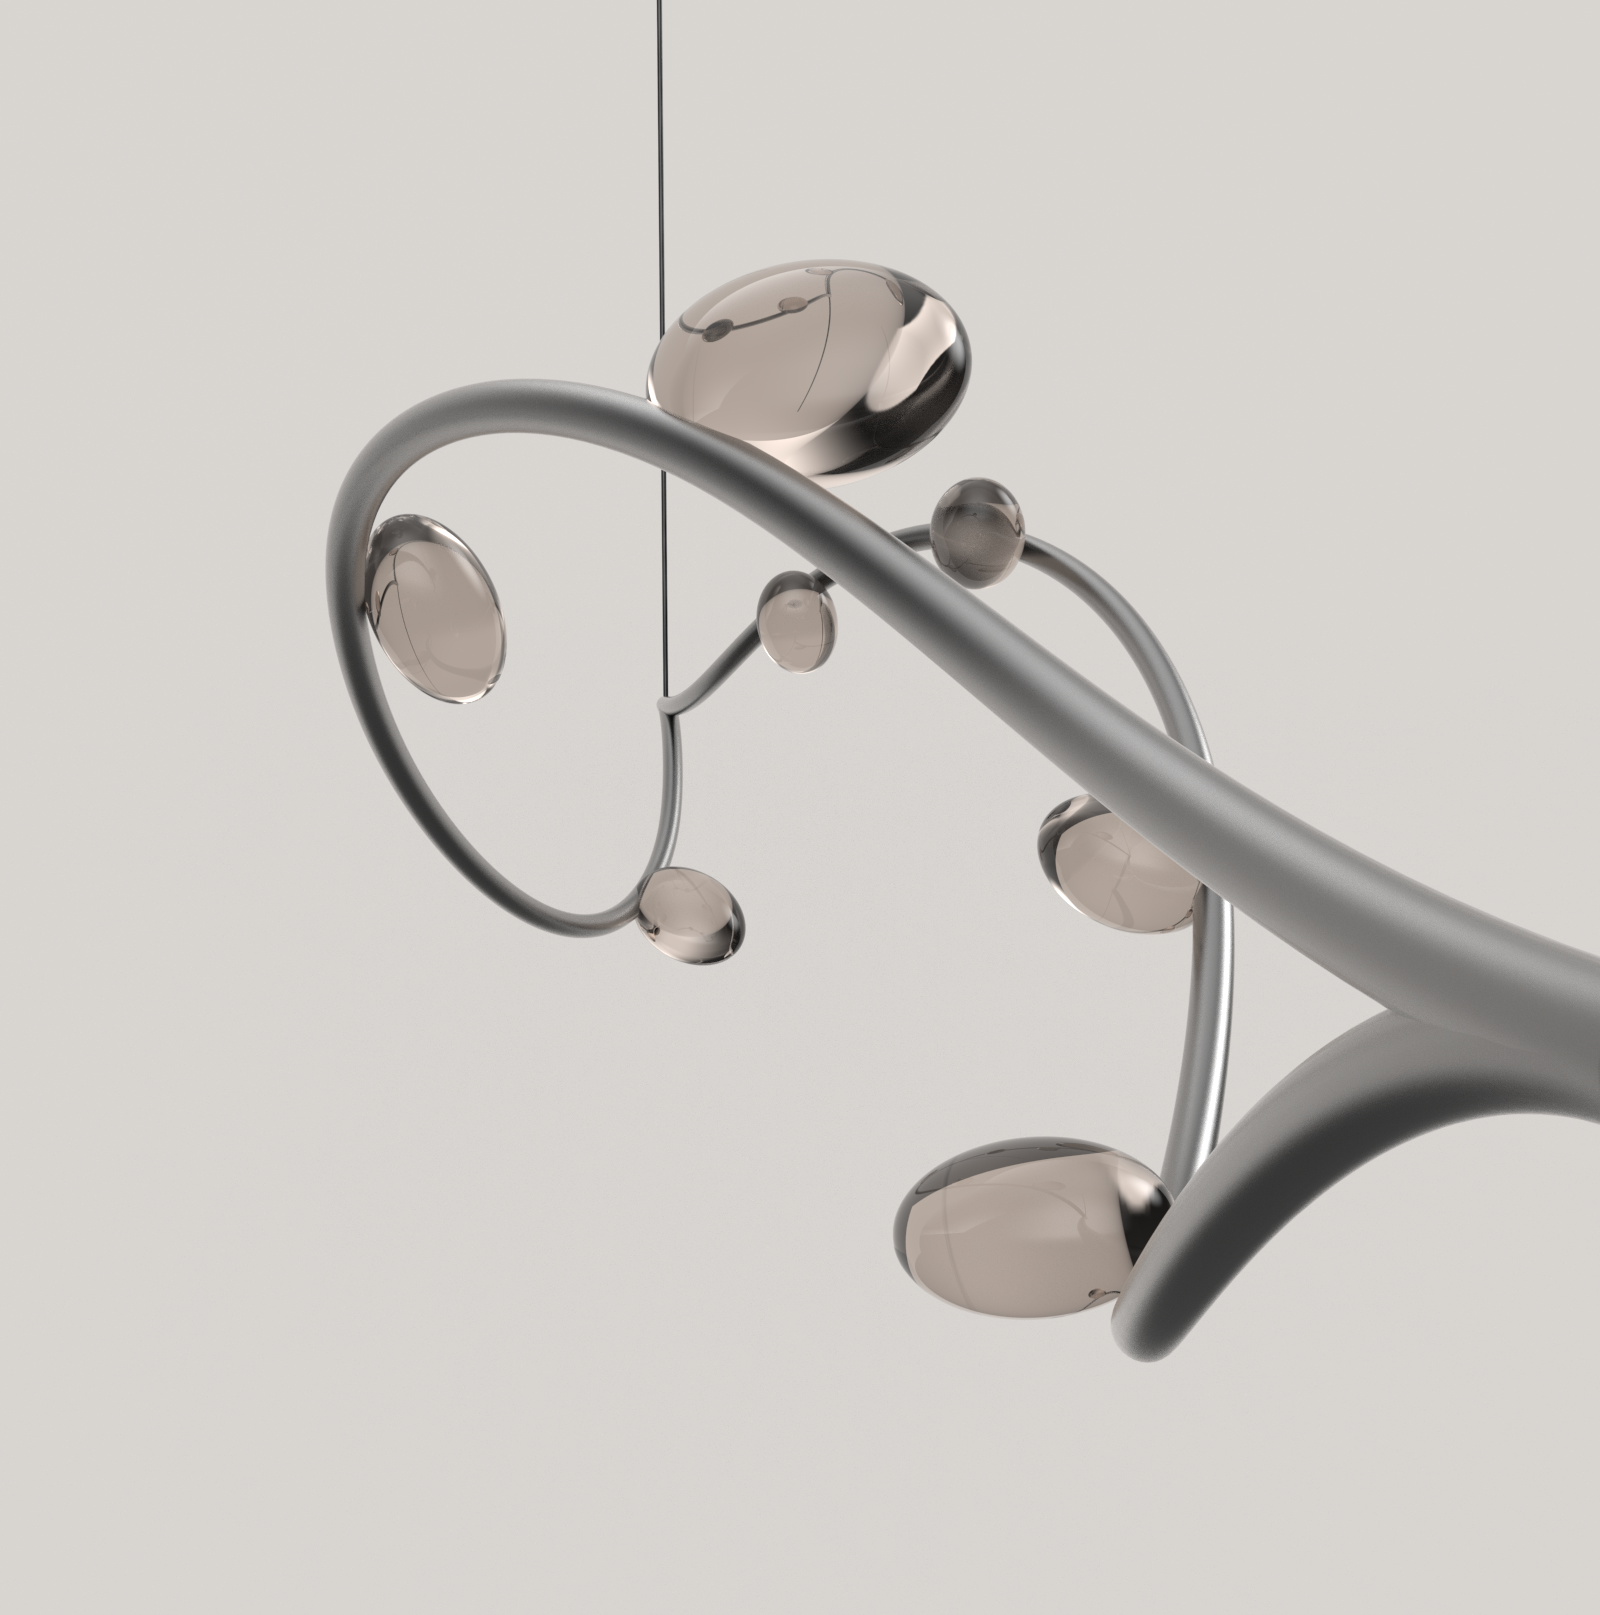
Day 13: Hanging sculpture
Modeled in Rhino, rendered in KeyShot.
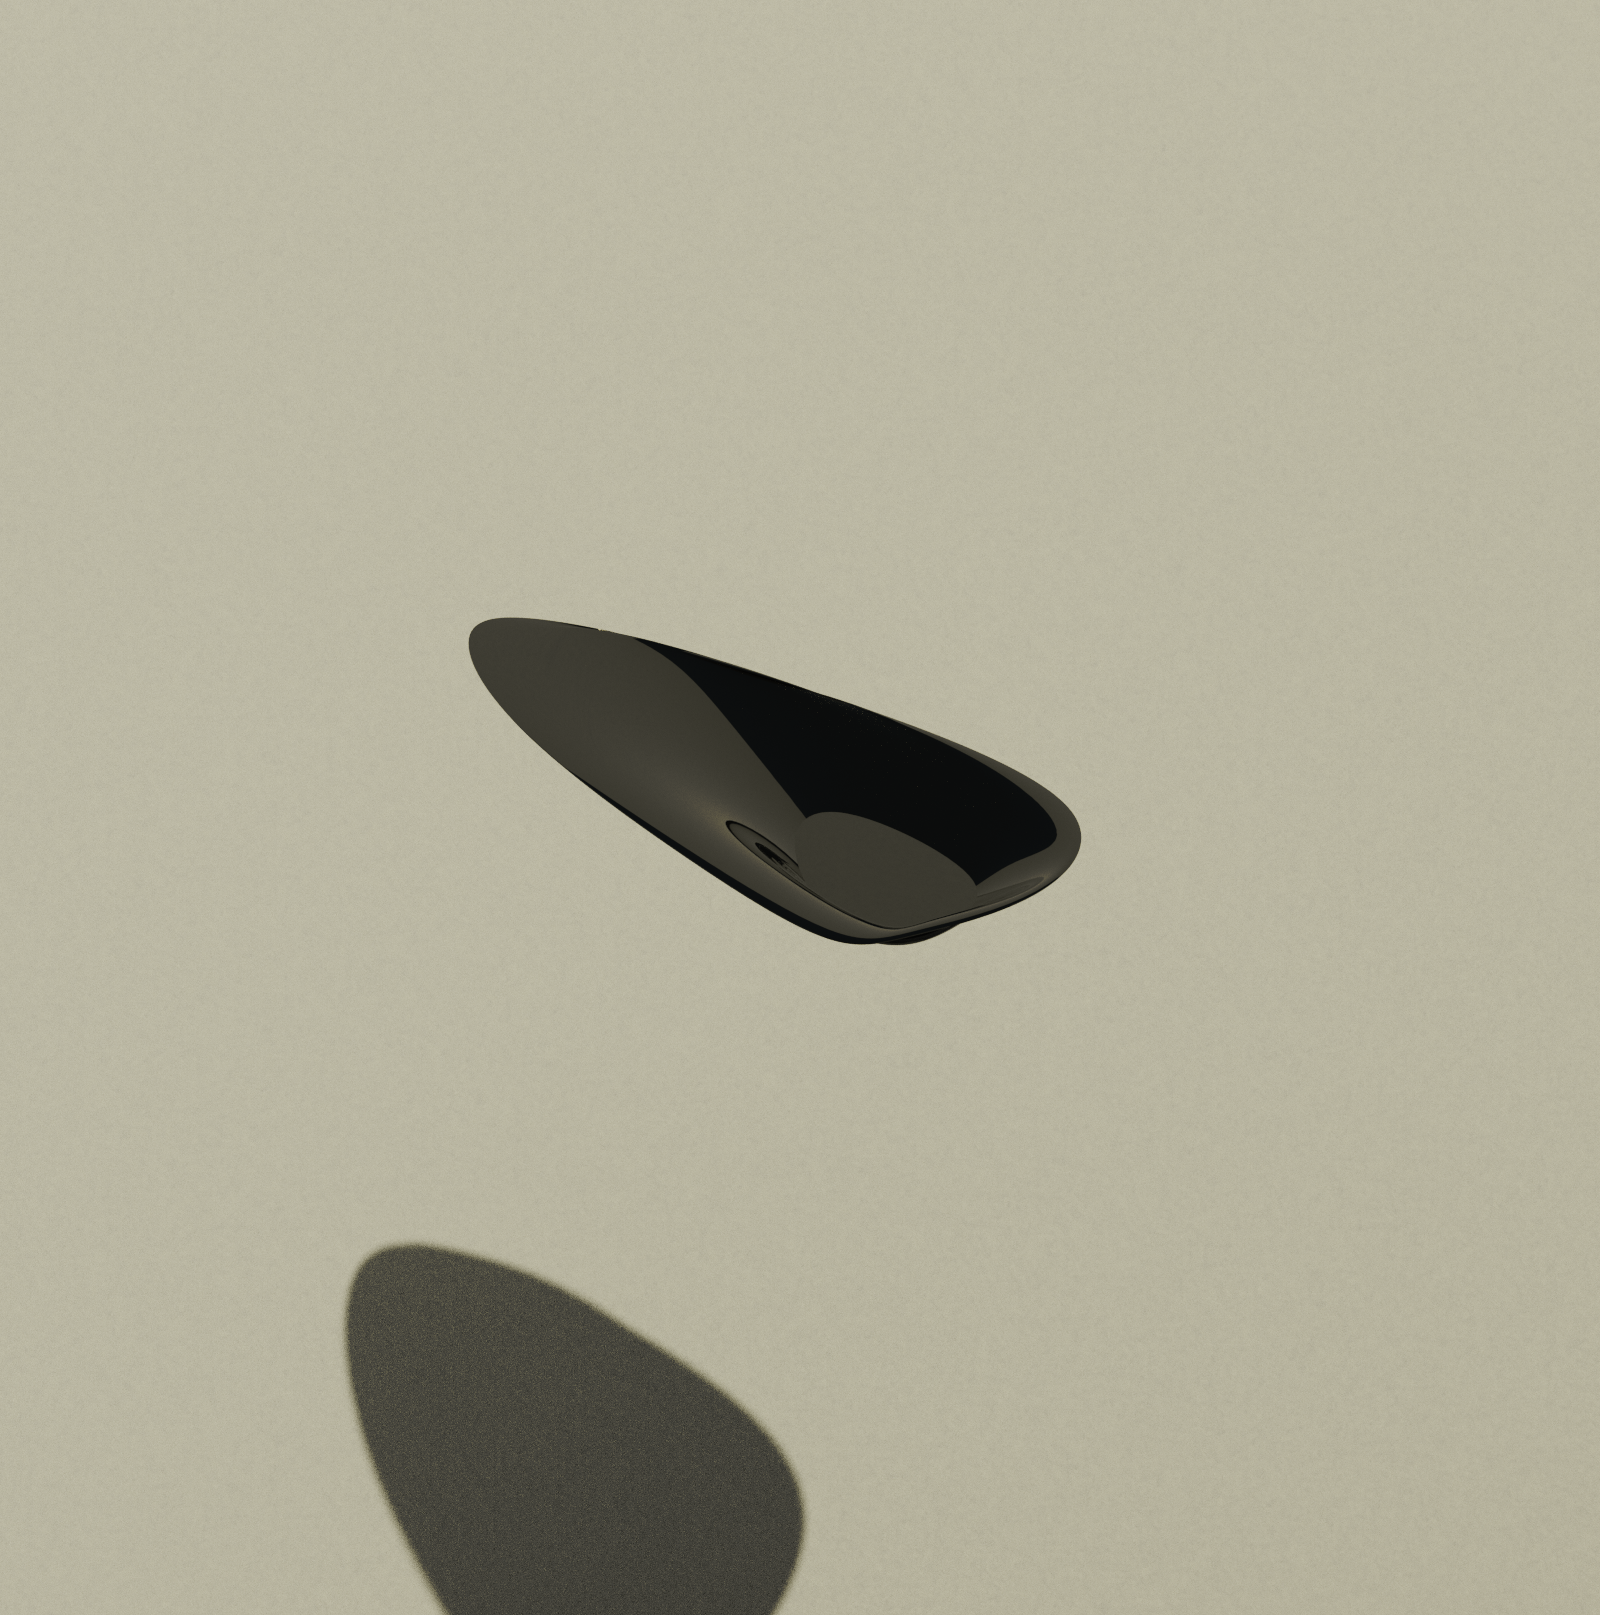
Day 14: Catchall tray
Modeled in Rhino, rendered in KeyShot.